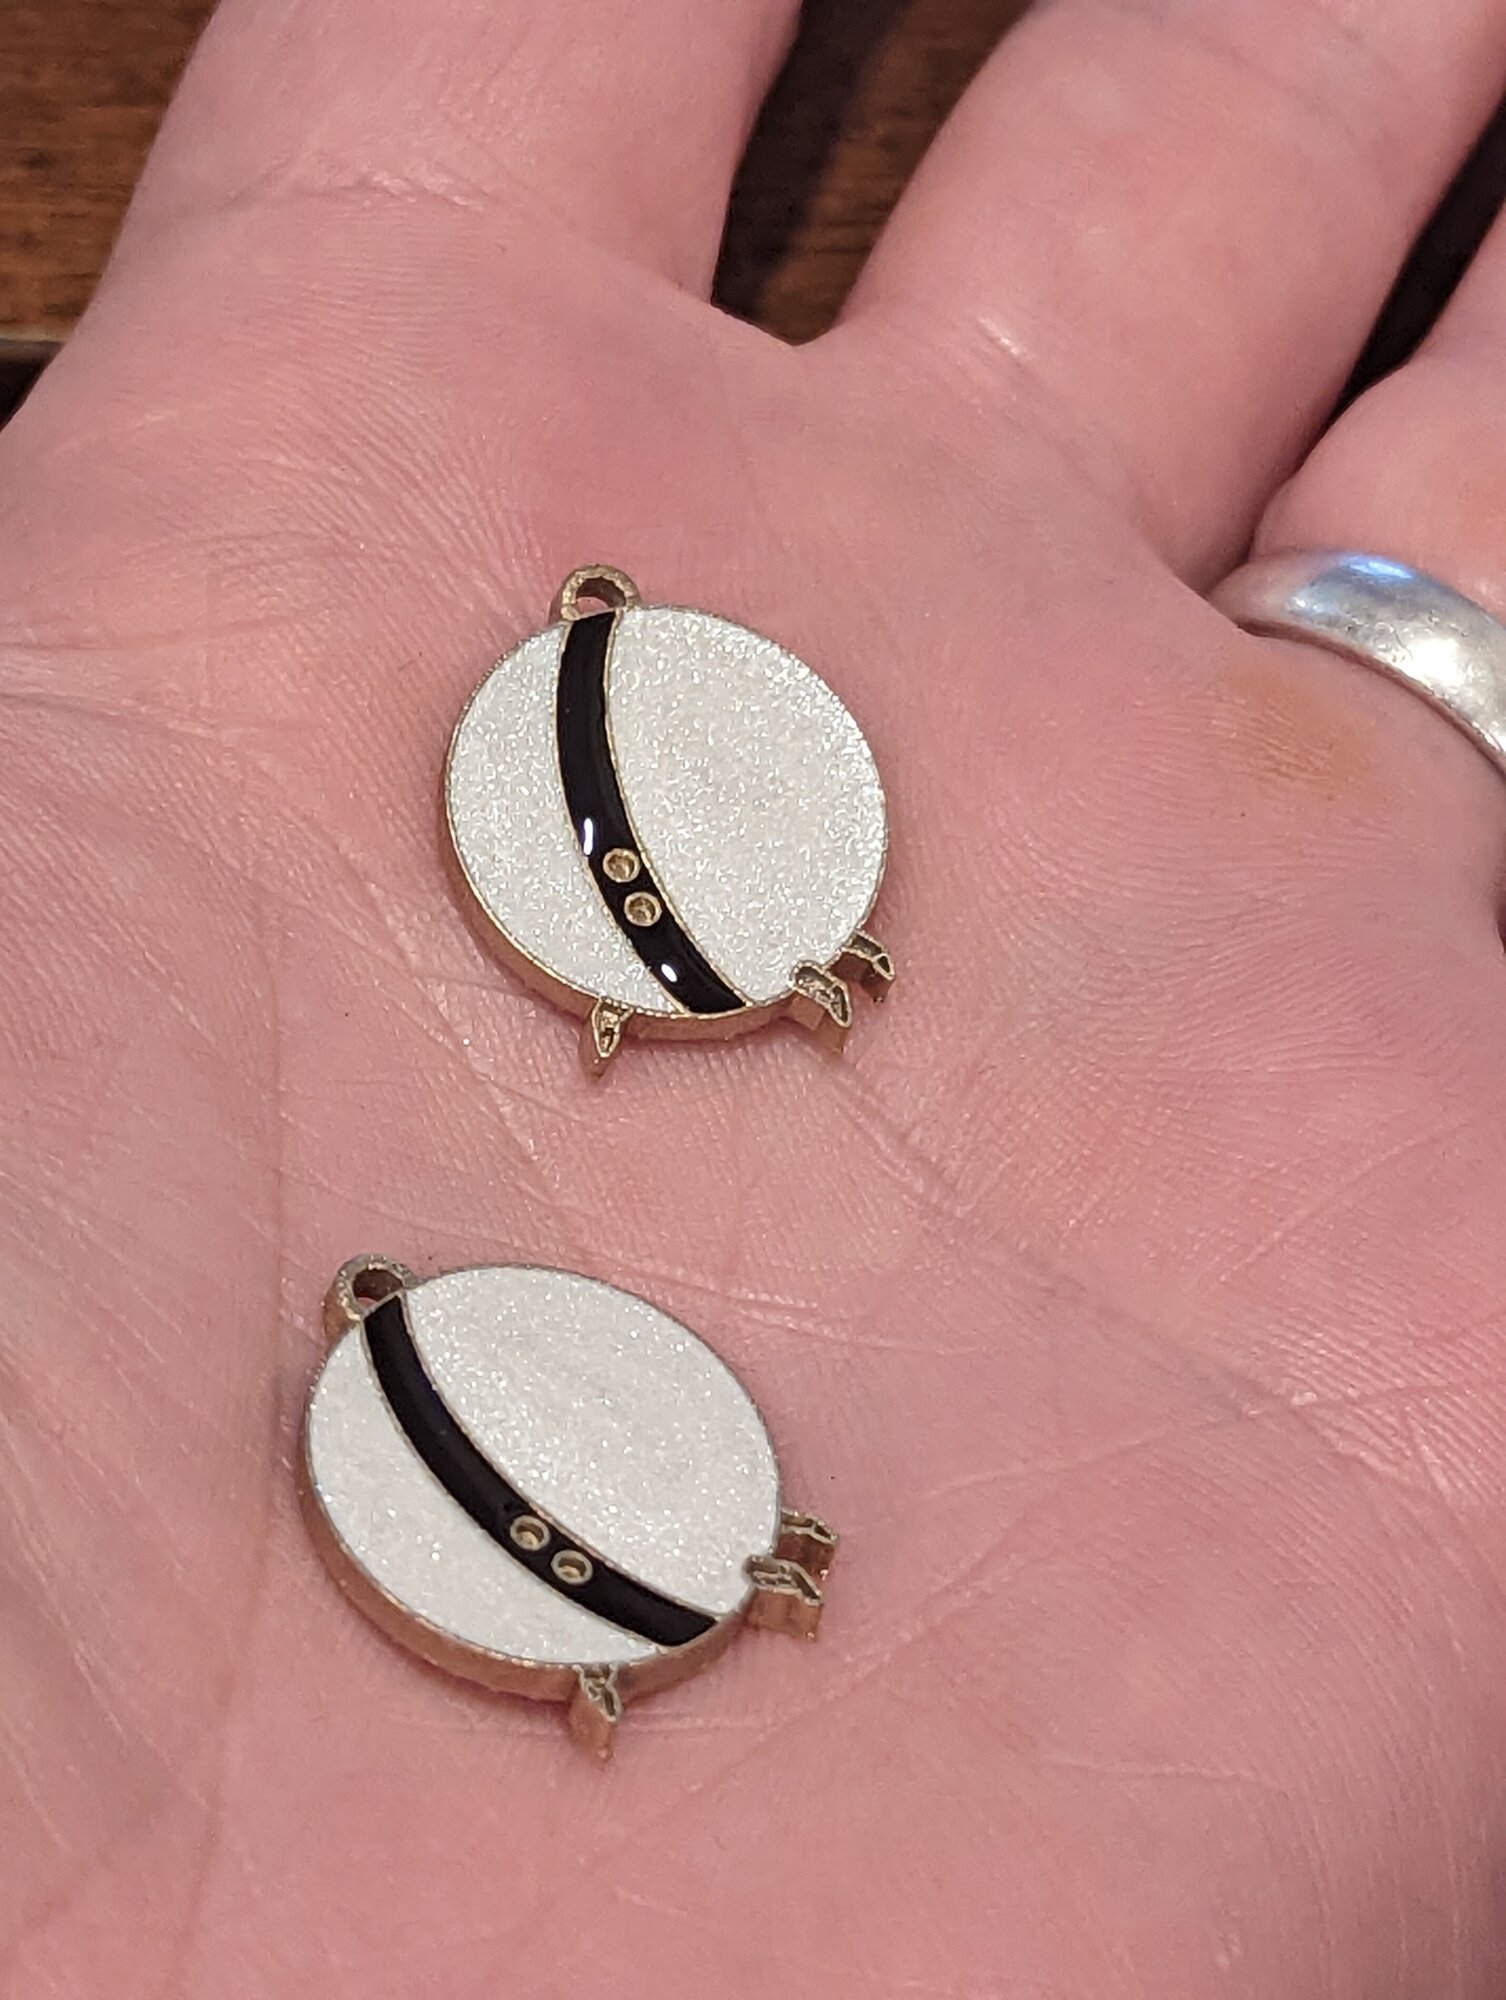
These were a present for my daughter, since I very much enjoyed watching "Infinity Train" with her. They are in the shape of OneOne, a character from this delightfully surreal show.
The body is brass, investment cast. I think. The fill is epoxy, tinted with mica powder.
How they got made
My daughter was about to turn 18, and she really likes Infinity Train, which is a bit obscure: a surreal animated series. I'd wanted to do more jewelry, and I'd done a few rings, so I designed these earrings based on One-One.
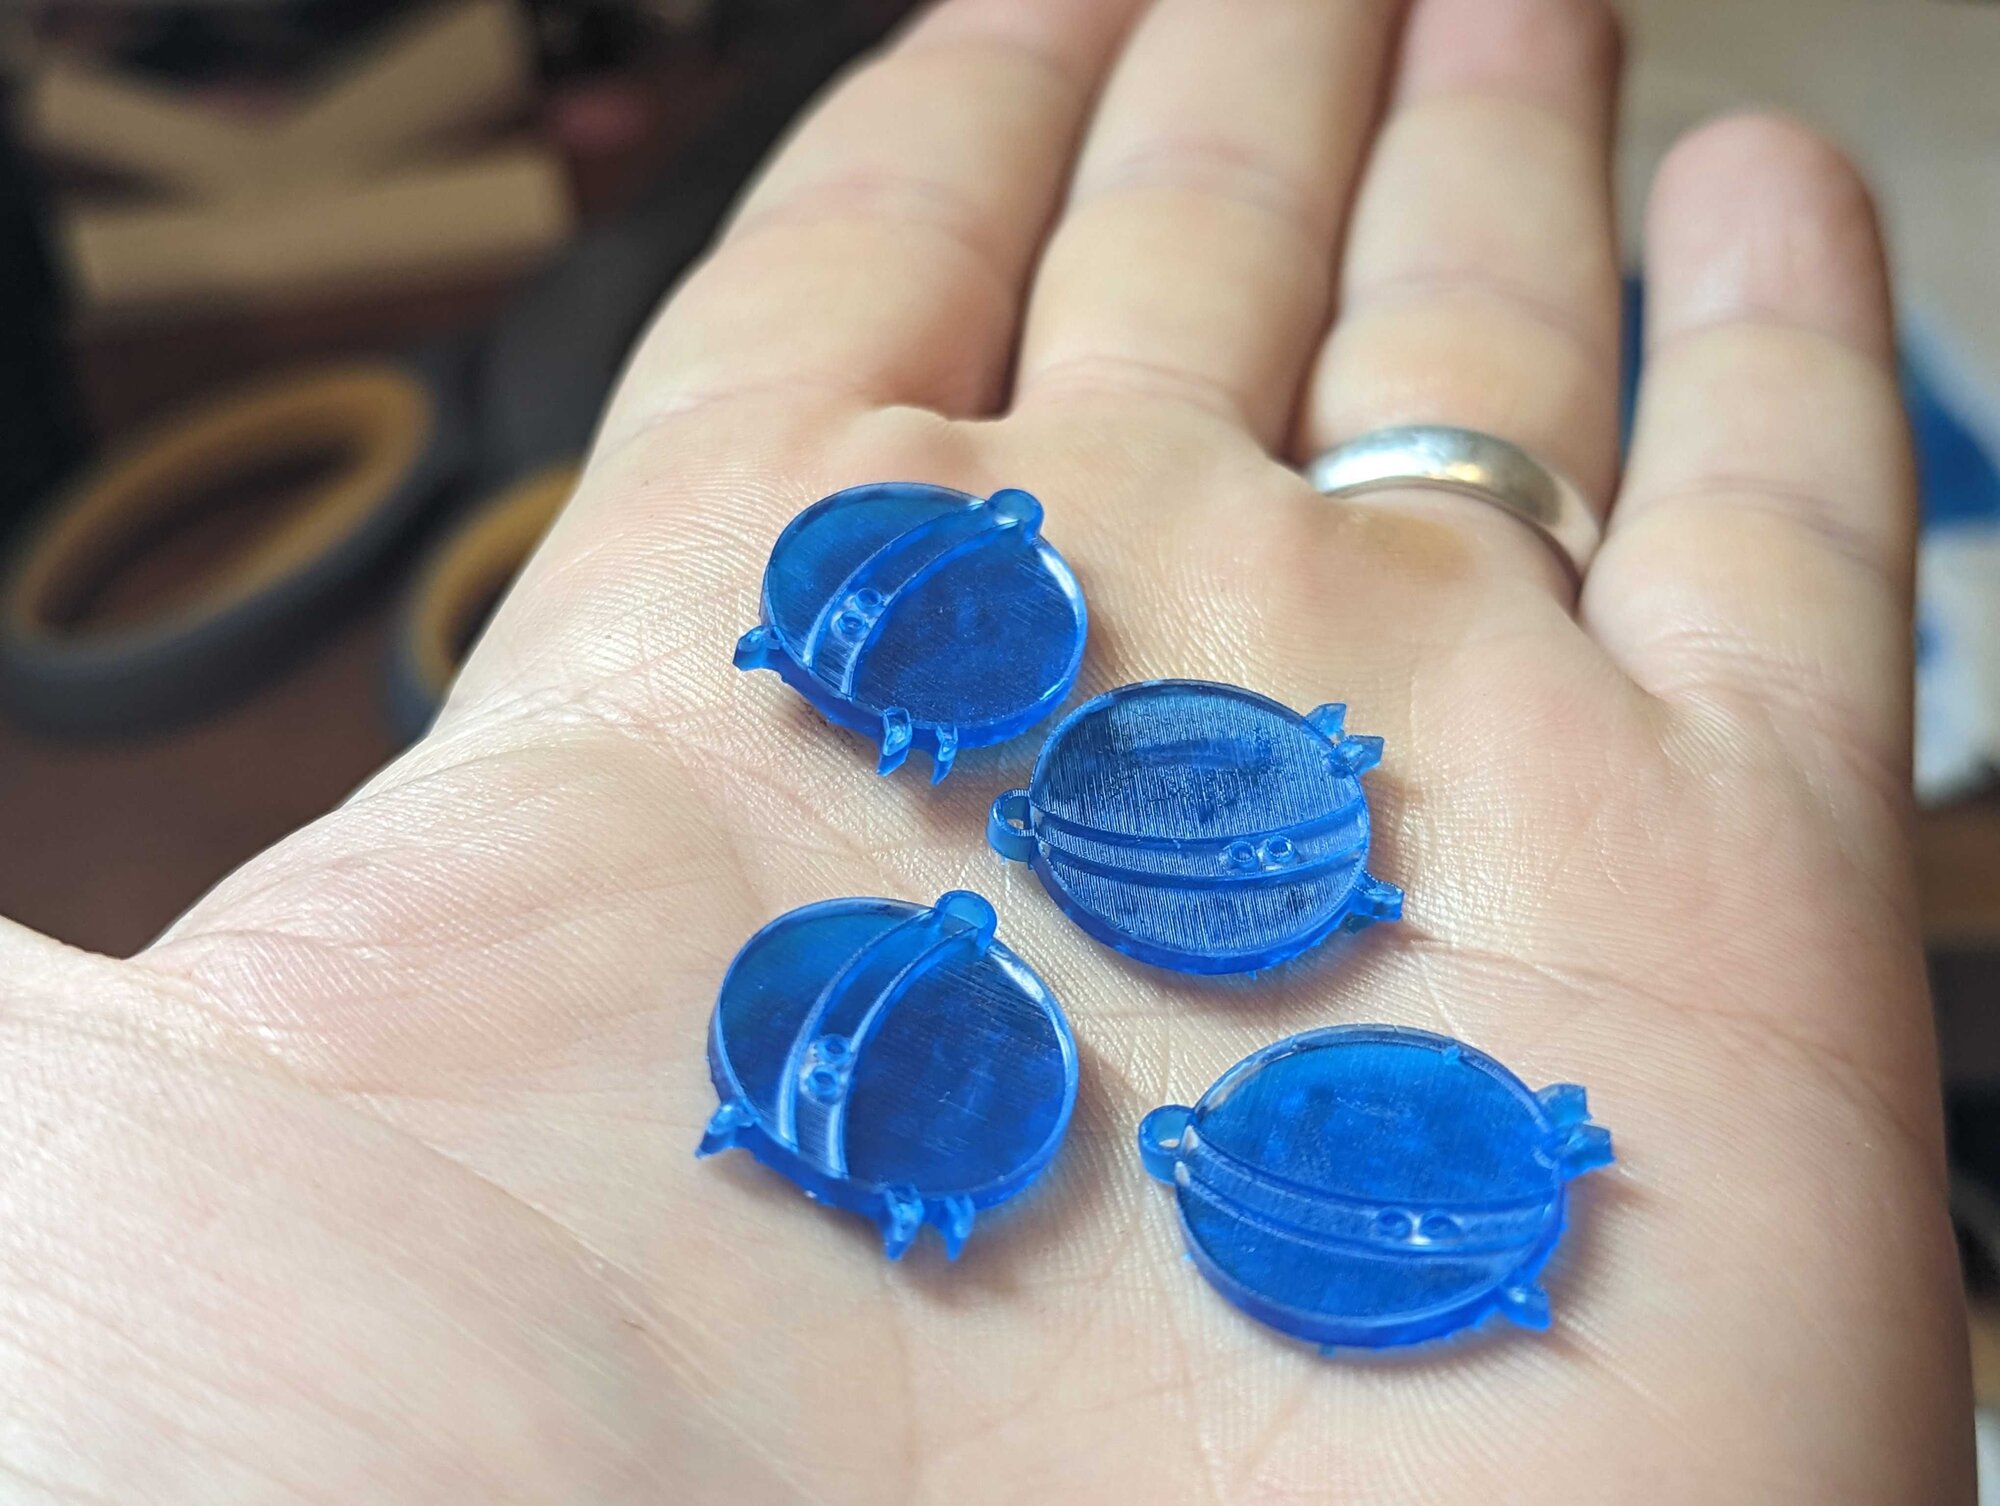
Wax patterns (October 2022)
First step was 3D-printed wax versions of the earrings. These are the patterns. The plan was to cast them in brass and then enamel them in black and white, using one of a variety of techniques I still needed to test.
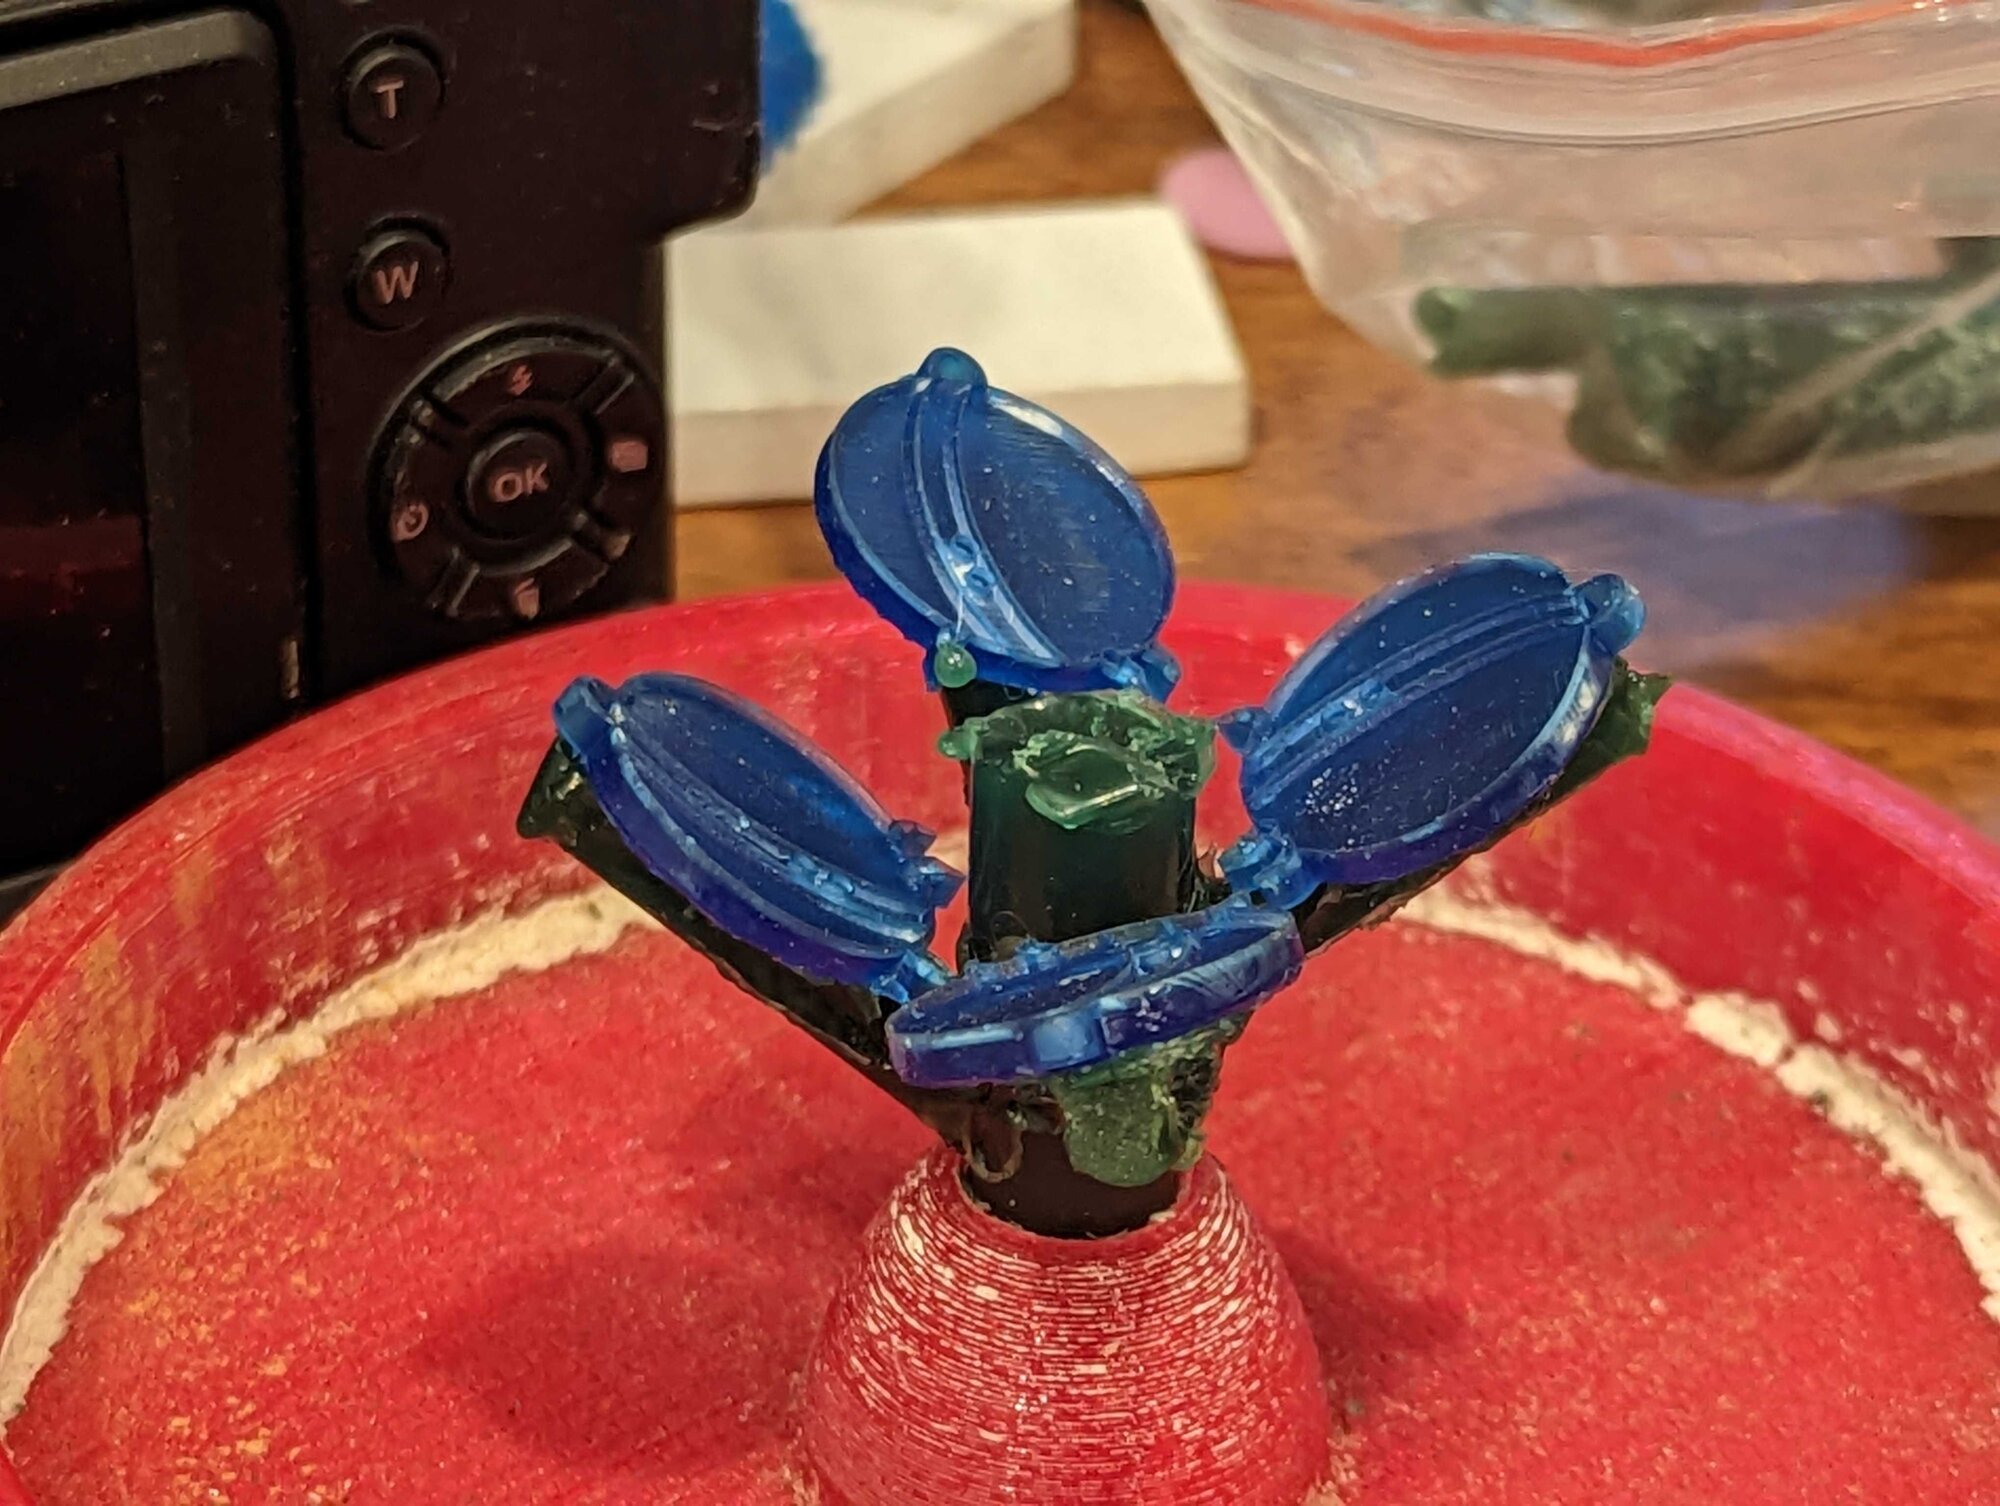
Then I sprued them up: four patterns attached to a central wax post sitting in a printed base cup, ready for investing.
First pour
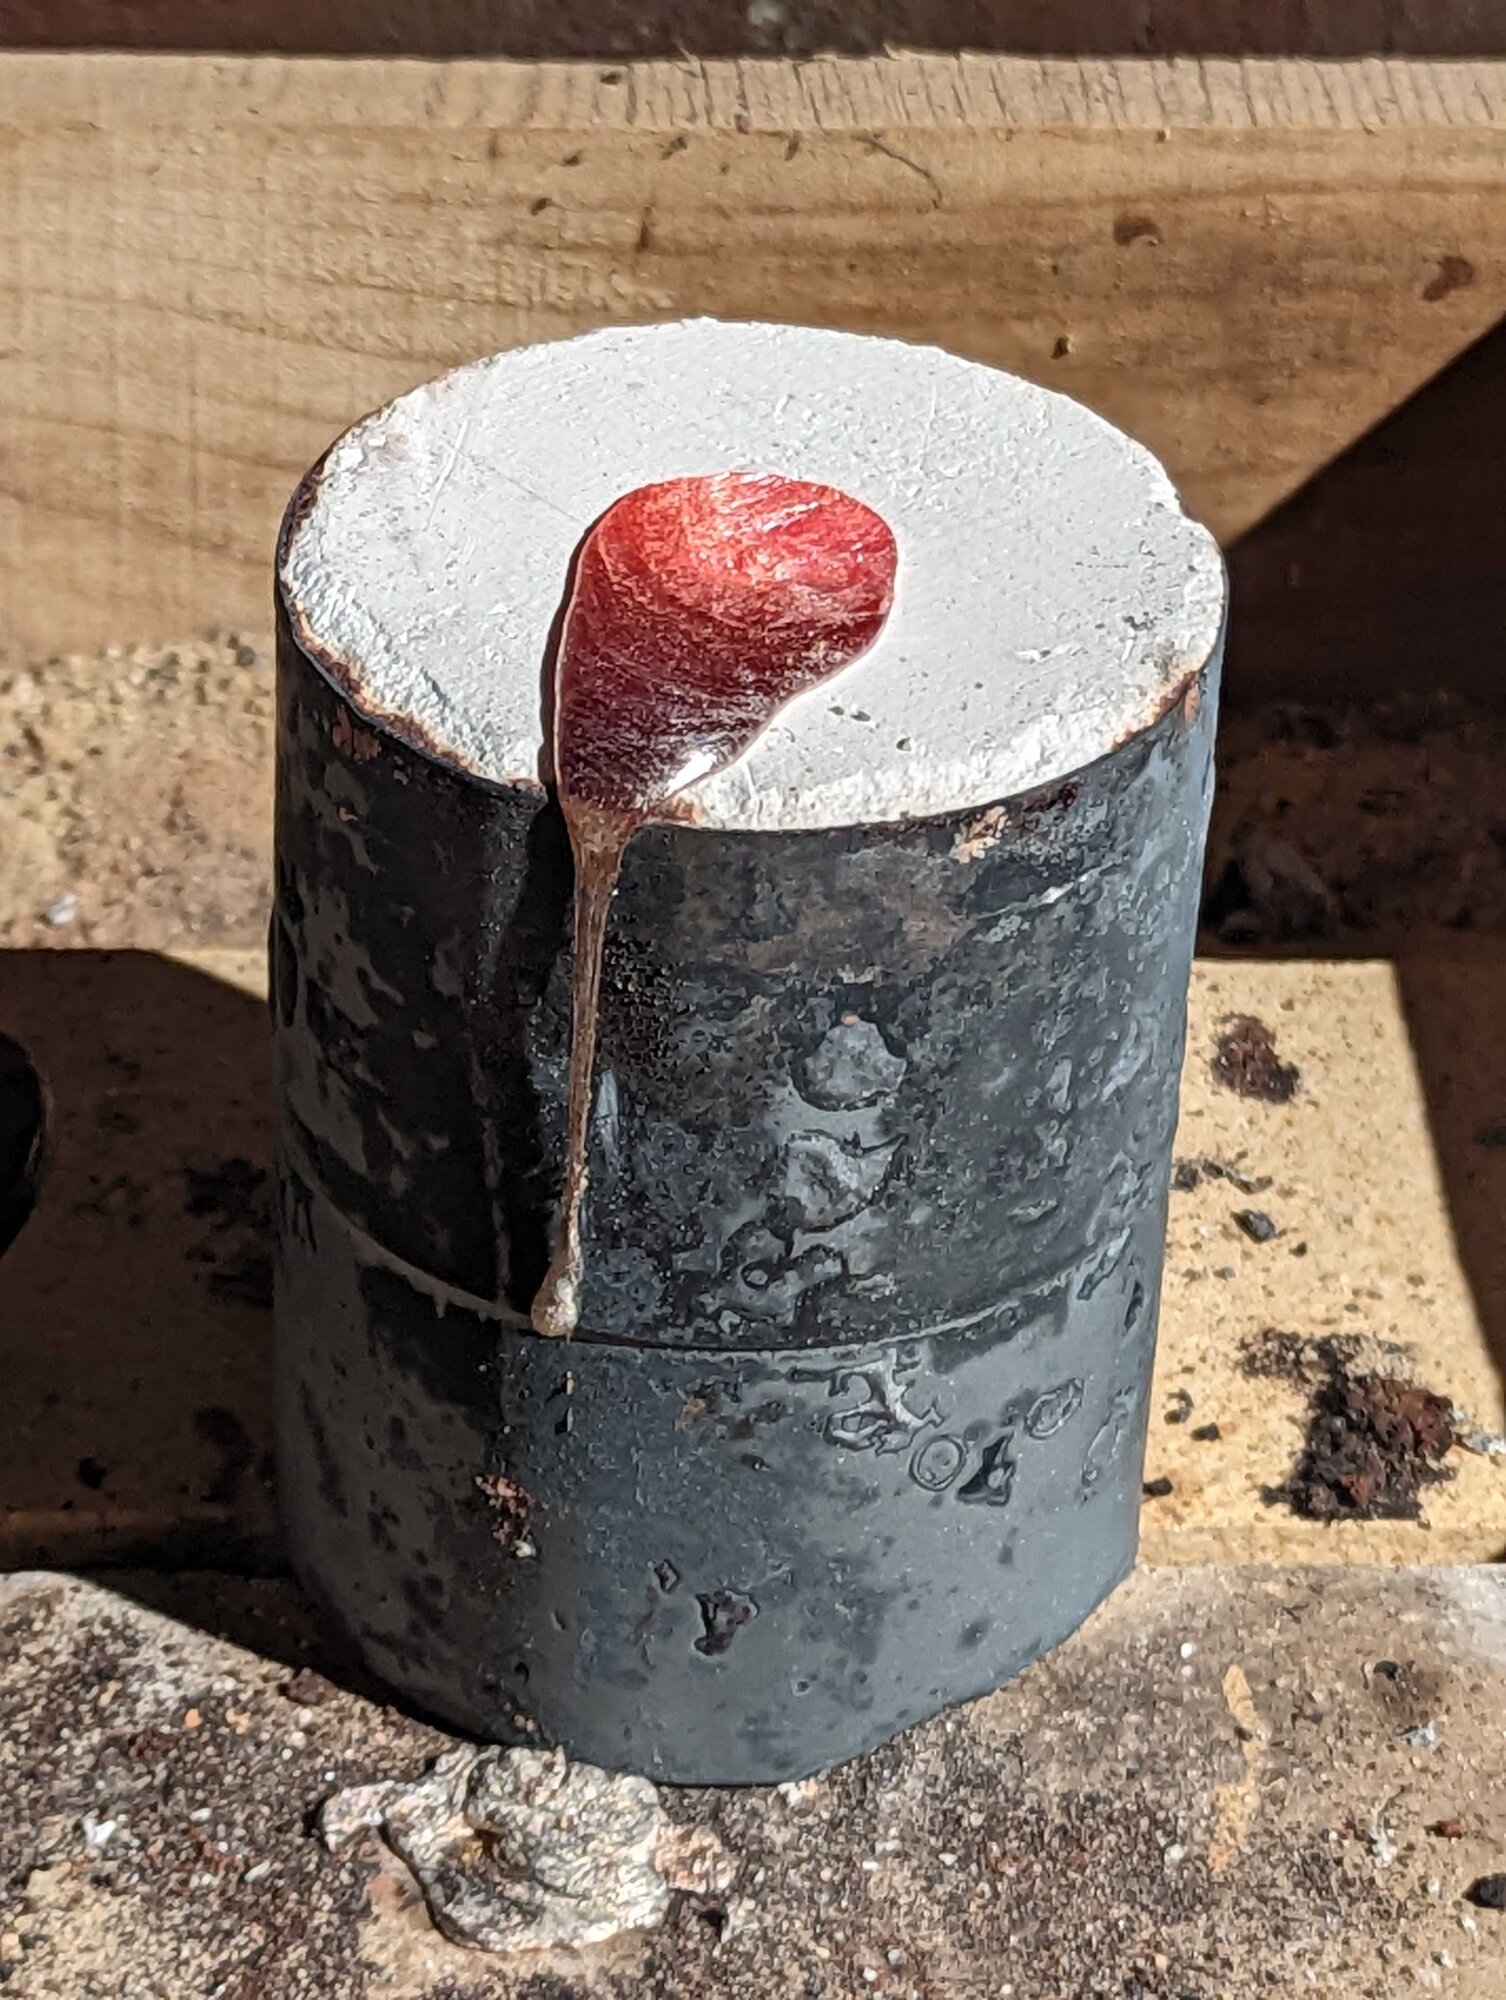
The first brass pour, a bead of molten metal sitting on top of the plaster investment. We'll see how it comes out, I said.
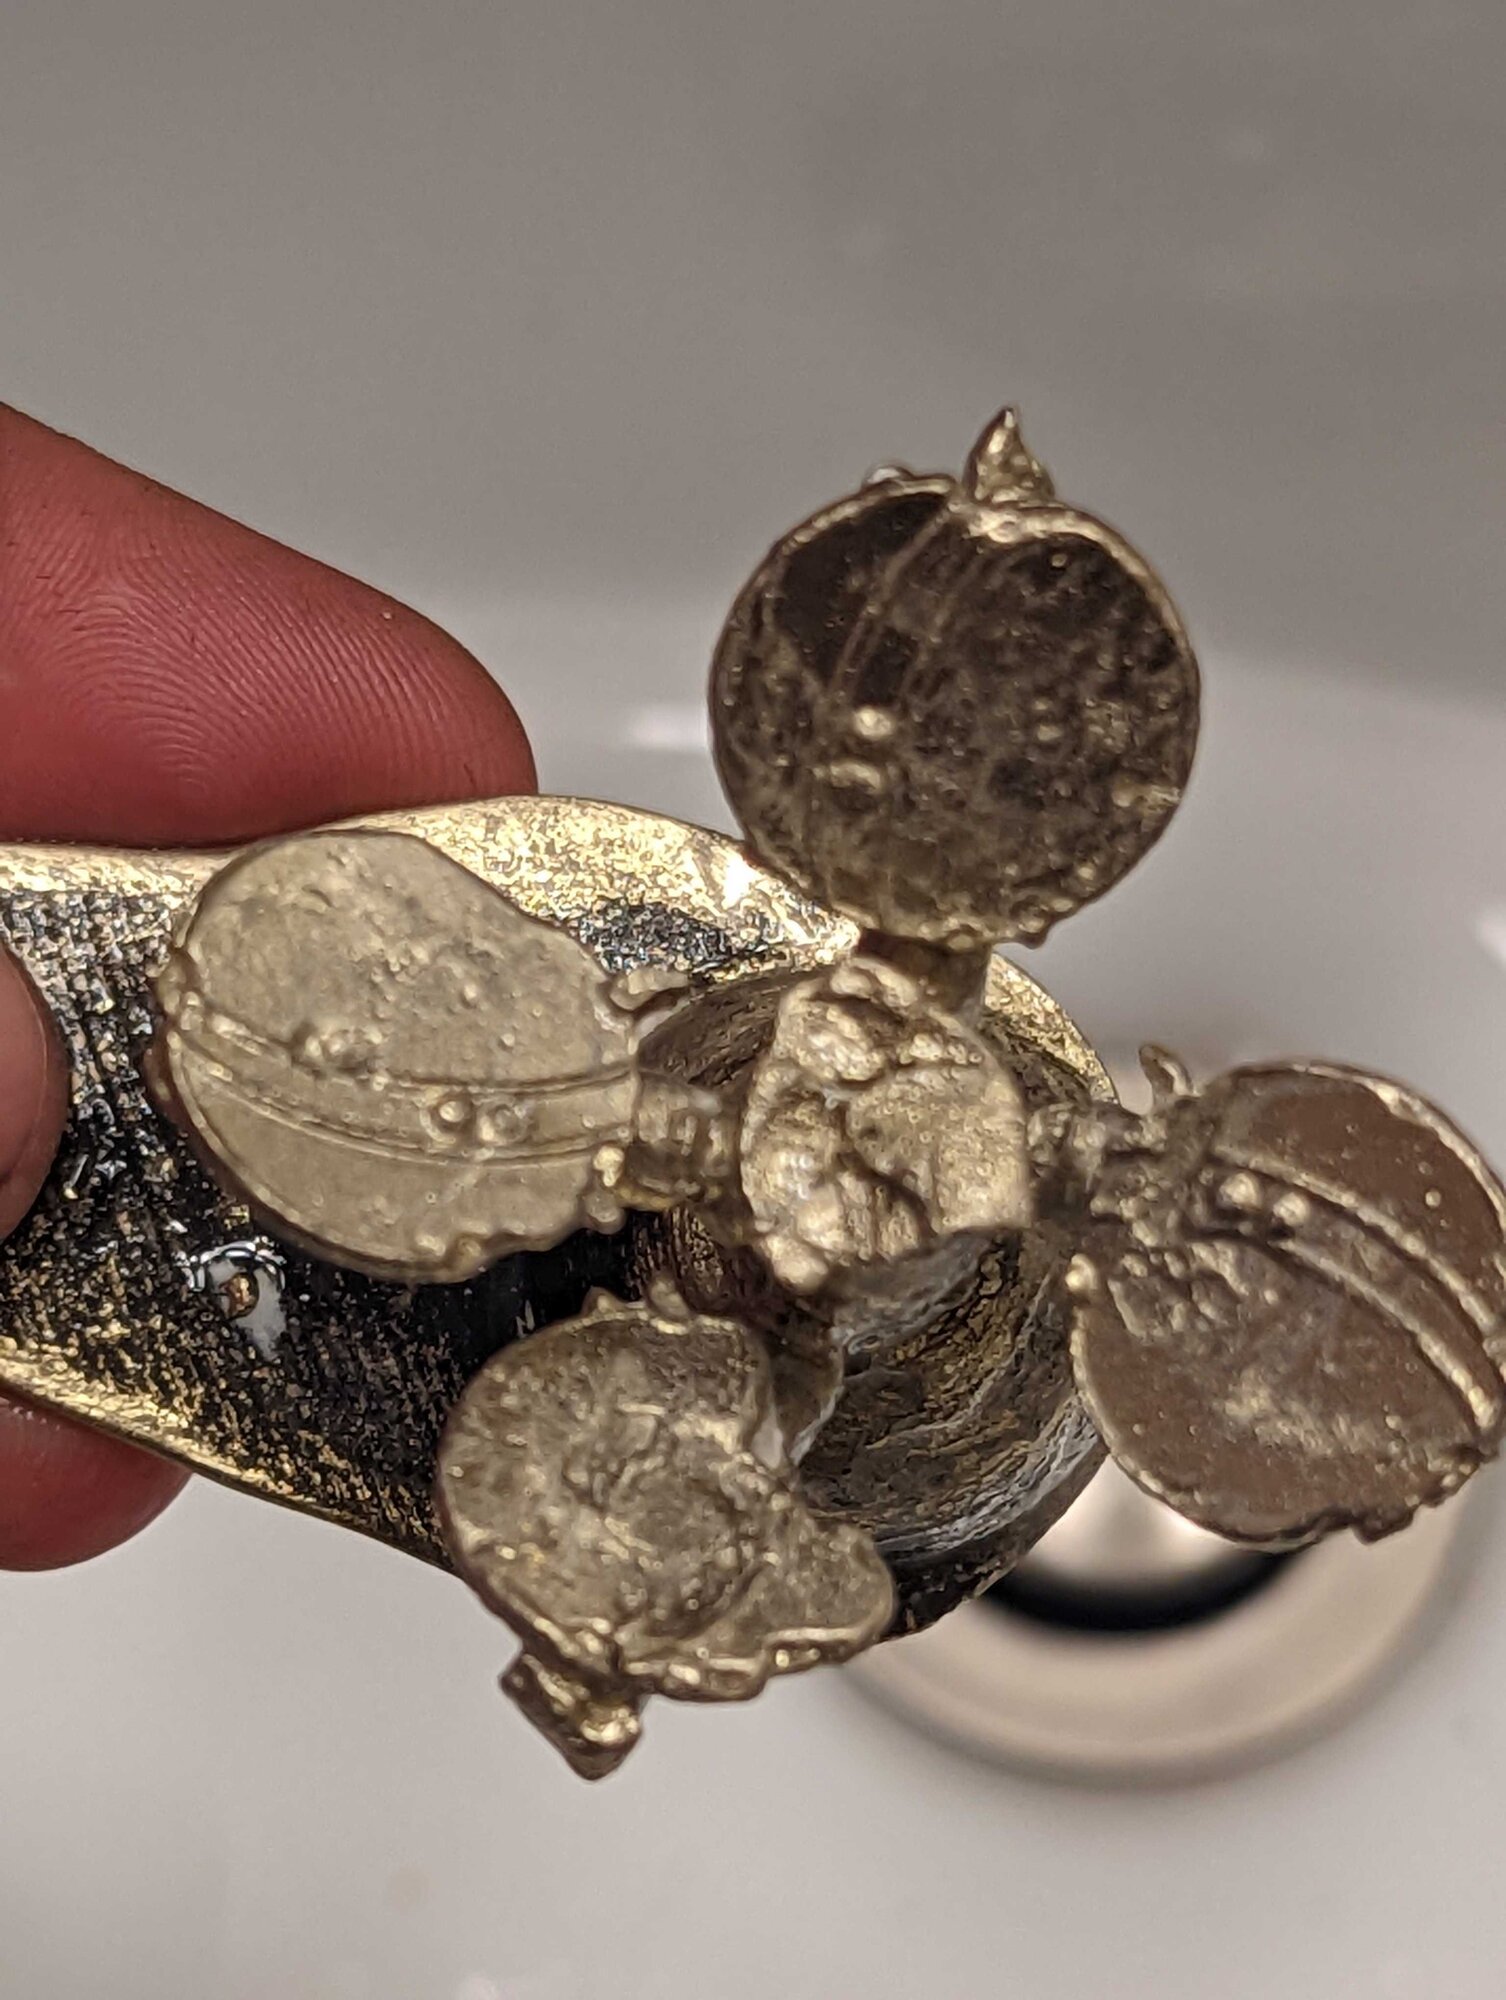
It didn't come out, but oh so close. None of them was good enough to use.
A homemade vacuum (October 25)
A vacuum would have helped. I tried to rig something up, but couldn't get it to seal, and a proper vacuum setup was a bit expensive. That was not happening without trying something cheaper first
I took another swipe at pouring over lunch, this time with vacuum: a pump with a gauge, a hose to a vacuum chamber, and a plywood platform with a silicone mat holding the flask. I didn't think it worked, because the pressure gauge wasn't showing anything.
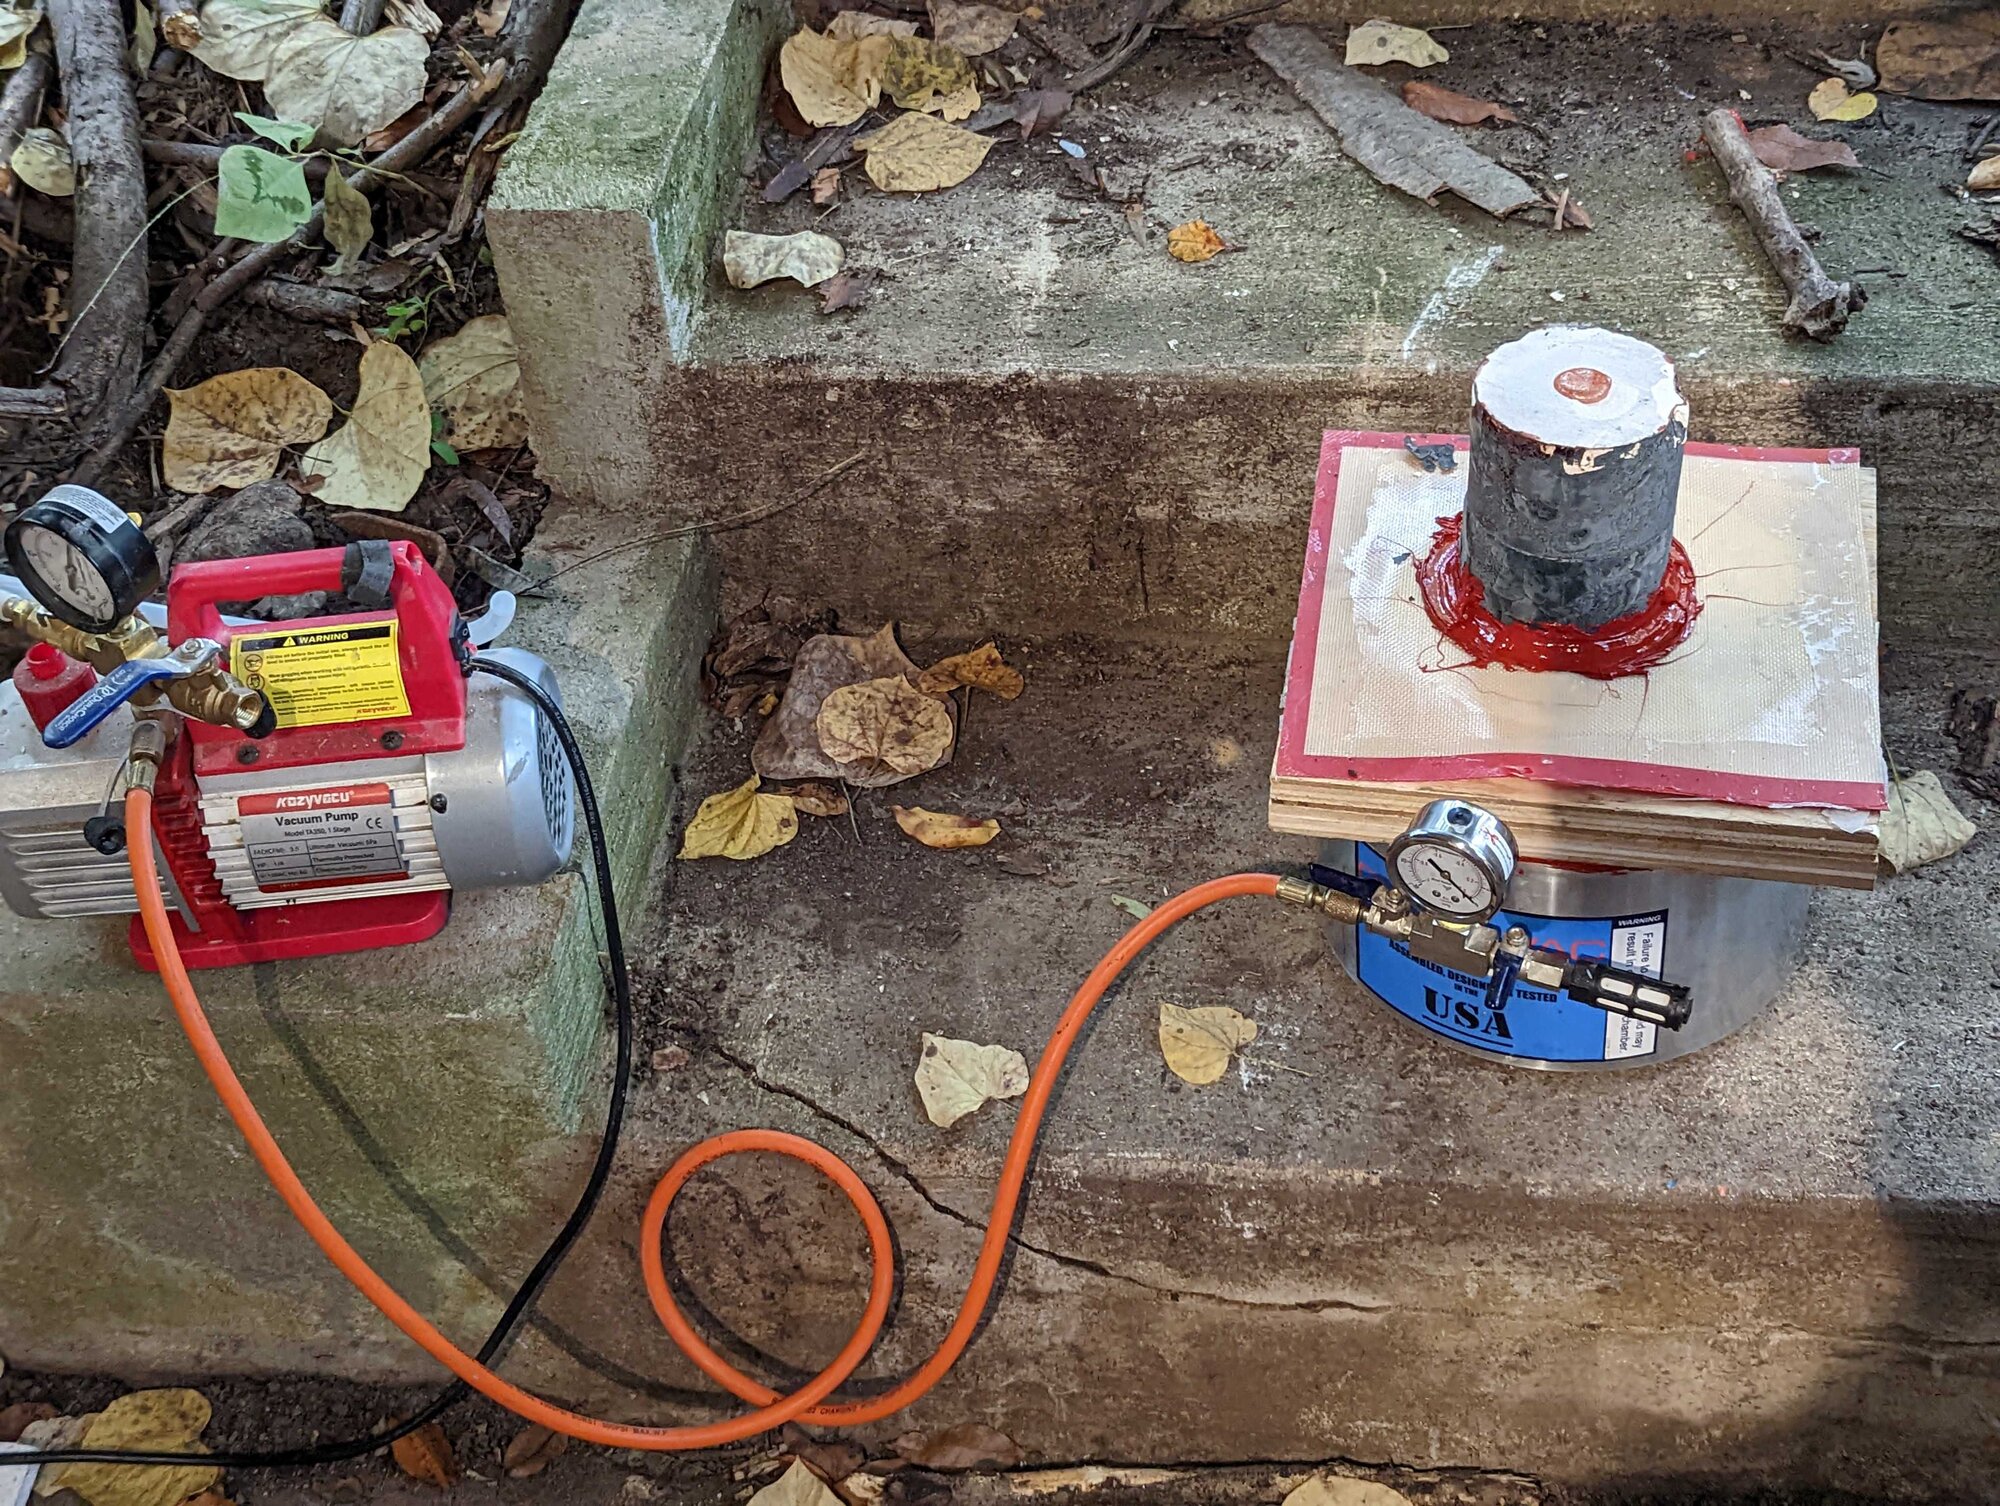
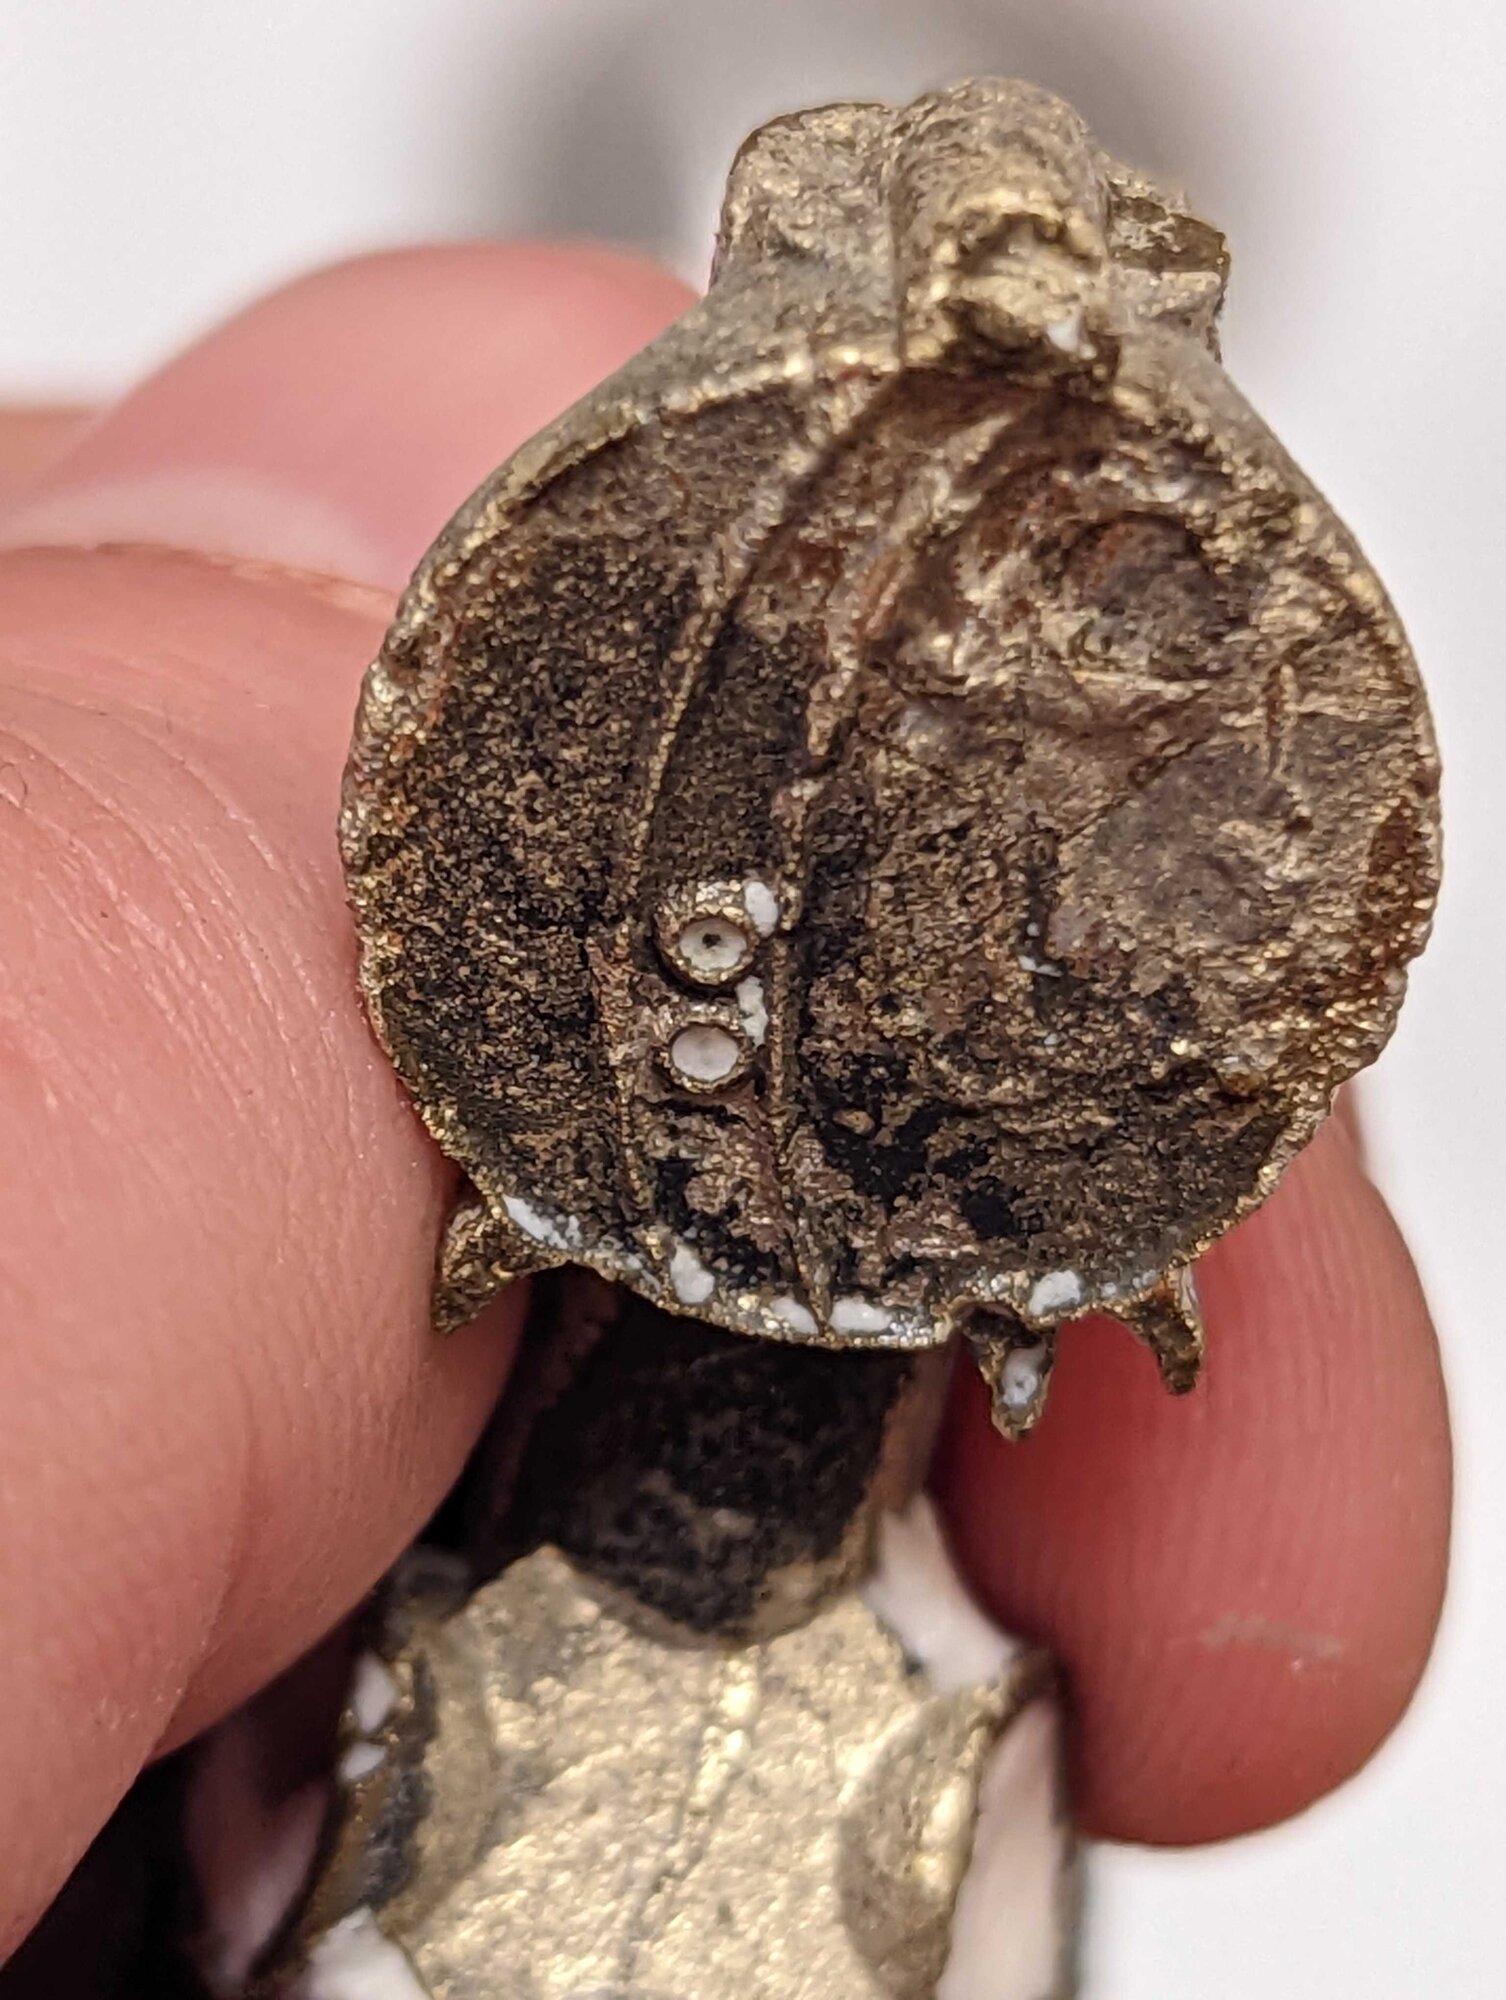
But actually, it seemed to have worked pretty well. Not perfect, but maybe good enough.
A proper vacuum caster
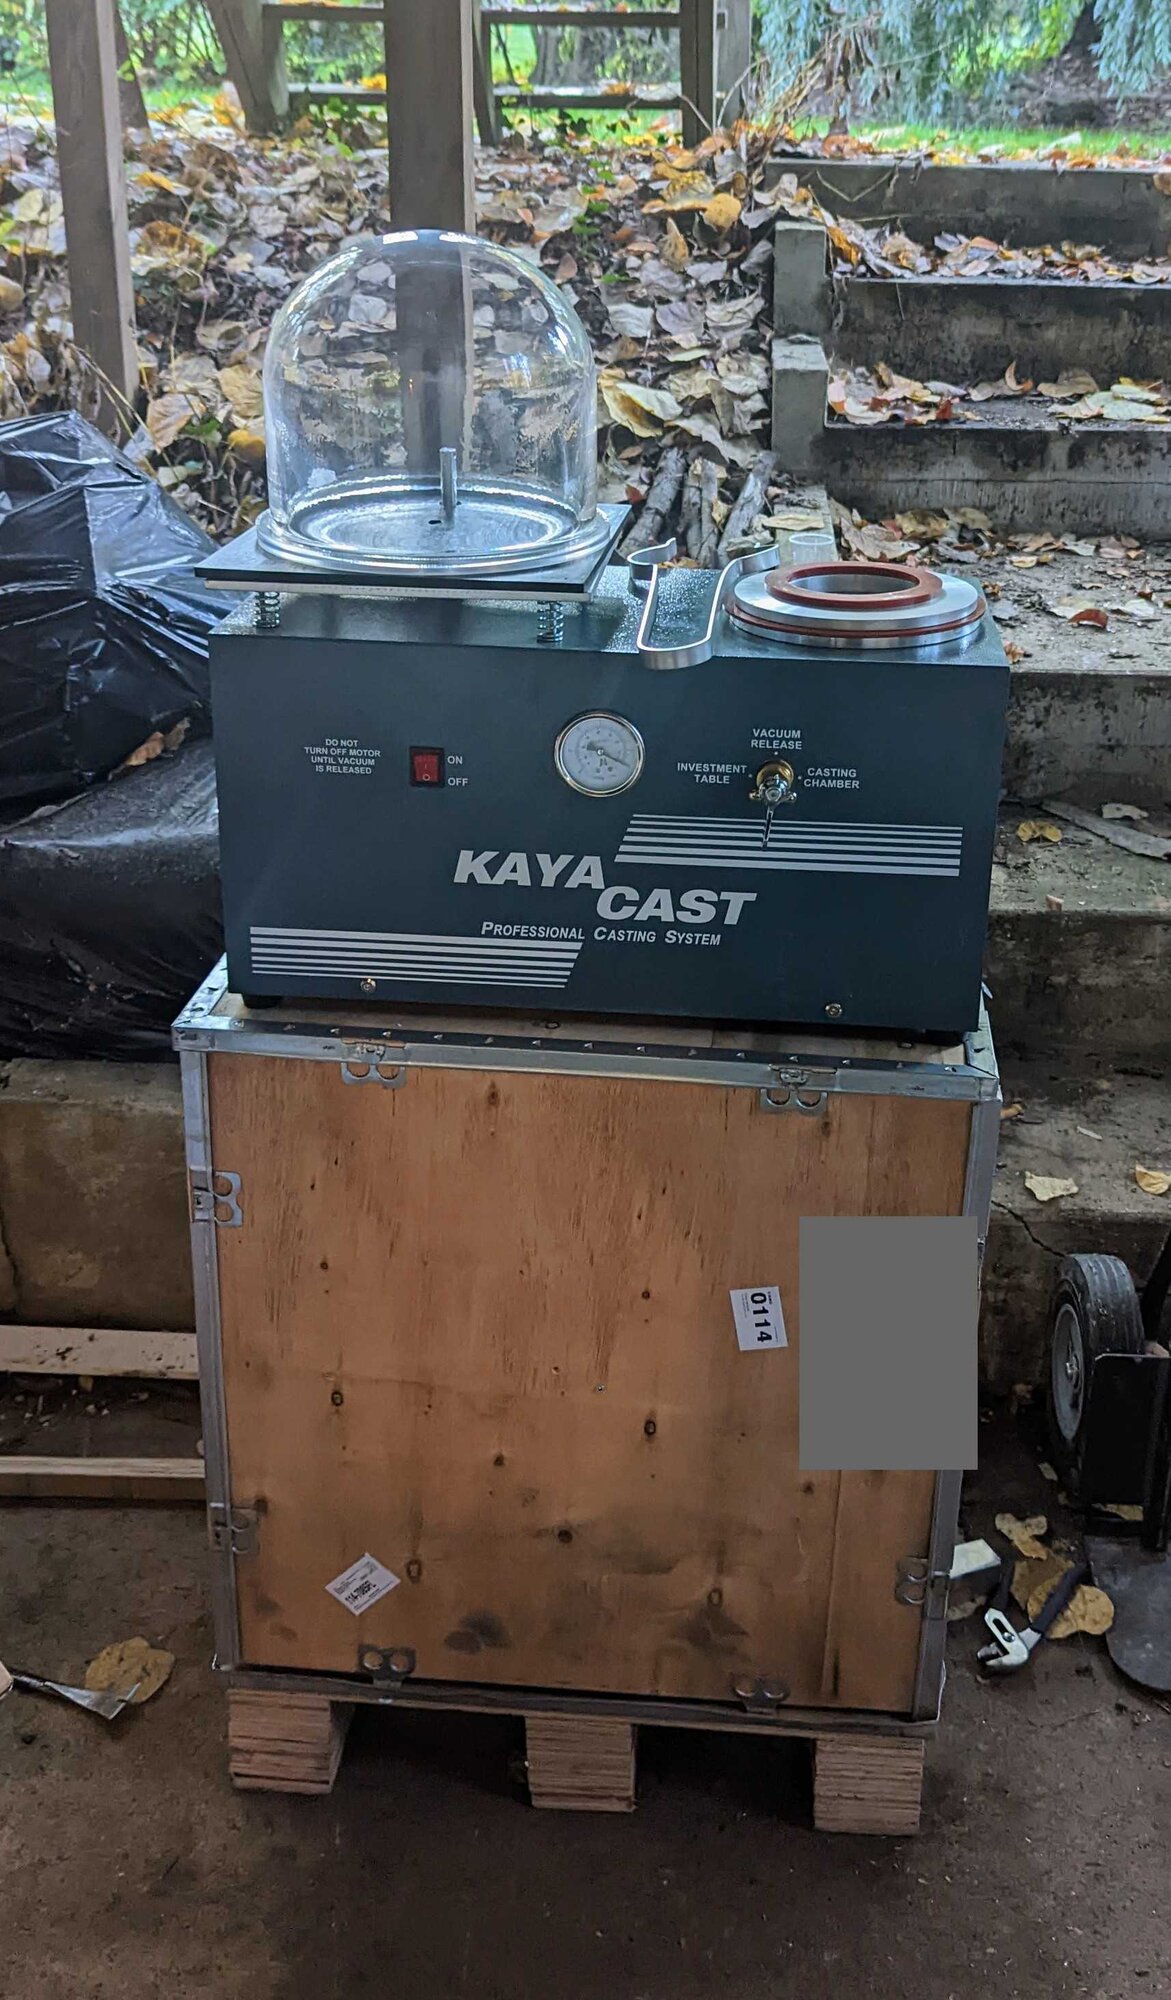
That position didn't last long. A vacuum casting machine arrived about a day after I ordered it. This was the turning point in the casting process: with it, investment castings went from okay to spectacular.
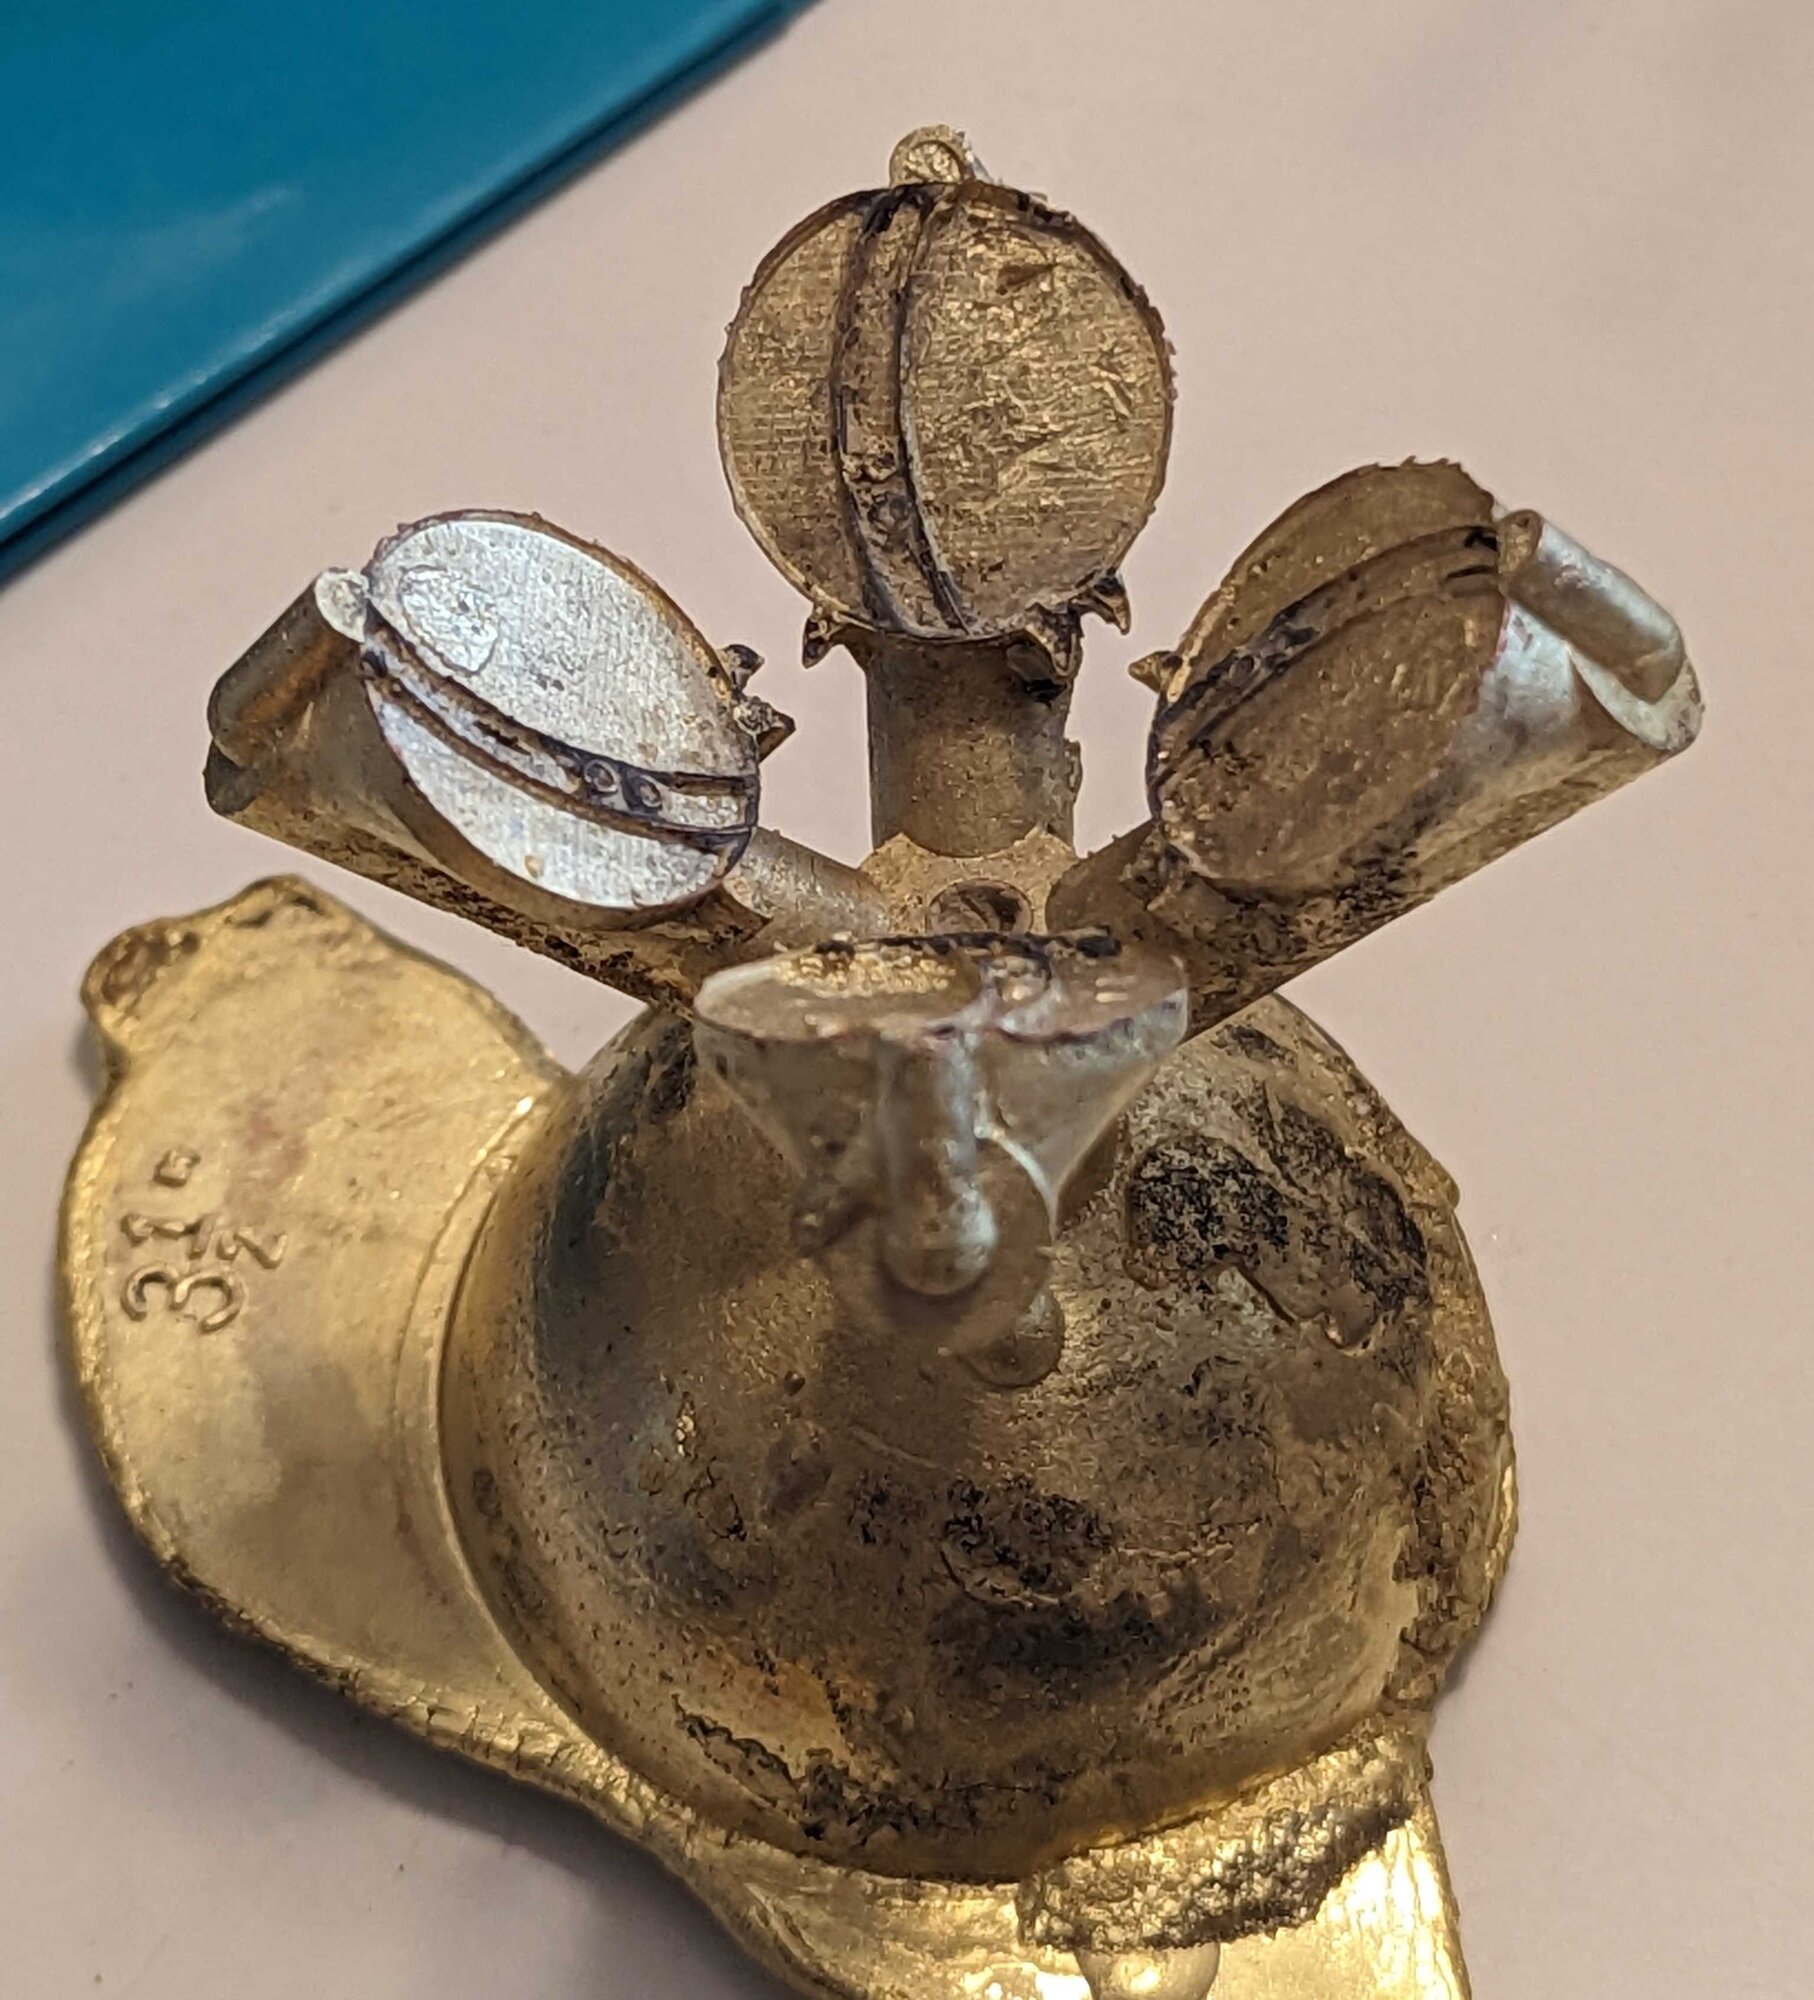
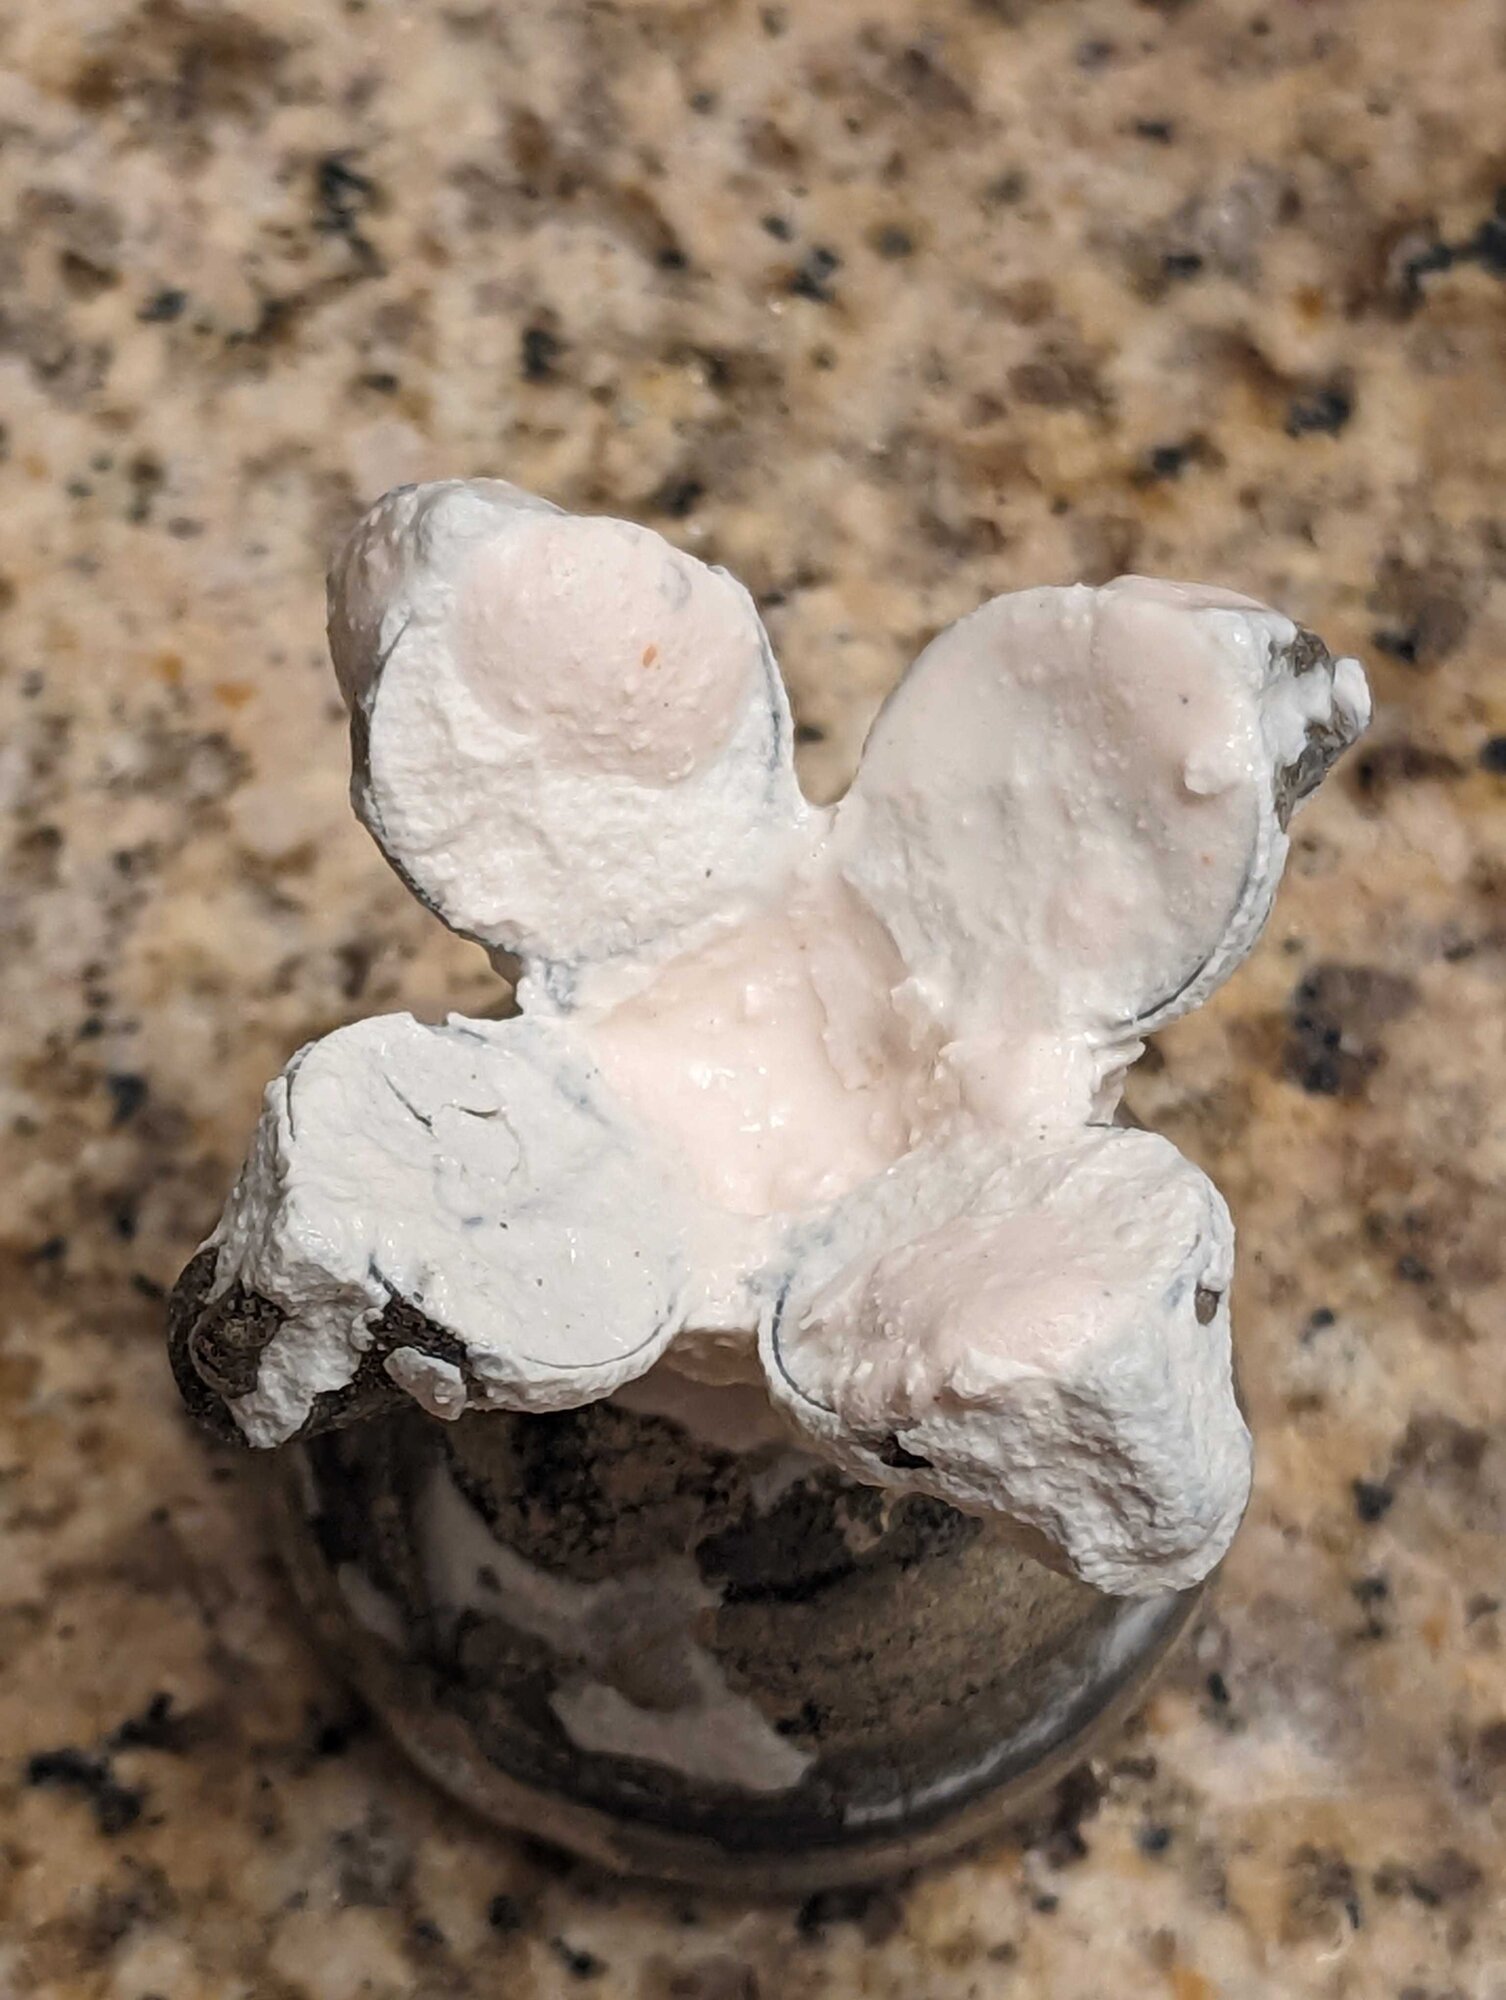
Here's the mold after quenching and breaking it open, just before the reveal. The suspense builds.
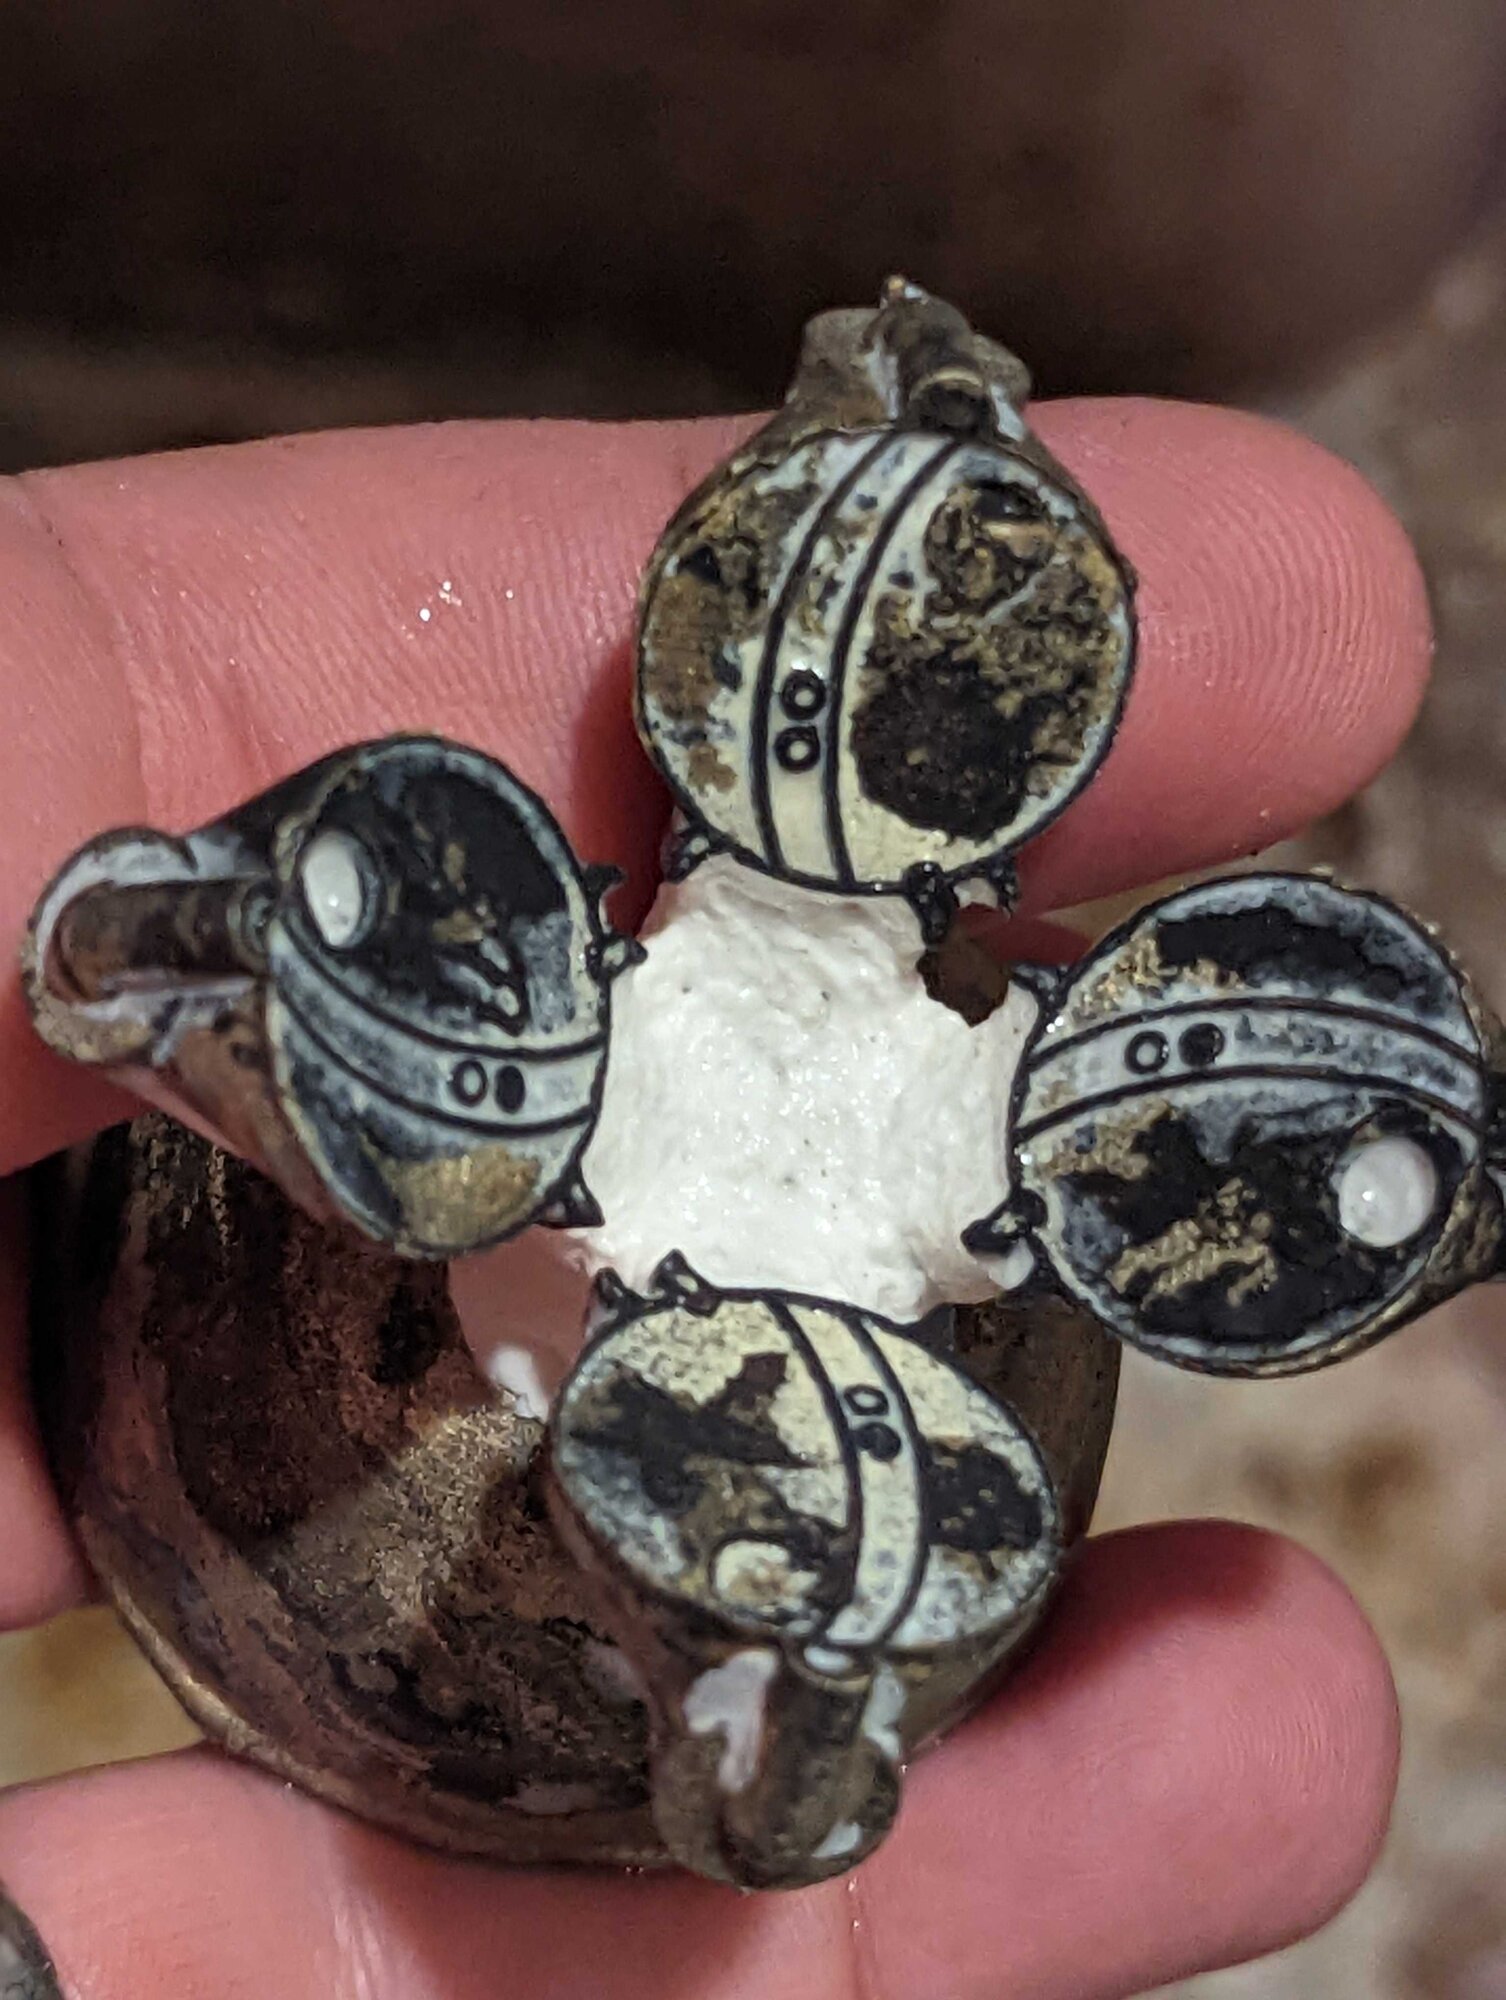
Victory. A couple of holes that I should have expected, but the detail is great, and I think I can get at least two earrings out of this one.
One more try (October 30)
I wanted to try one more time just to see if I could do it, even though I'd already given her the printed ones and she liked them. I can see a few places where I could improve, but I'm pretty happy with this version. The lines you see here are layer lines from SLA printing - they are maybe 50 microns tall, so the detail transfer is impressive.
These were used to make the final version shown at the top.