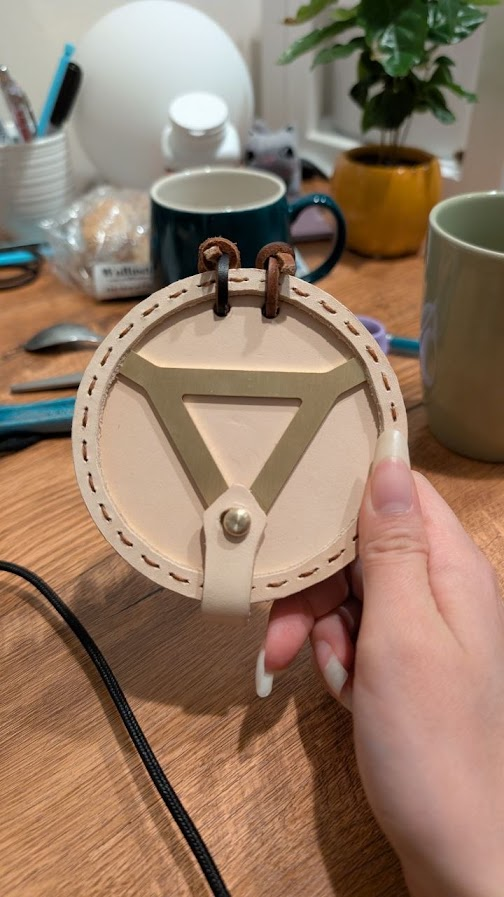
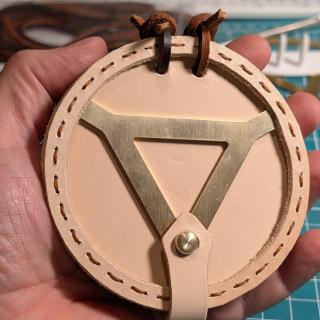
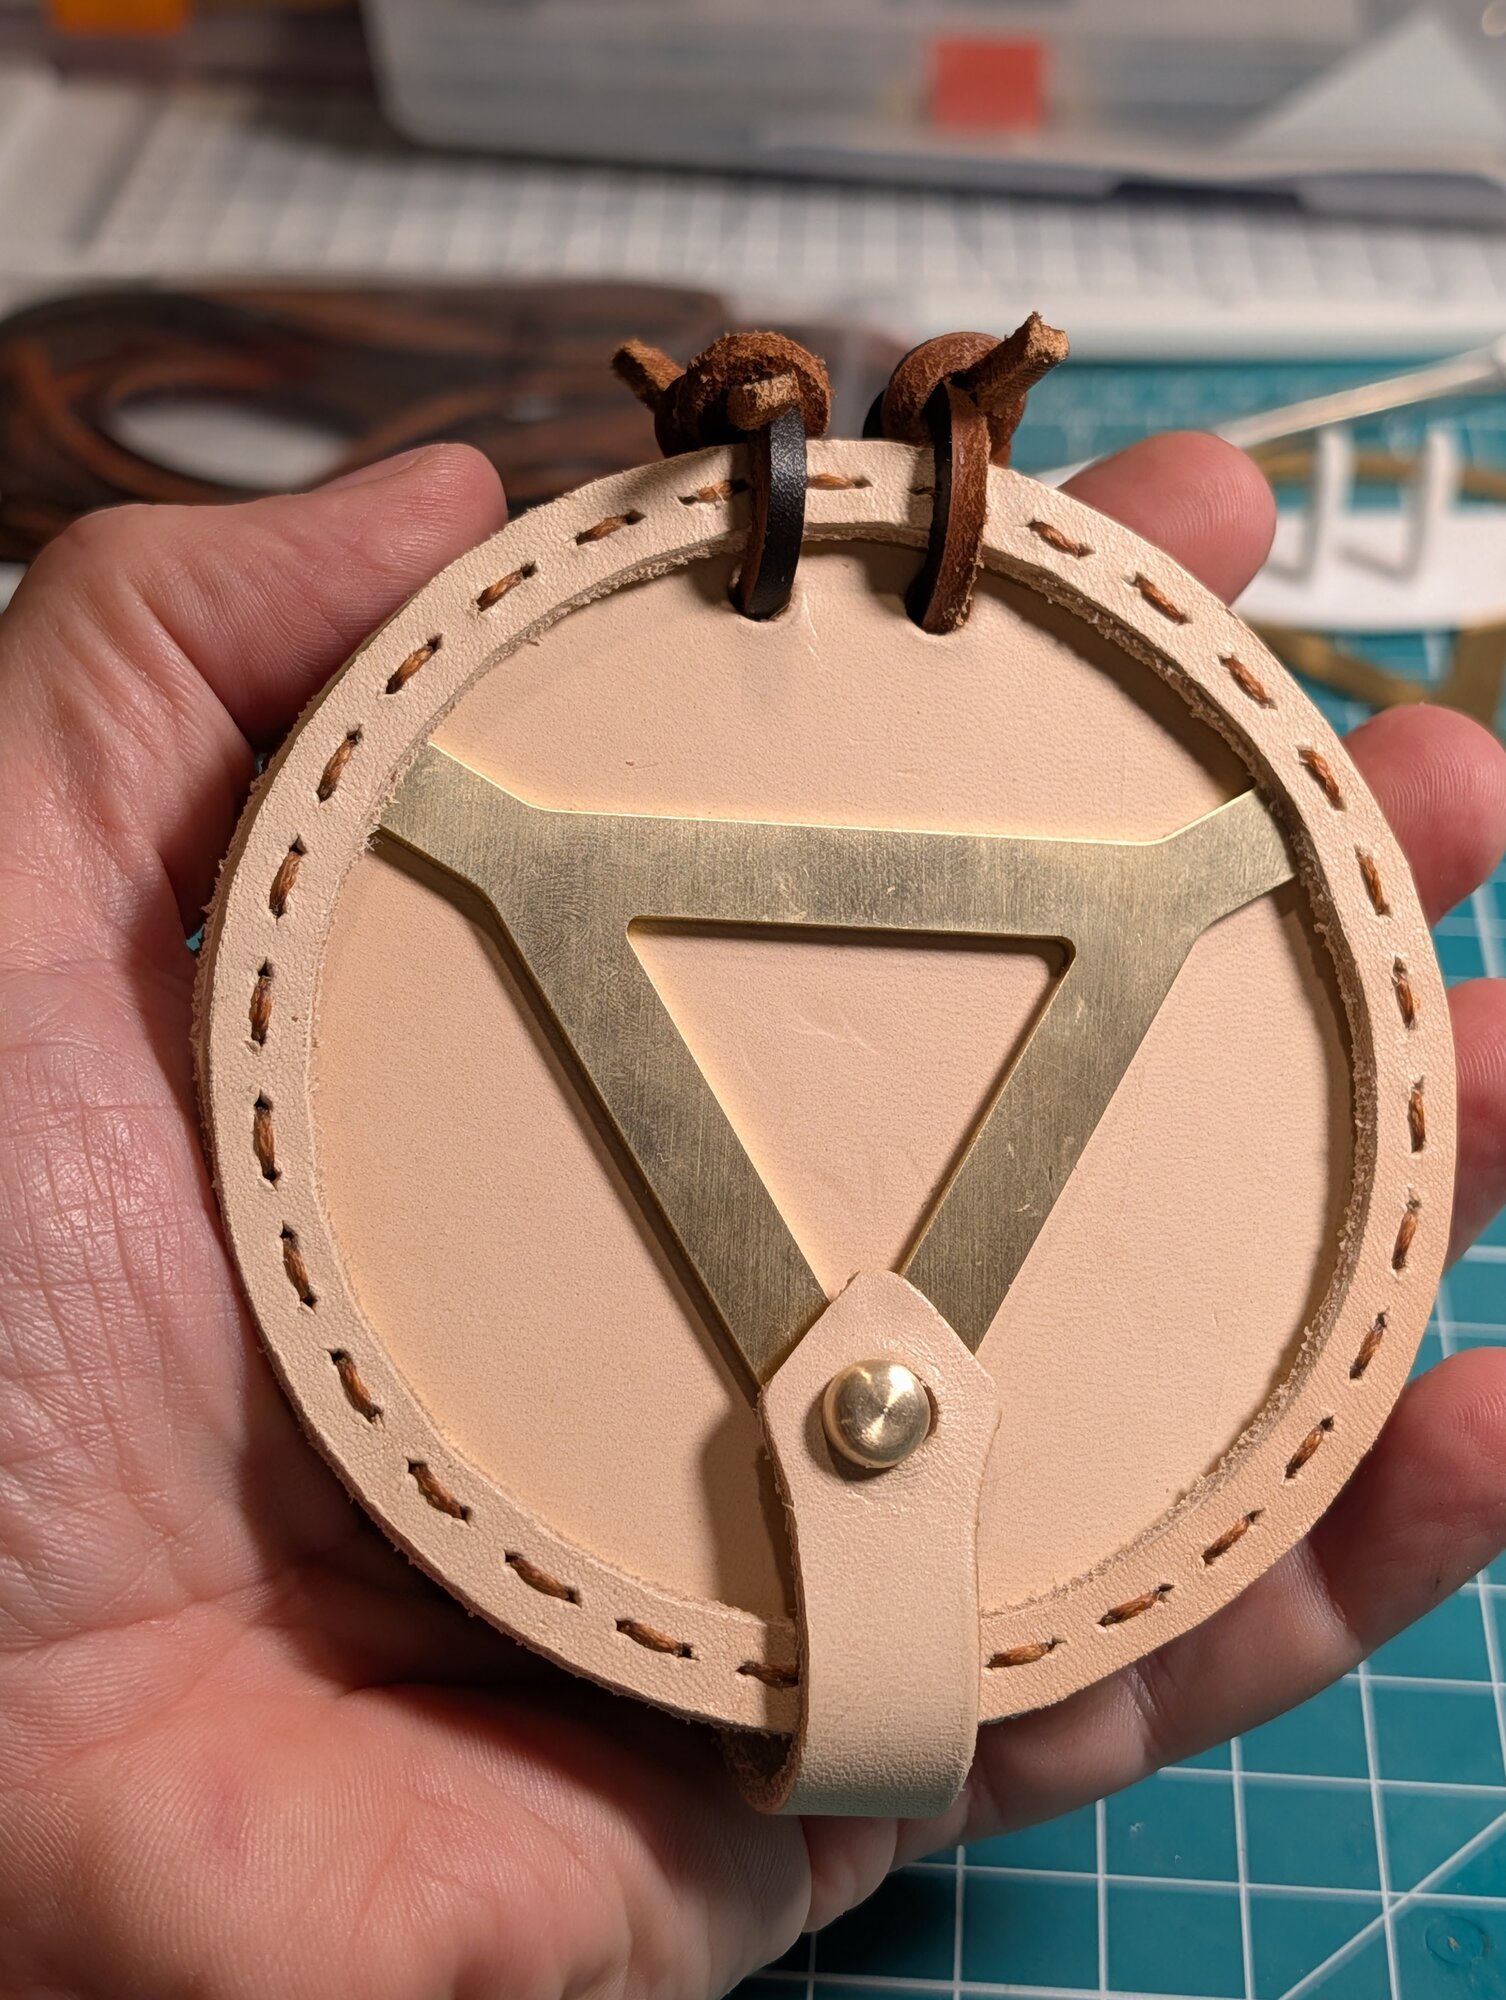
My older daughter asked me to make her a Palm Quire from "Witch Hat Atelier". It turned into quite a project, but I think the end result was pretty good. Even though she was the one that asked me for it, she didn't know when I was going to make it, so it was at least a bit of a surprise. It's with her now, and she likes it.
About Witch Hat Atelier
I had never seen the show, and had to look it up. Here's what I found:
Witch Hat Atelier (Tongari Bōshi no Atorie) is a fantasy manga by Kamome Shirahama, running since 2016 and published in English by Kodansha. Coco, a dressmaker's daughter who longs to be a witch, buys a magic book and accidentally turns her mother to crystal. She becomes an apprentice to the witch Qifrey in hopes of undoing it. Magic in this world is drawn, not chanted: witches trace precise runes in special ink, so spellcasting is part calligraphy and part engineering. An anime adaptation began airing in April 2026.
About the Palm Quire
A Palm Quire is a small round notepad that straps to the hand. Witches use it to draw a spell when there's no stable surface handy, or when they want to cast without being noticed. Spells can be drawn in it ahead of time with a gap left in the outer circle, so they can be completed and set off in an instant. Qifrey gives Coco one, along with other tools, when she joins his atelier.
The Build
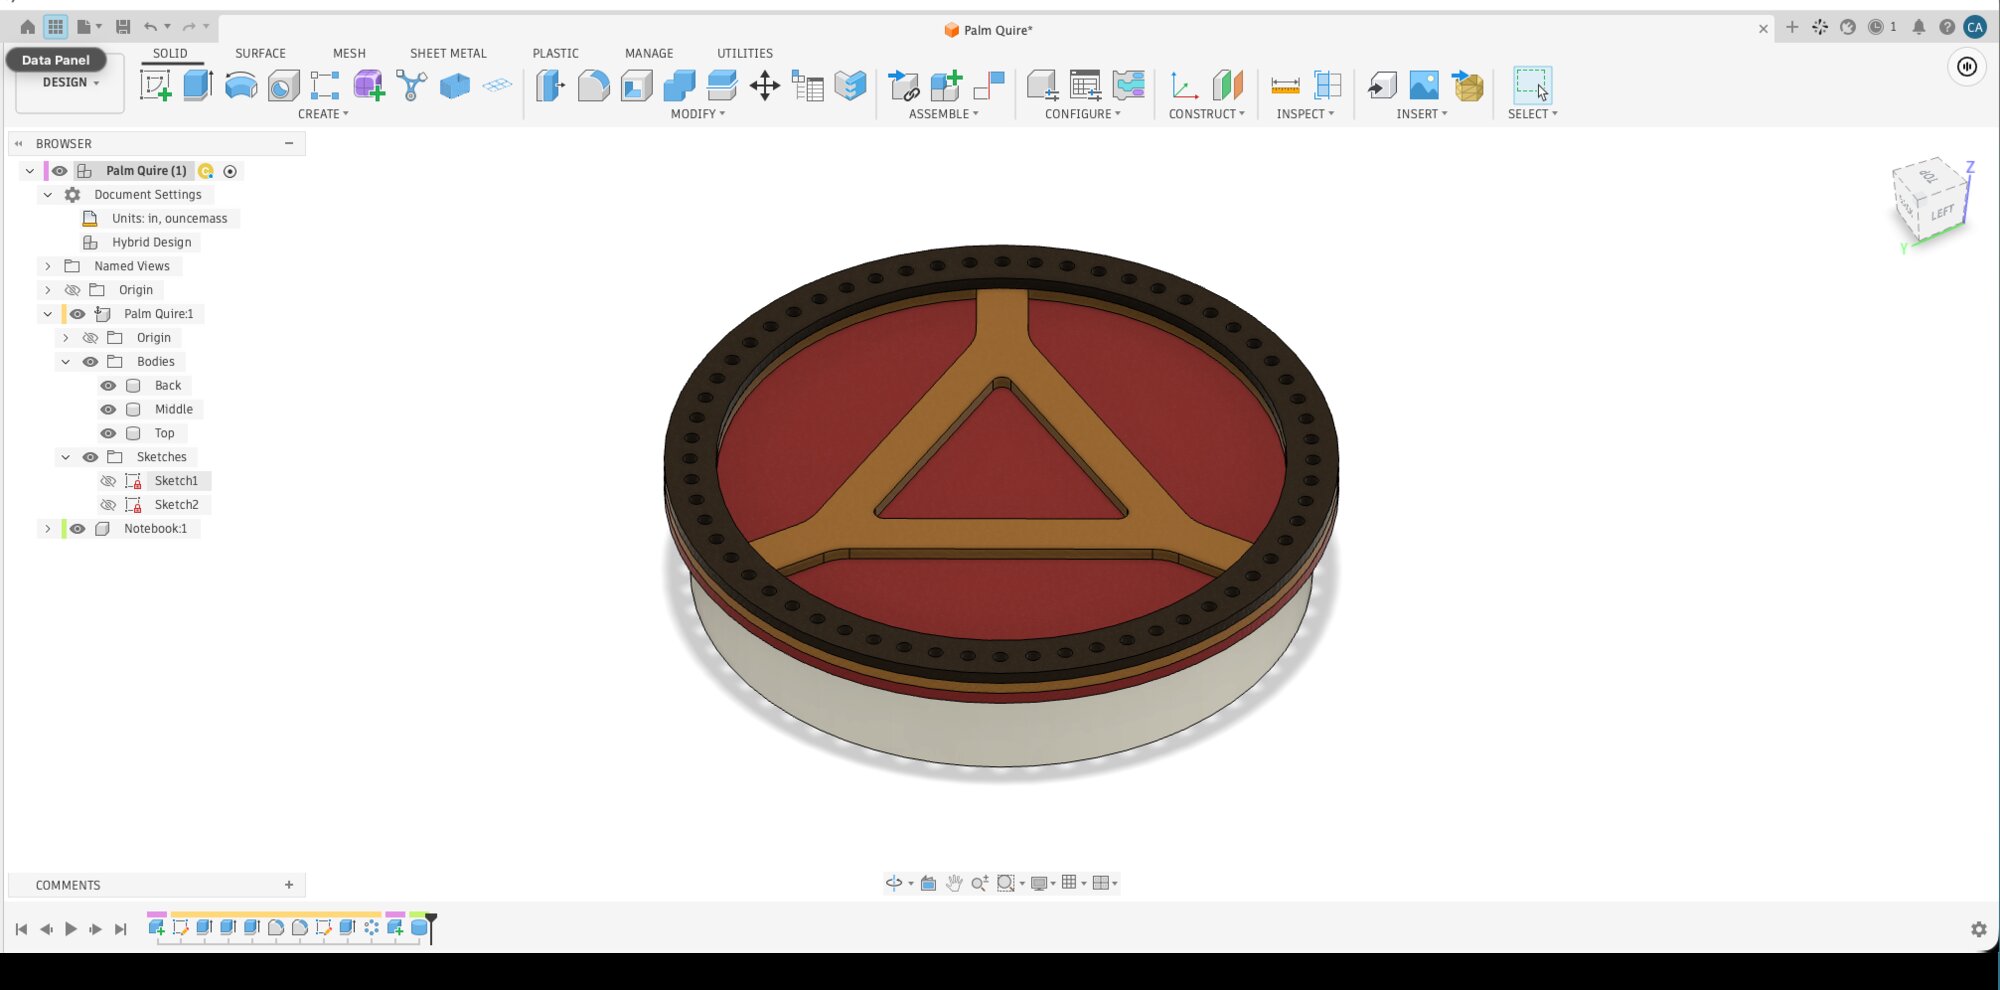
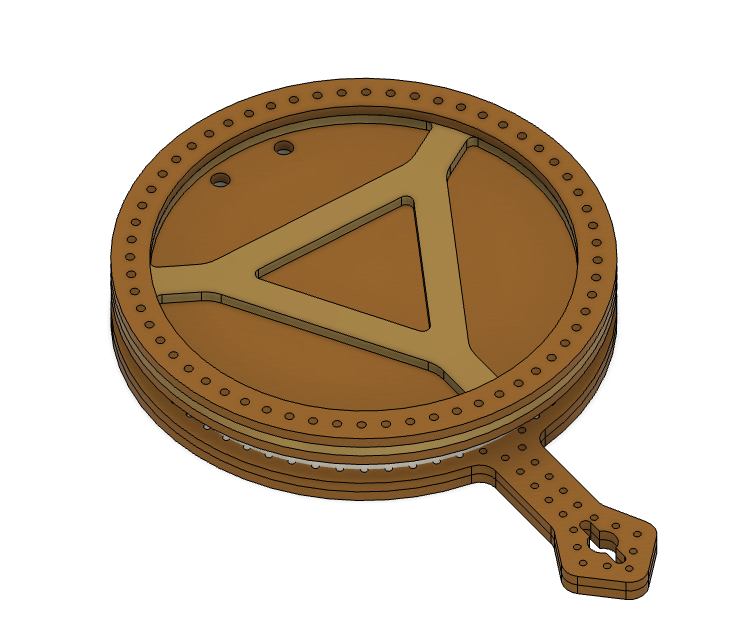
Step one of a good build is good, thorough design. We'll see how thorough I get, but I did at least start out with good intentions, so there's some CAD of the thing.
Friday, October 9th, 2026

I think it looks good. Hopefully Older Daughter will agree.
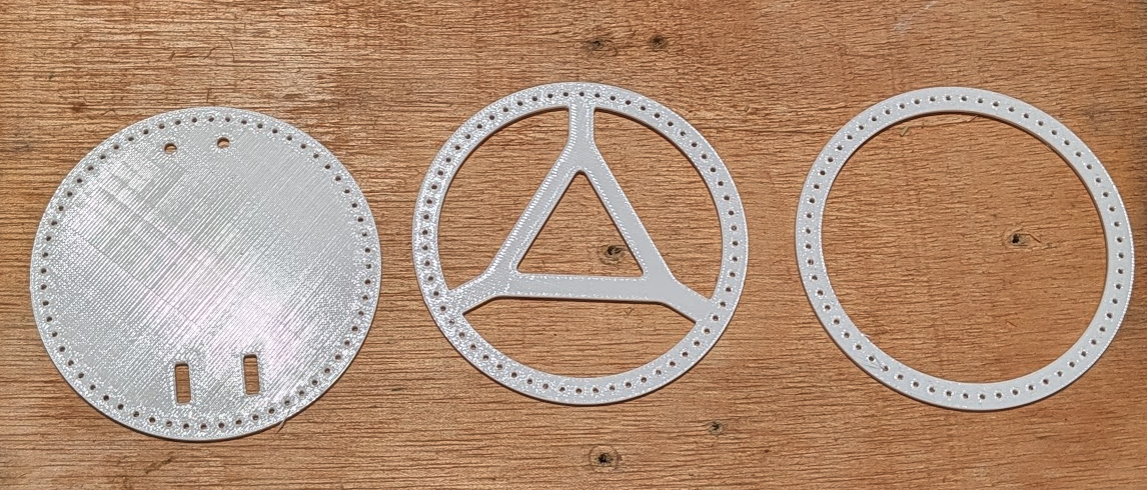
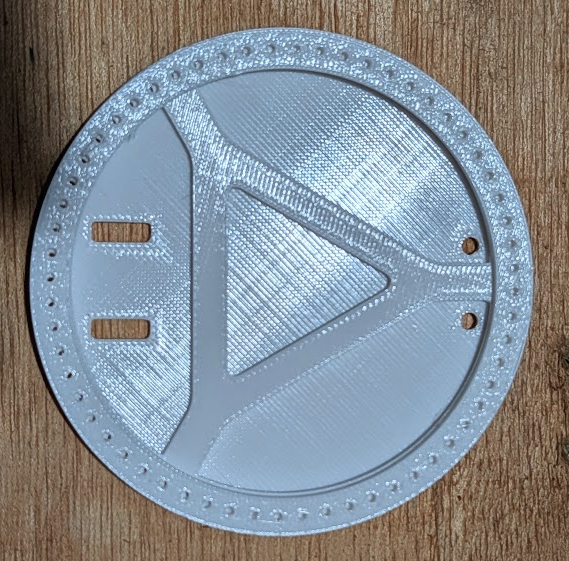
Since CAD can be pretty deceptive, I decided to 3D print the parts to get a physical sense of them. My intent is to laser cut everything, because a. It'll be really accurate, easy, and fast, and b. lasers.
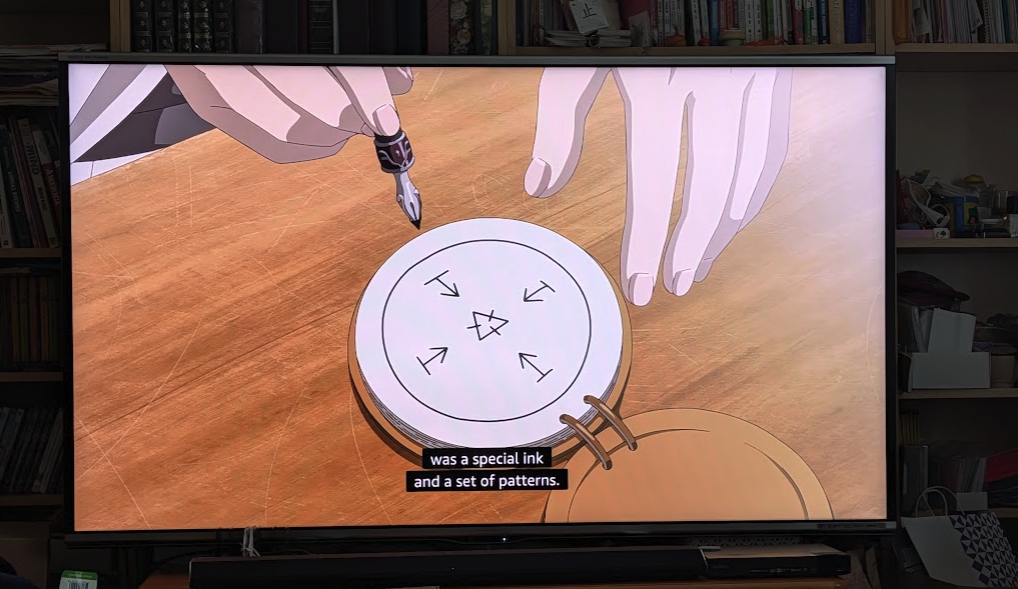
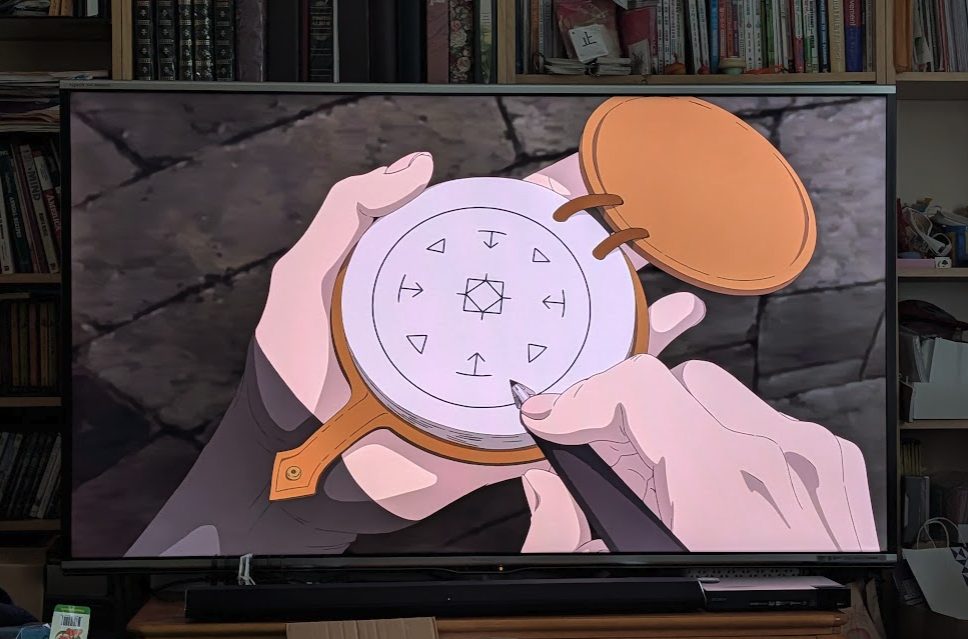
Of course, I had to do some "research", by watching the show. It's visually beautiful. I'm only a few episodes in, so I'll reserve judgment on the writing, but so far, so good.
Saturday, October 10th, 2026
Quite a bit more work went into design today. I think I'm pretty close to having a finalized prototype, but one never knows.
And of course there was a side quest. Since I want to print the "leather" in TPU to see how I like having a flexible material, I decided now was a good time to install the Bambu TPU Feed Assist Module I bought a while ago.
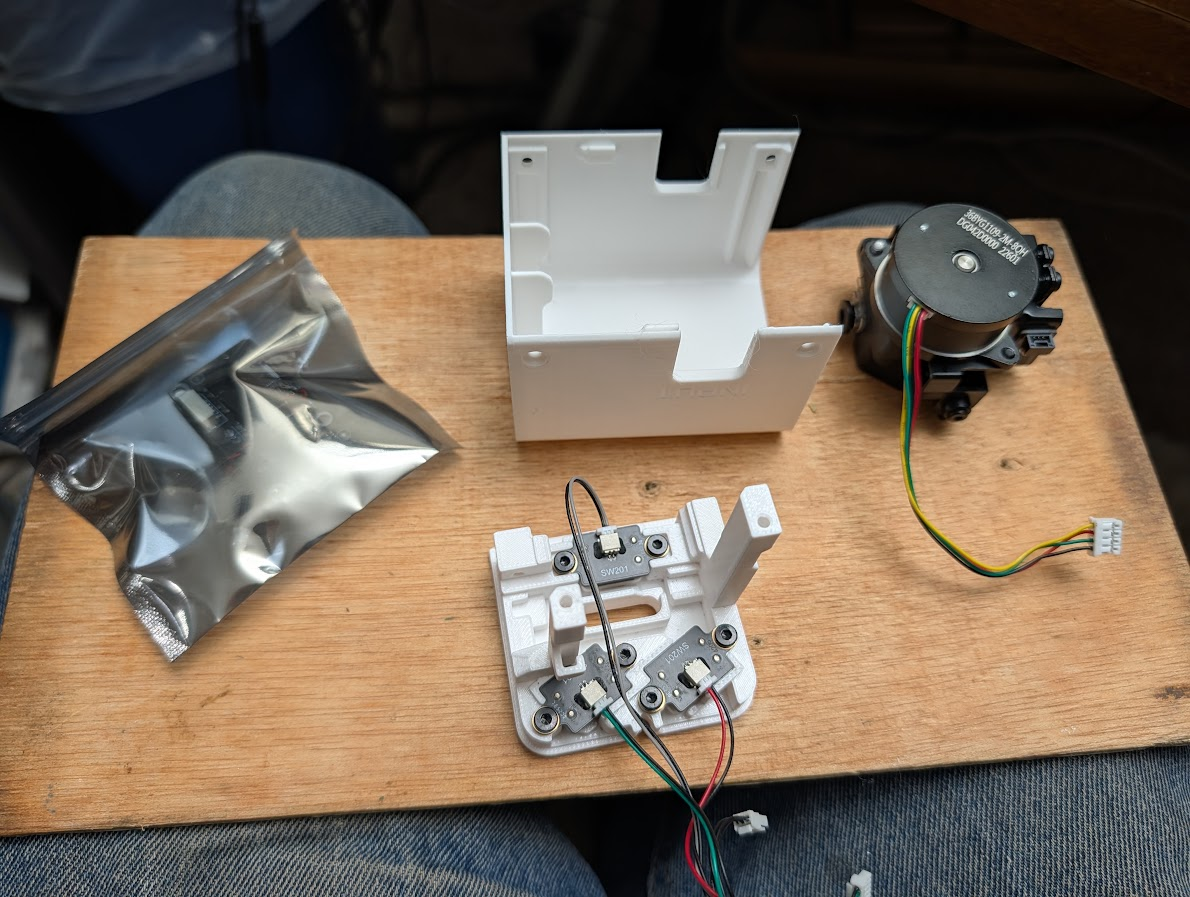
It was "some assembly required", and unfortunately, Bambu Labs failed to include a bunch of the screws. But one of the things being an American machinist means is having to have everything in both metric and imperial, so I was able to raid my stash of M3x8mm screws and assemble the thing.
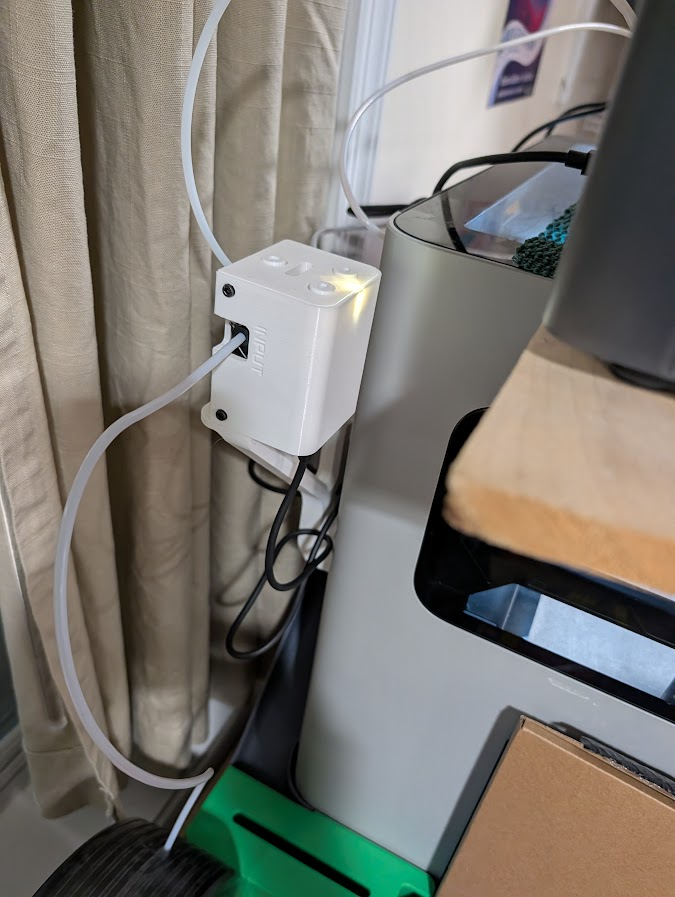
So it's working now. Is it helping? Maybe? I got good prints.
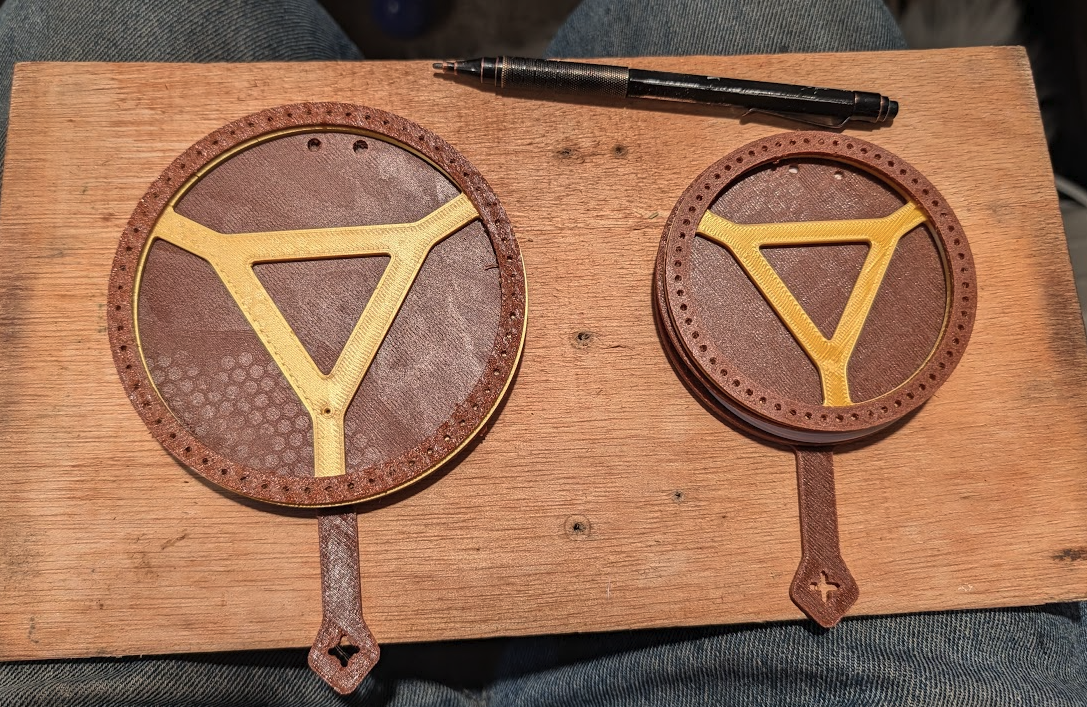
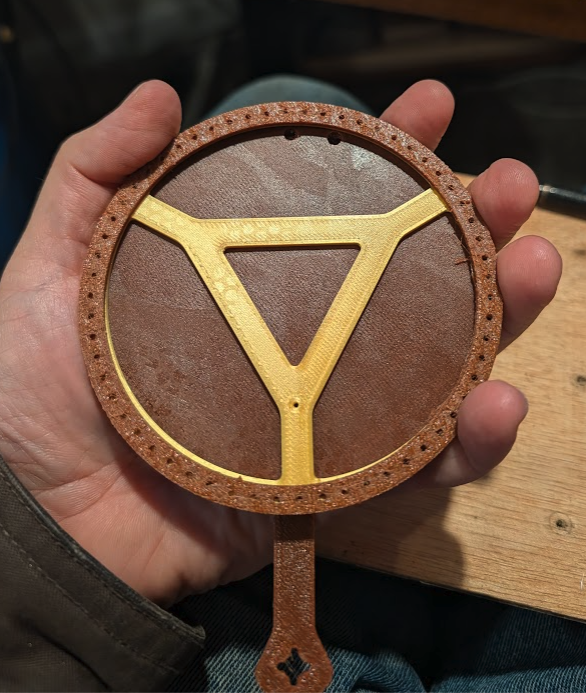
After printing a few prototypes, I decided that I want the whole thing to be bigger. I had started with a 3" version, but holding it my hand, it just felt too small. So I printed it again at 4", and that felt much better. This is why I prototype.
Tuesday, October 13th, 2026
A couple more days of chipping away at the problem before and after work. I think now I'm satisfied with the design, so mostly it's about starting to manufacture.
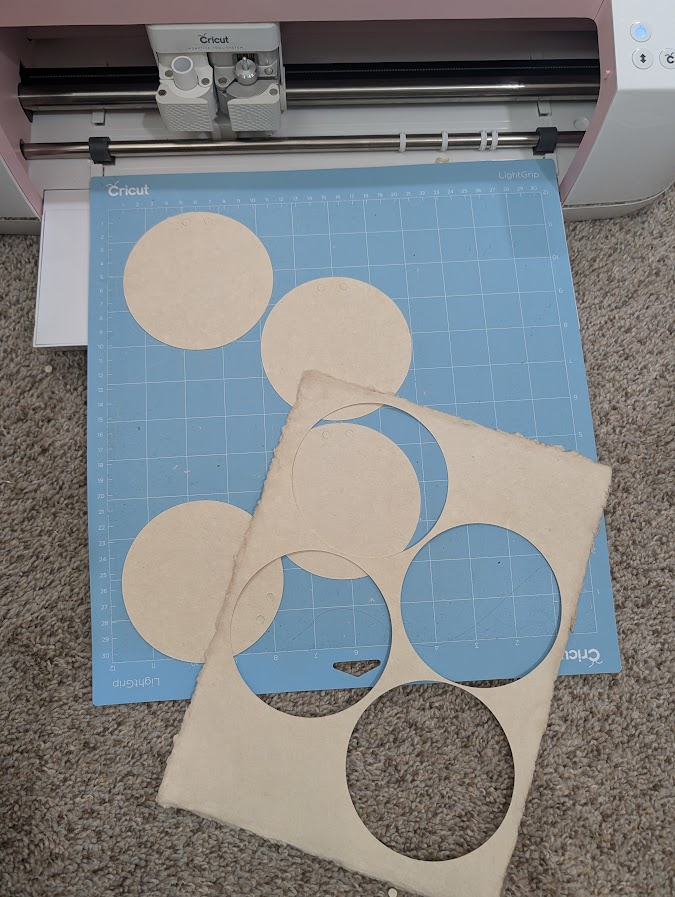
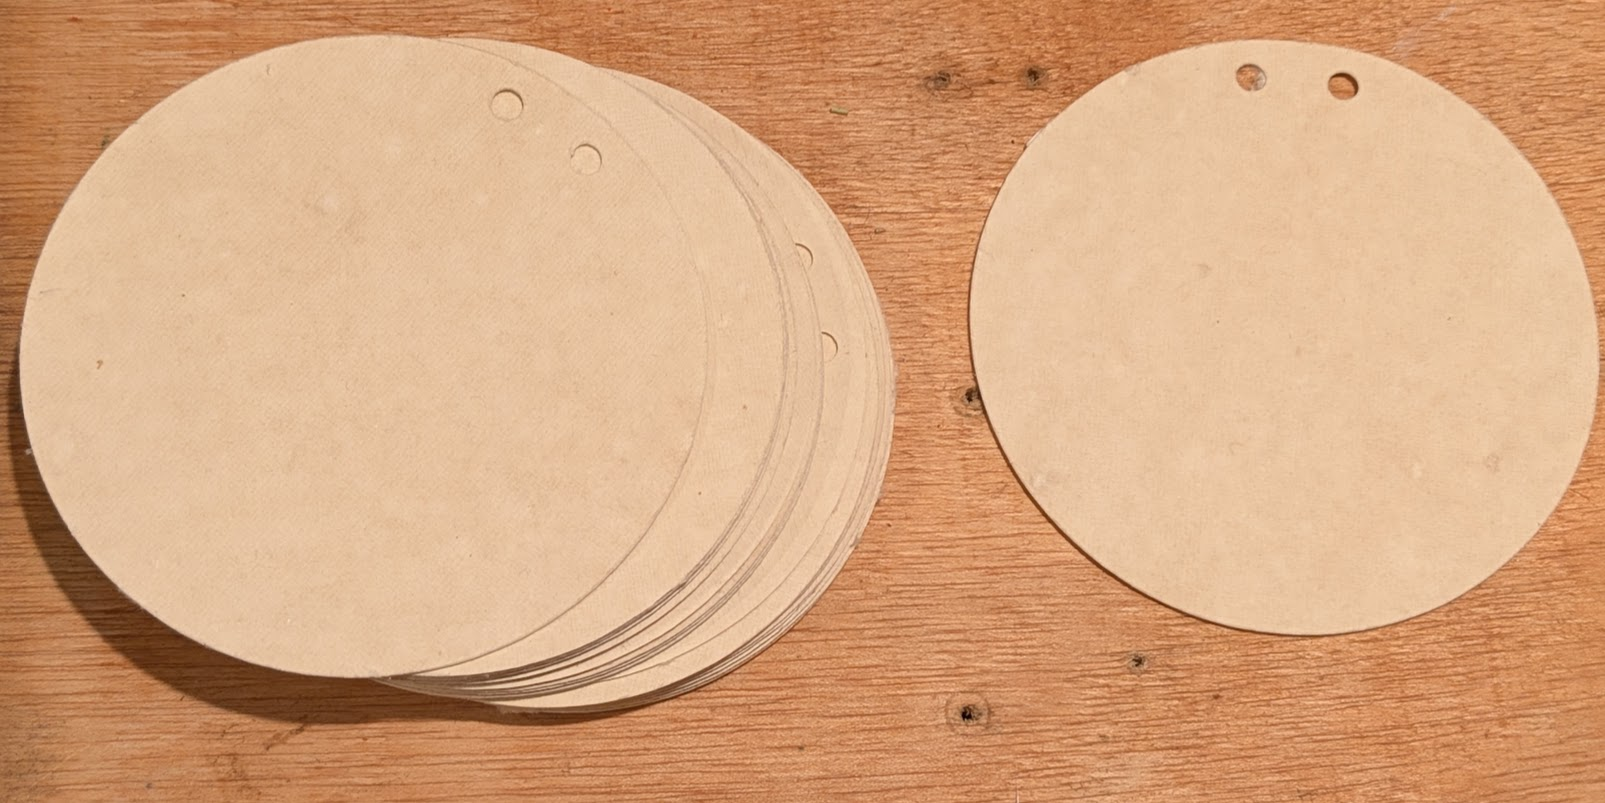
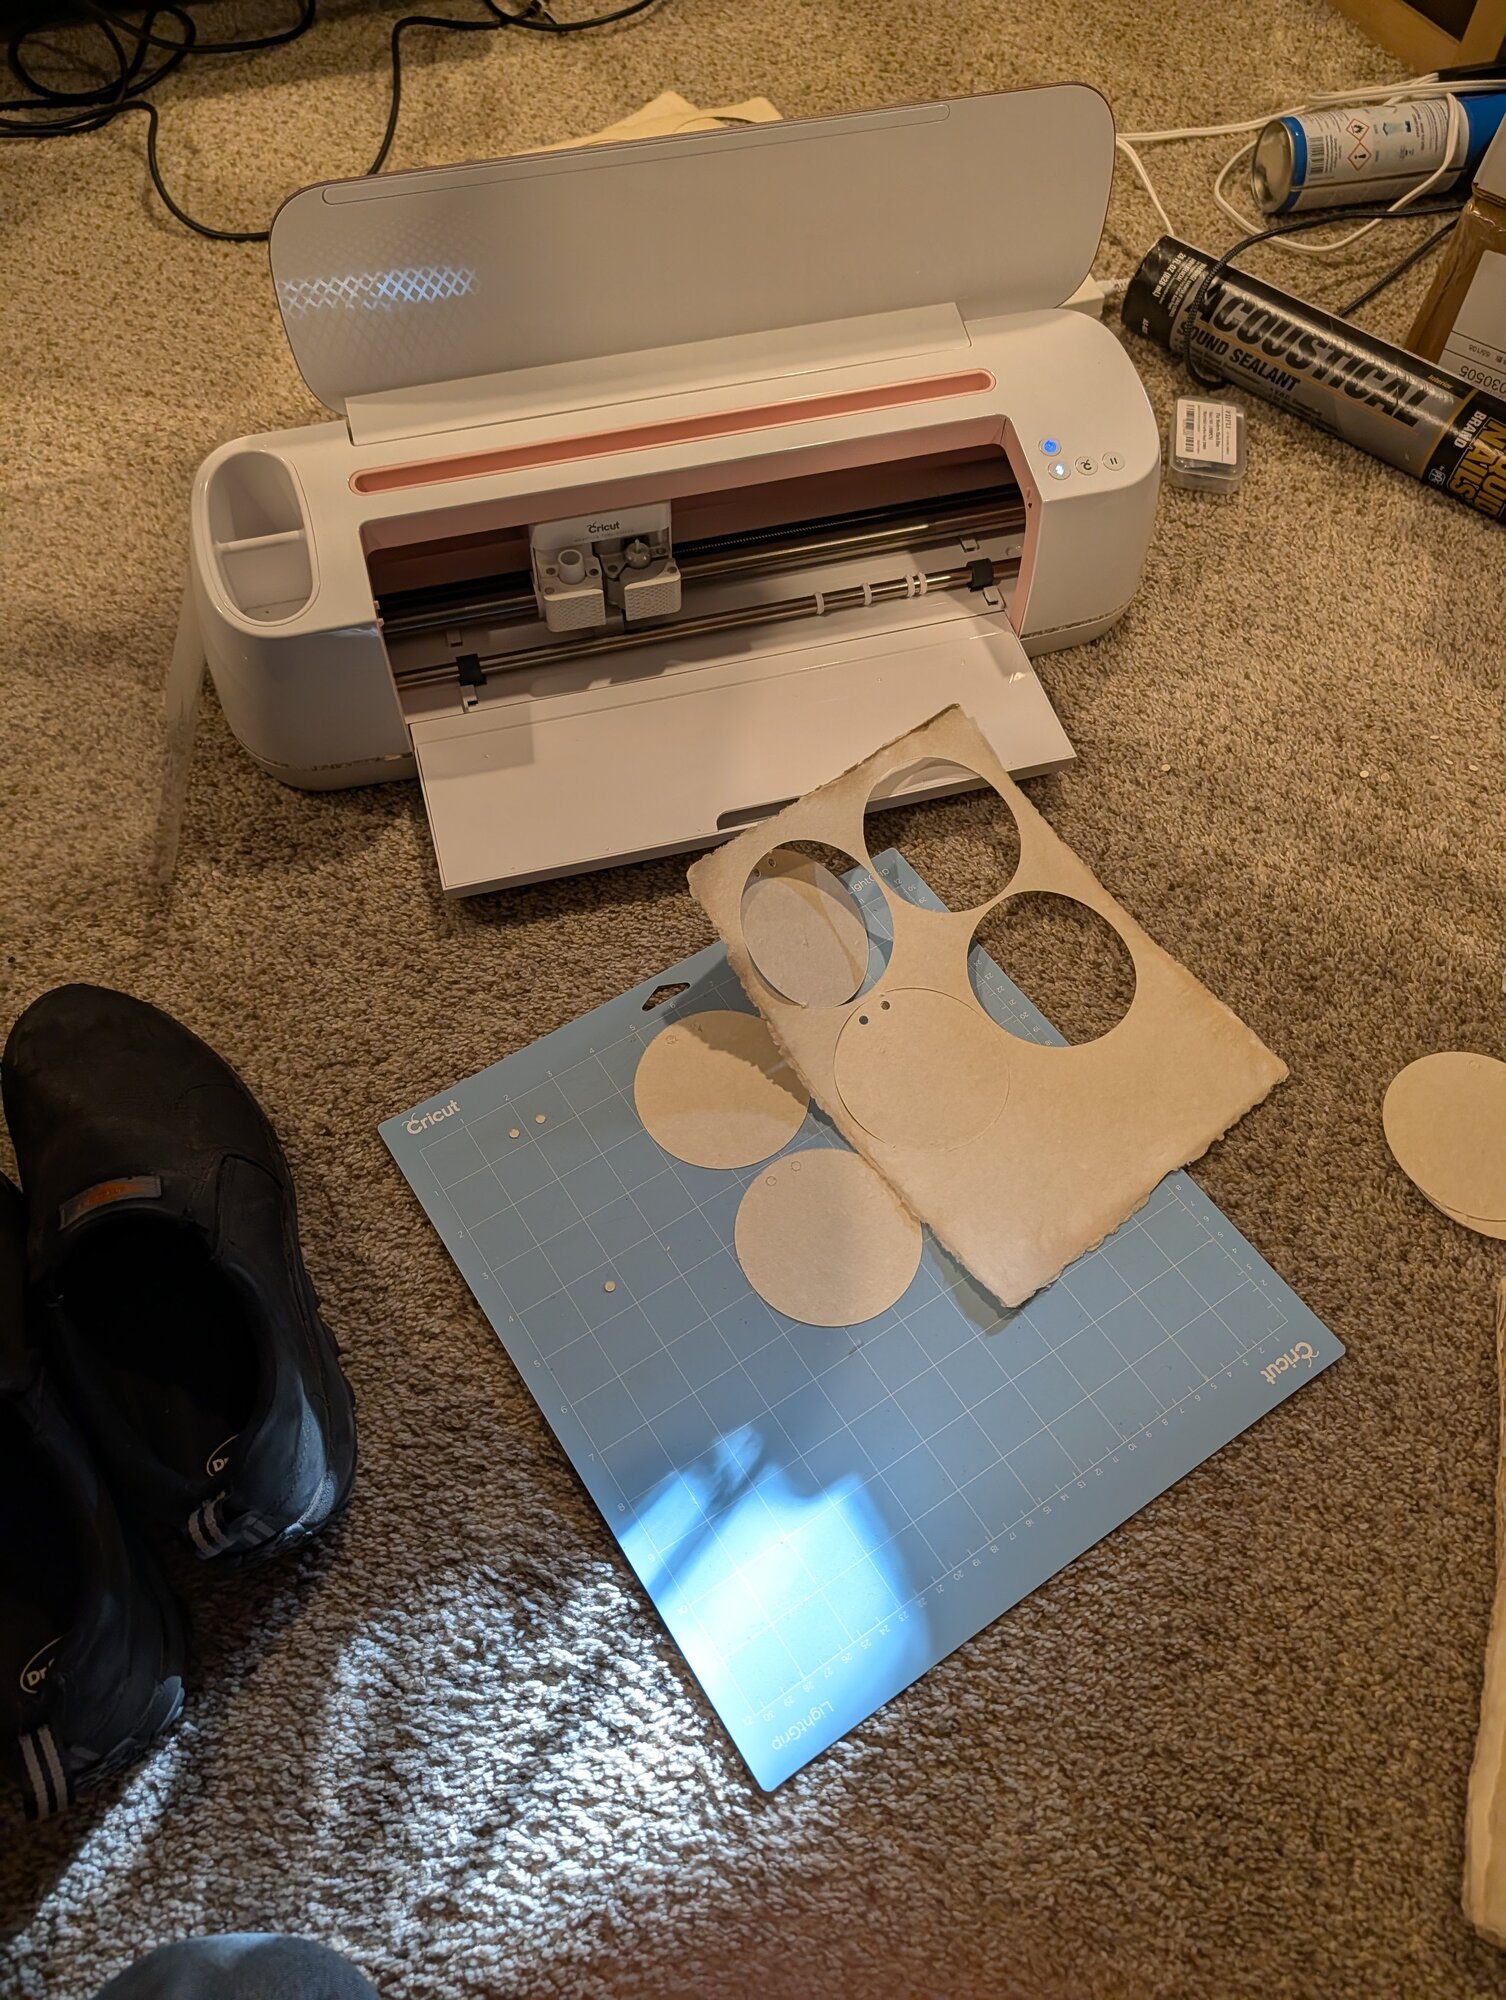
First up is the paper. I bought some really cool watercolor paper that I think is a good match to the project, but it comes in sheets, not rounds. Plus, I need holes for it to be attached to the case. Luckily, we have a Cricut Maker, and it made short work of cutting the rounds.
Wednesday, October 14th, 2026
Today I was hoping to cut at least the metal logo. Originally, I thought I would use brass, but I think I used up the brass sheet I had. I do, however have some 2mm copper, and I thought that would look pretty cool.
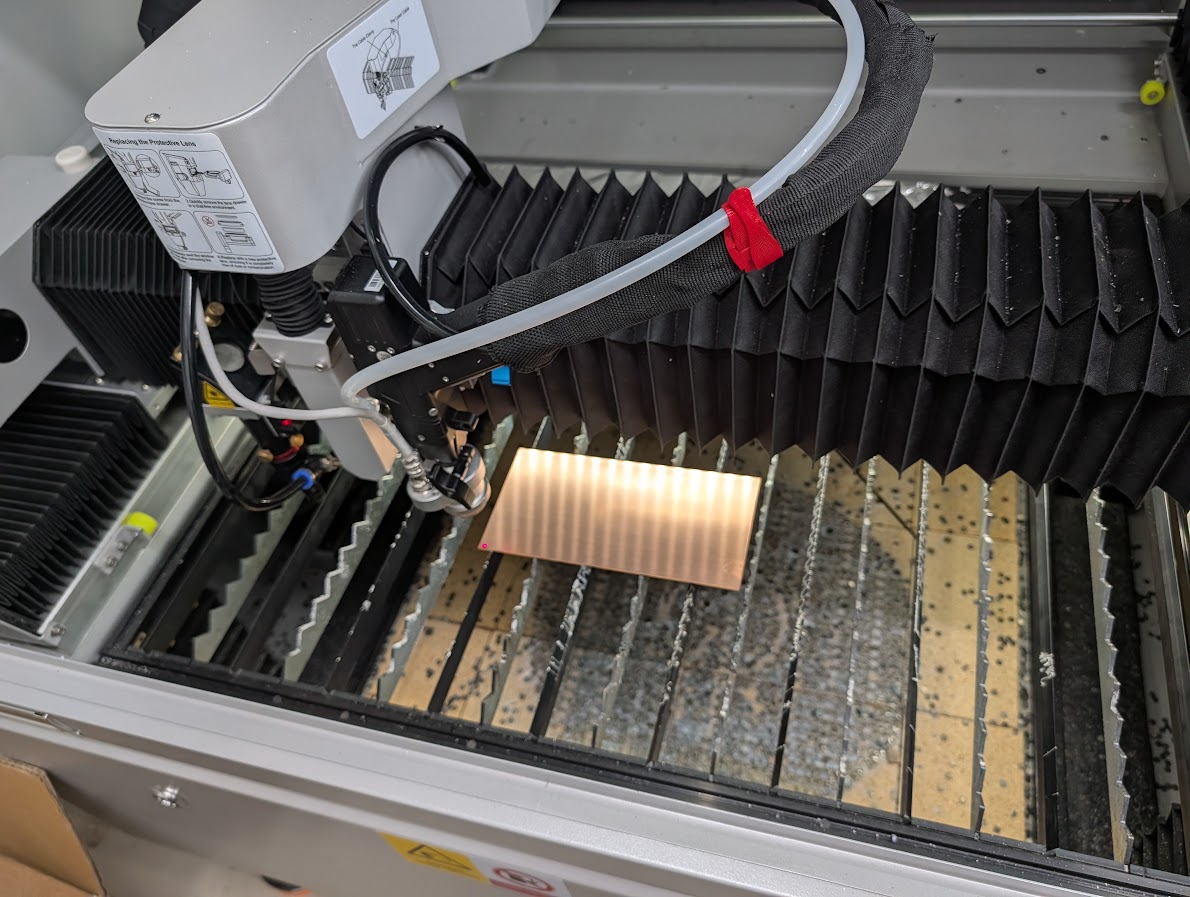
Unfortunately, it defeated my attempts to laser cut it.
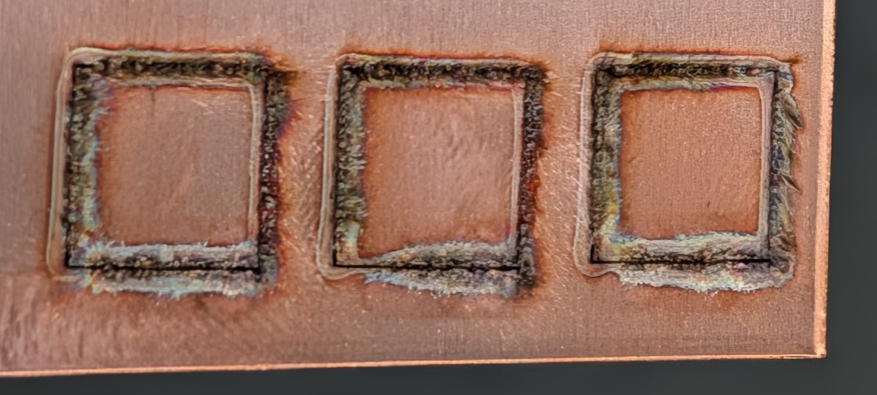
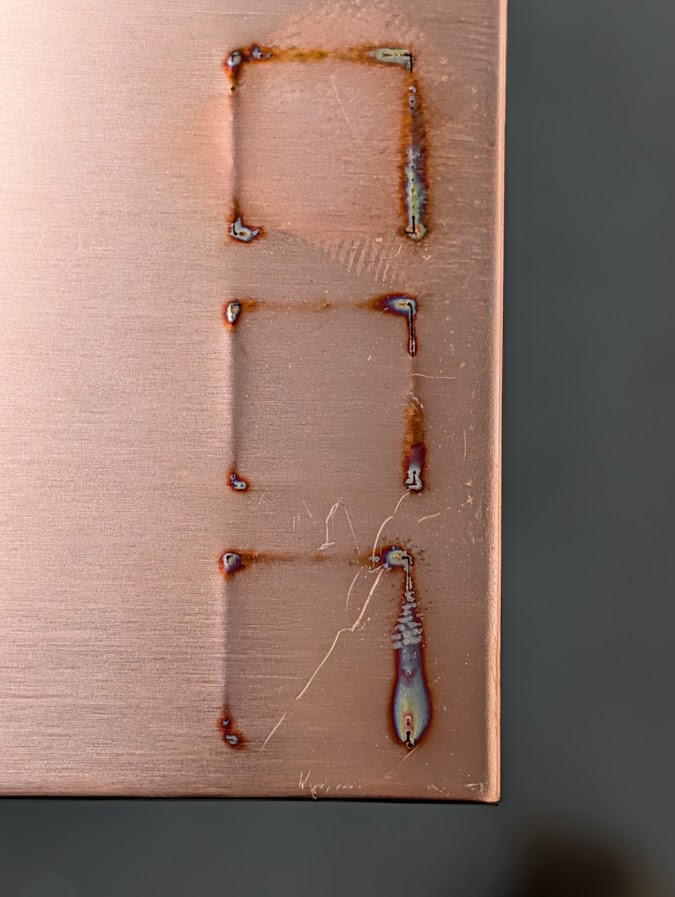
On further research, my mistake appears to have been assuming it would cut like brass, which itself is about 90% copper. But it does not, and in fact, it has high enough reflectance that it's possible to damage the laser if I slowed it down enough to cut all the way through. I think I will mill it on the DMC2 Mini instead.
I still need to try cutting the leather on the M3's CO2 laser. I'm hopeful that will work, but if not, no big deal: a knife or scissors will also work fine.
Sunday, October 18th, 2026
Well, the brass I ordered arrived on Friday. And I'm glad, because although copper is cool, brass looks even better. Plus it means I can laser cut it, so I don't have to finish reassembling the Mini just yet.
Fortunately, before I cut anything, I realized that the circles are 4.25" in diameter, not 4". And the brass is 4" by 6". Not big enough. Sigh.
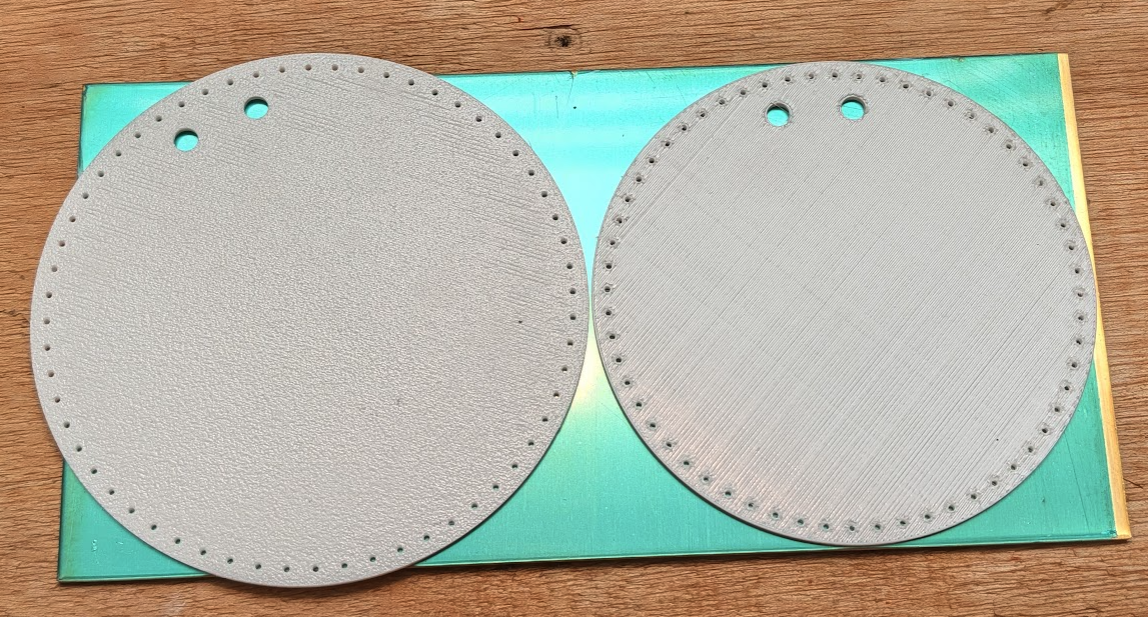
I think it will actually work out, though. I think the 4.25" one was a bit big, especially as my daughter's hands are smaller than mine. I sized the whole thing down so it will fit on the brass I have, as you can see in the above picture. Once again, yay for printed prototypes.
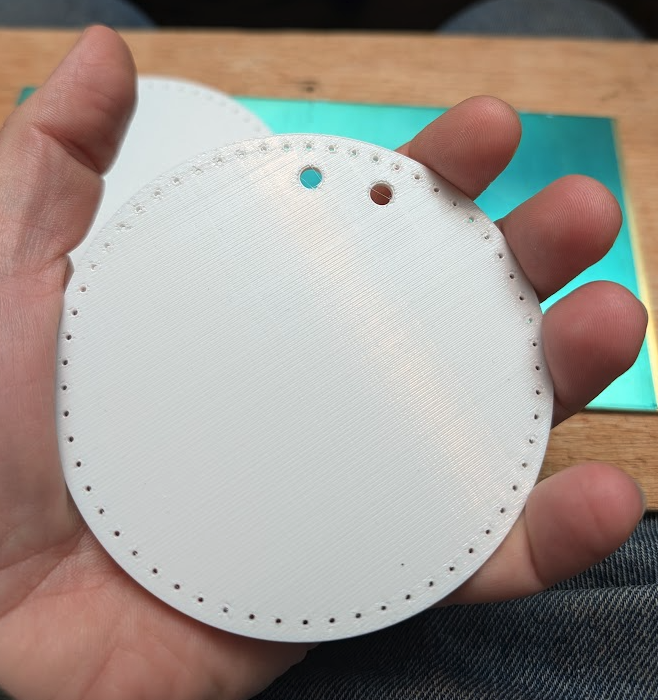
The new size will mean re-cutting the paper, but that was pretty easy.
Tuesday, October 20th, 2026.
I had a free evening, so I decided to get the brass parts cut out.
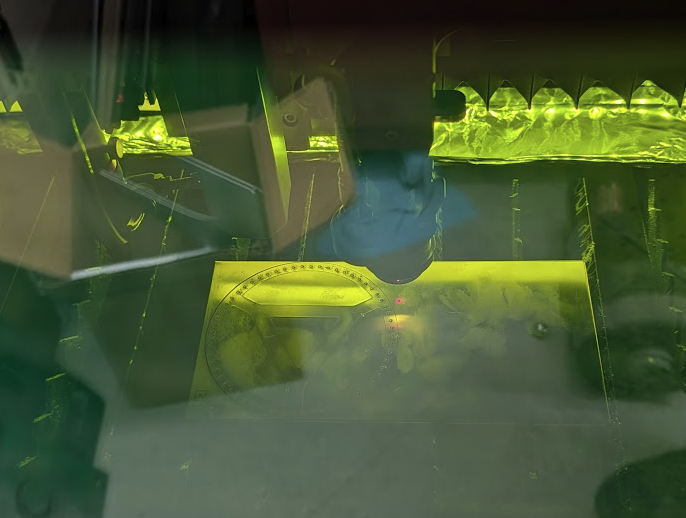
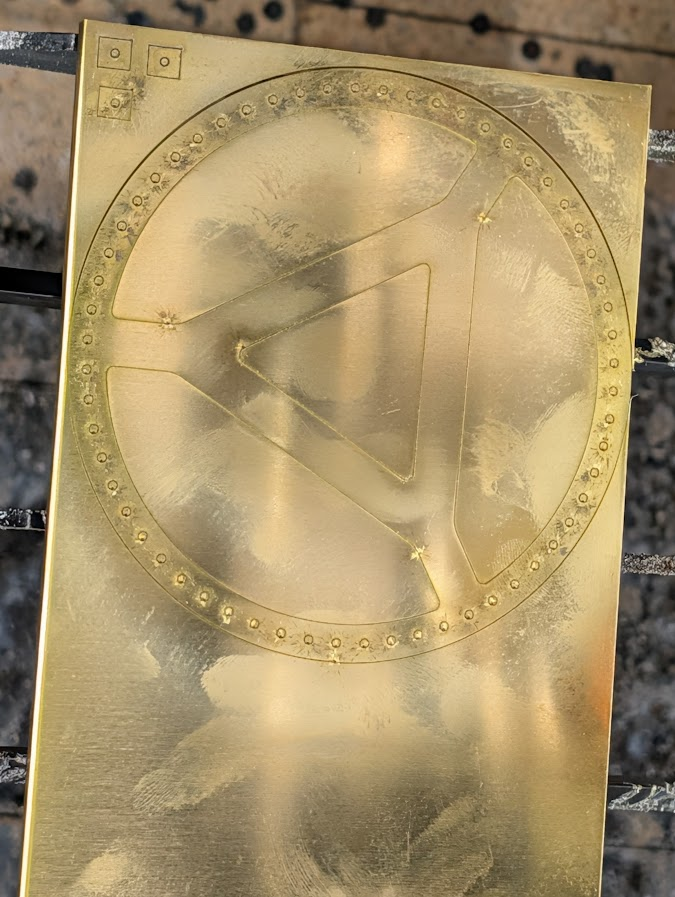
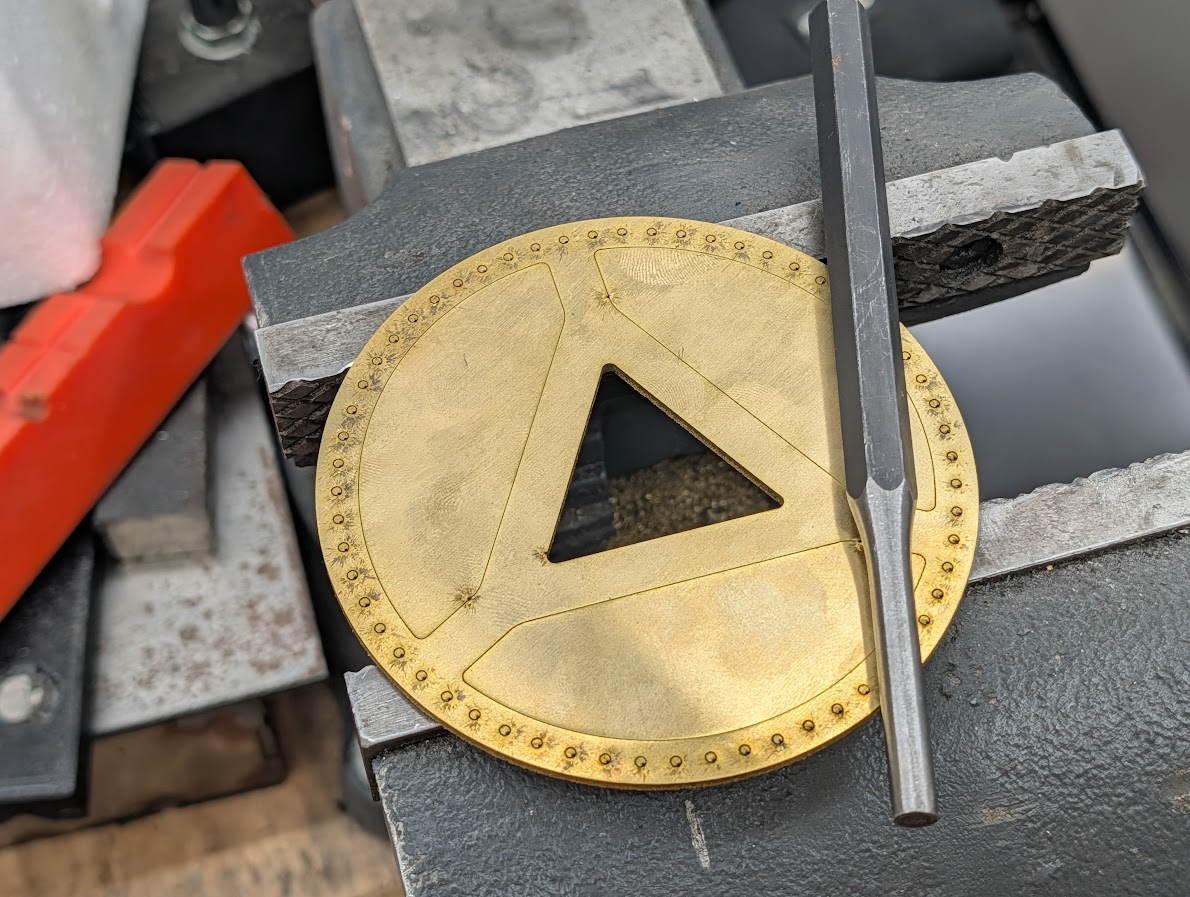
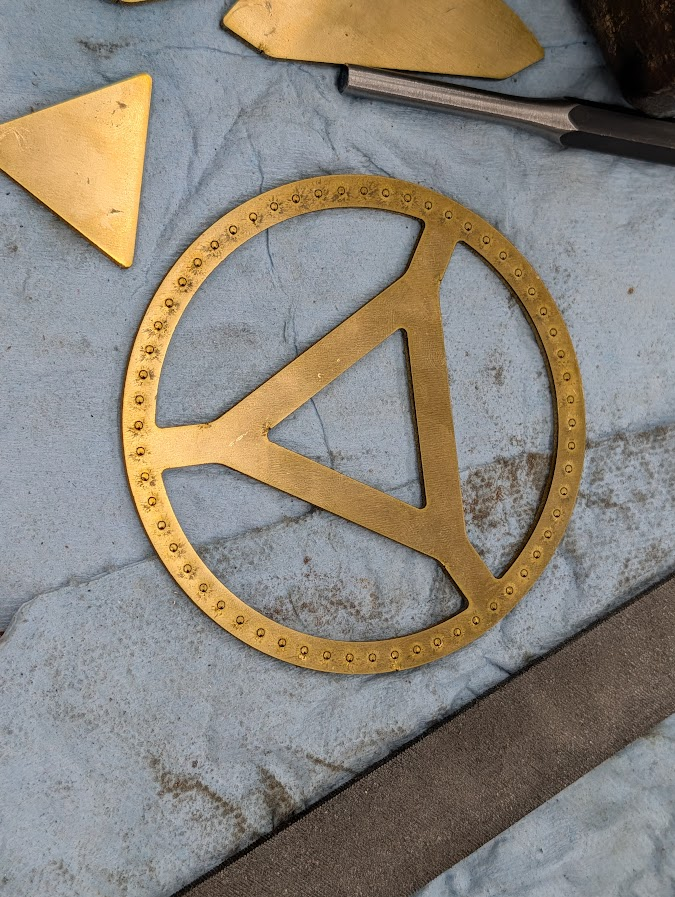
It looks pretty good, and good enough to use, certainly, but there are a few tiny defects, so I may try again.
Thursday, October 22nd, 2026.
The leather was next. I'd been planning to cut it on the M3's CO2 laser, so I ran tests on both the stitching holes and the contour cuts, and tried a few things to reduce smoke staining.
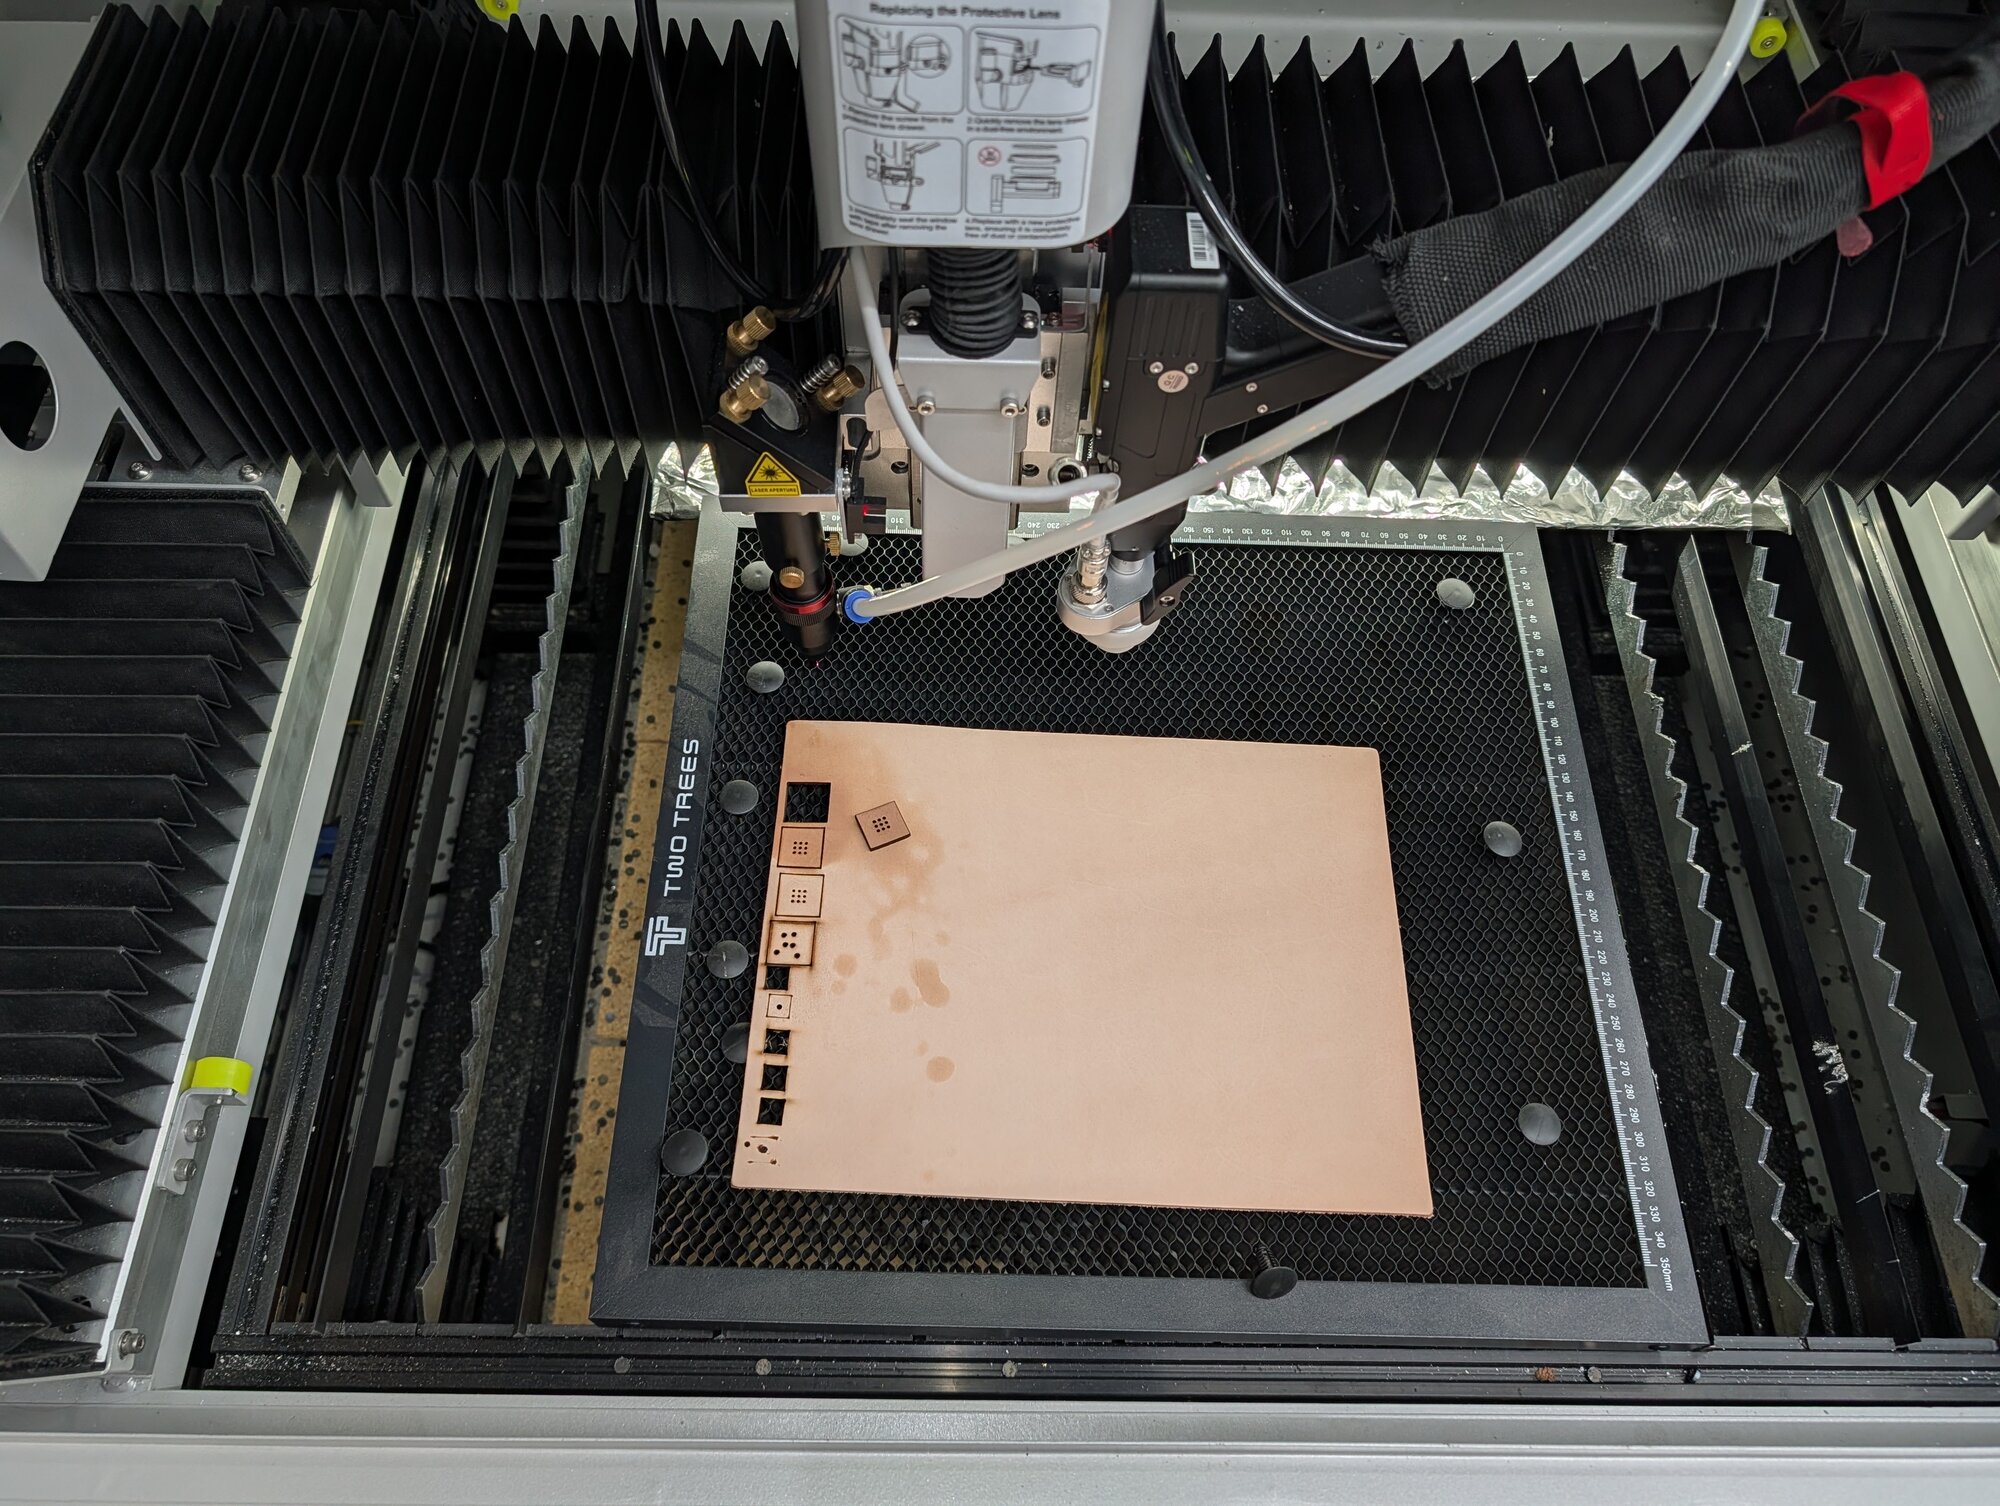
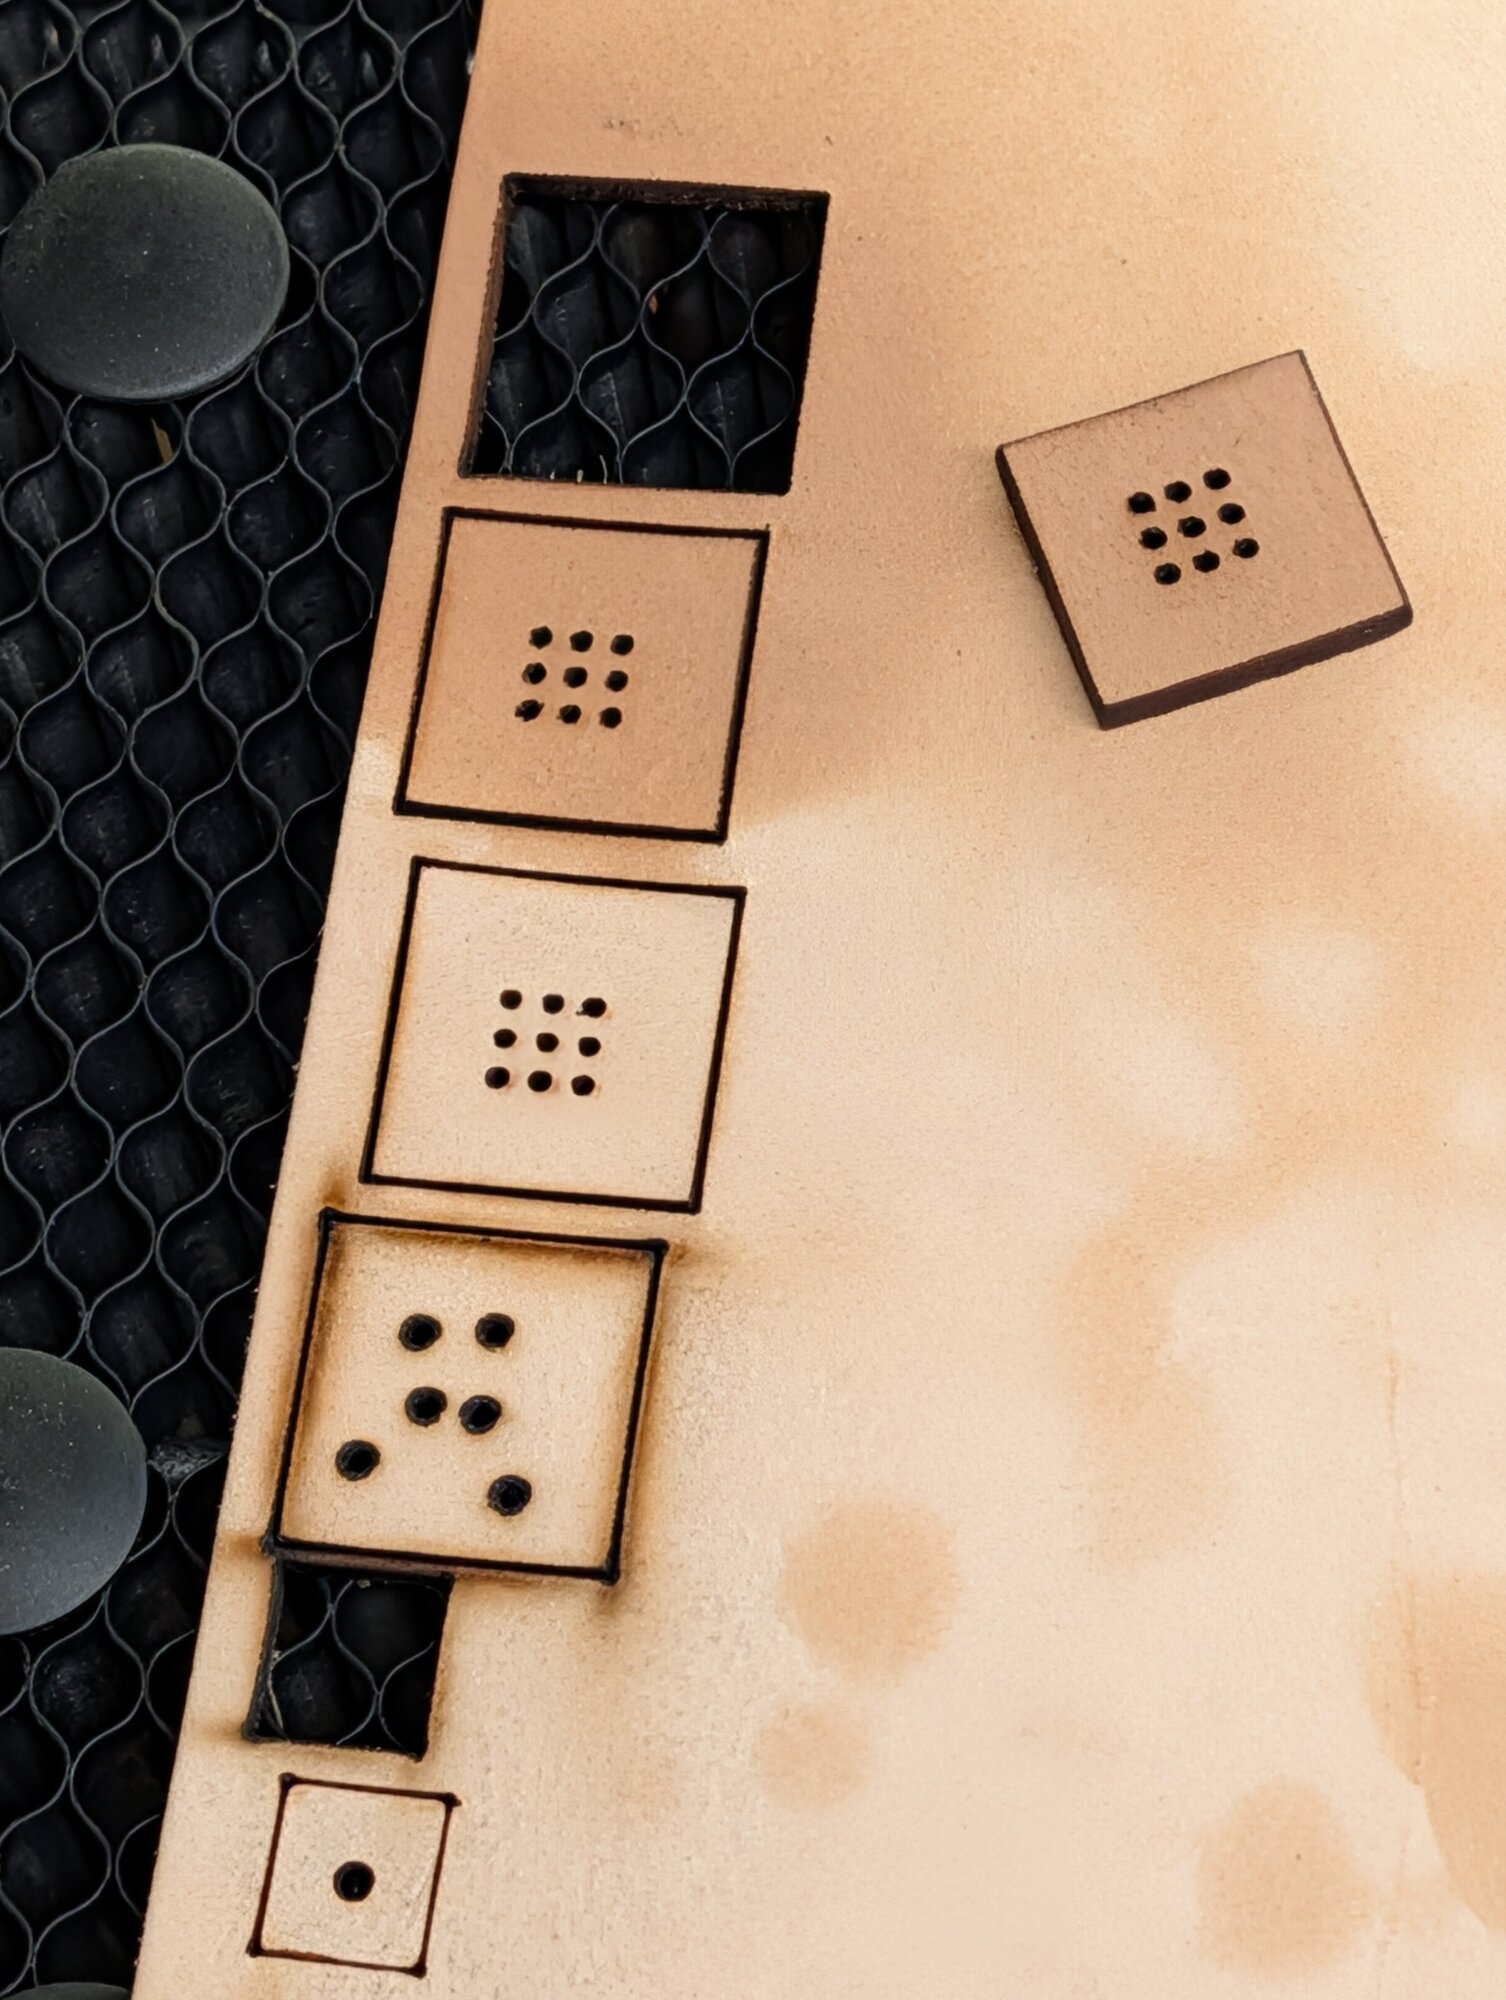
I didn't play with power much; I wound up around 50 mm/s and 50%, if I remember right. The two things that helped the most with the staining were misting the leather with water before cutting and upping the air assist flow. The M3's built-in air assist pump is a little weak, but you can swap the air hoses and use the air compressor input instead.
I did try masking the leather with blue painter's tape, but I found it lifted the grain from the surface. I have some low-tack tapes on order to try out. But we'll see if I get to that.
The trouble is that laser-cut leather smells, and Older Daughter is so sensitive to smells that I didn't want to hand her something that might make her want to barf. So, after all that work to get the laser up and running, I'm cutting the leather by hand. I might still try the laser again later.
The Cricut Maker re-cut the paper rounds at the new size, which was as easy as the first time.
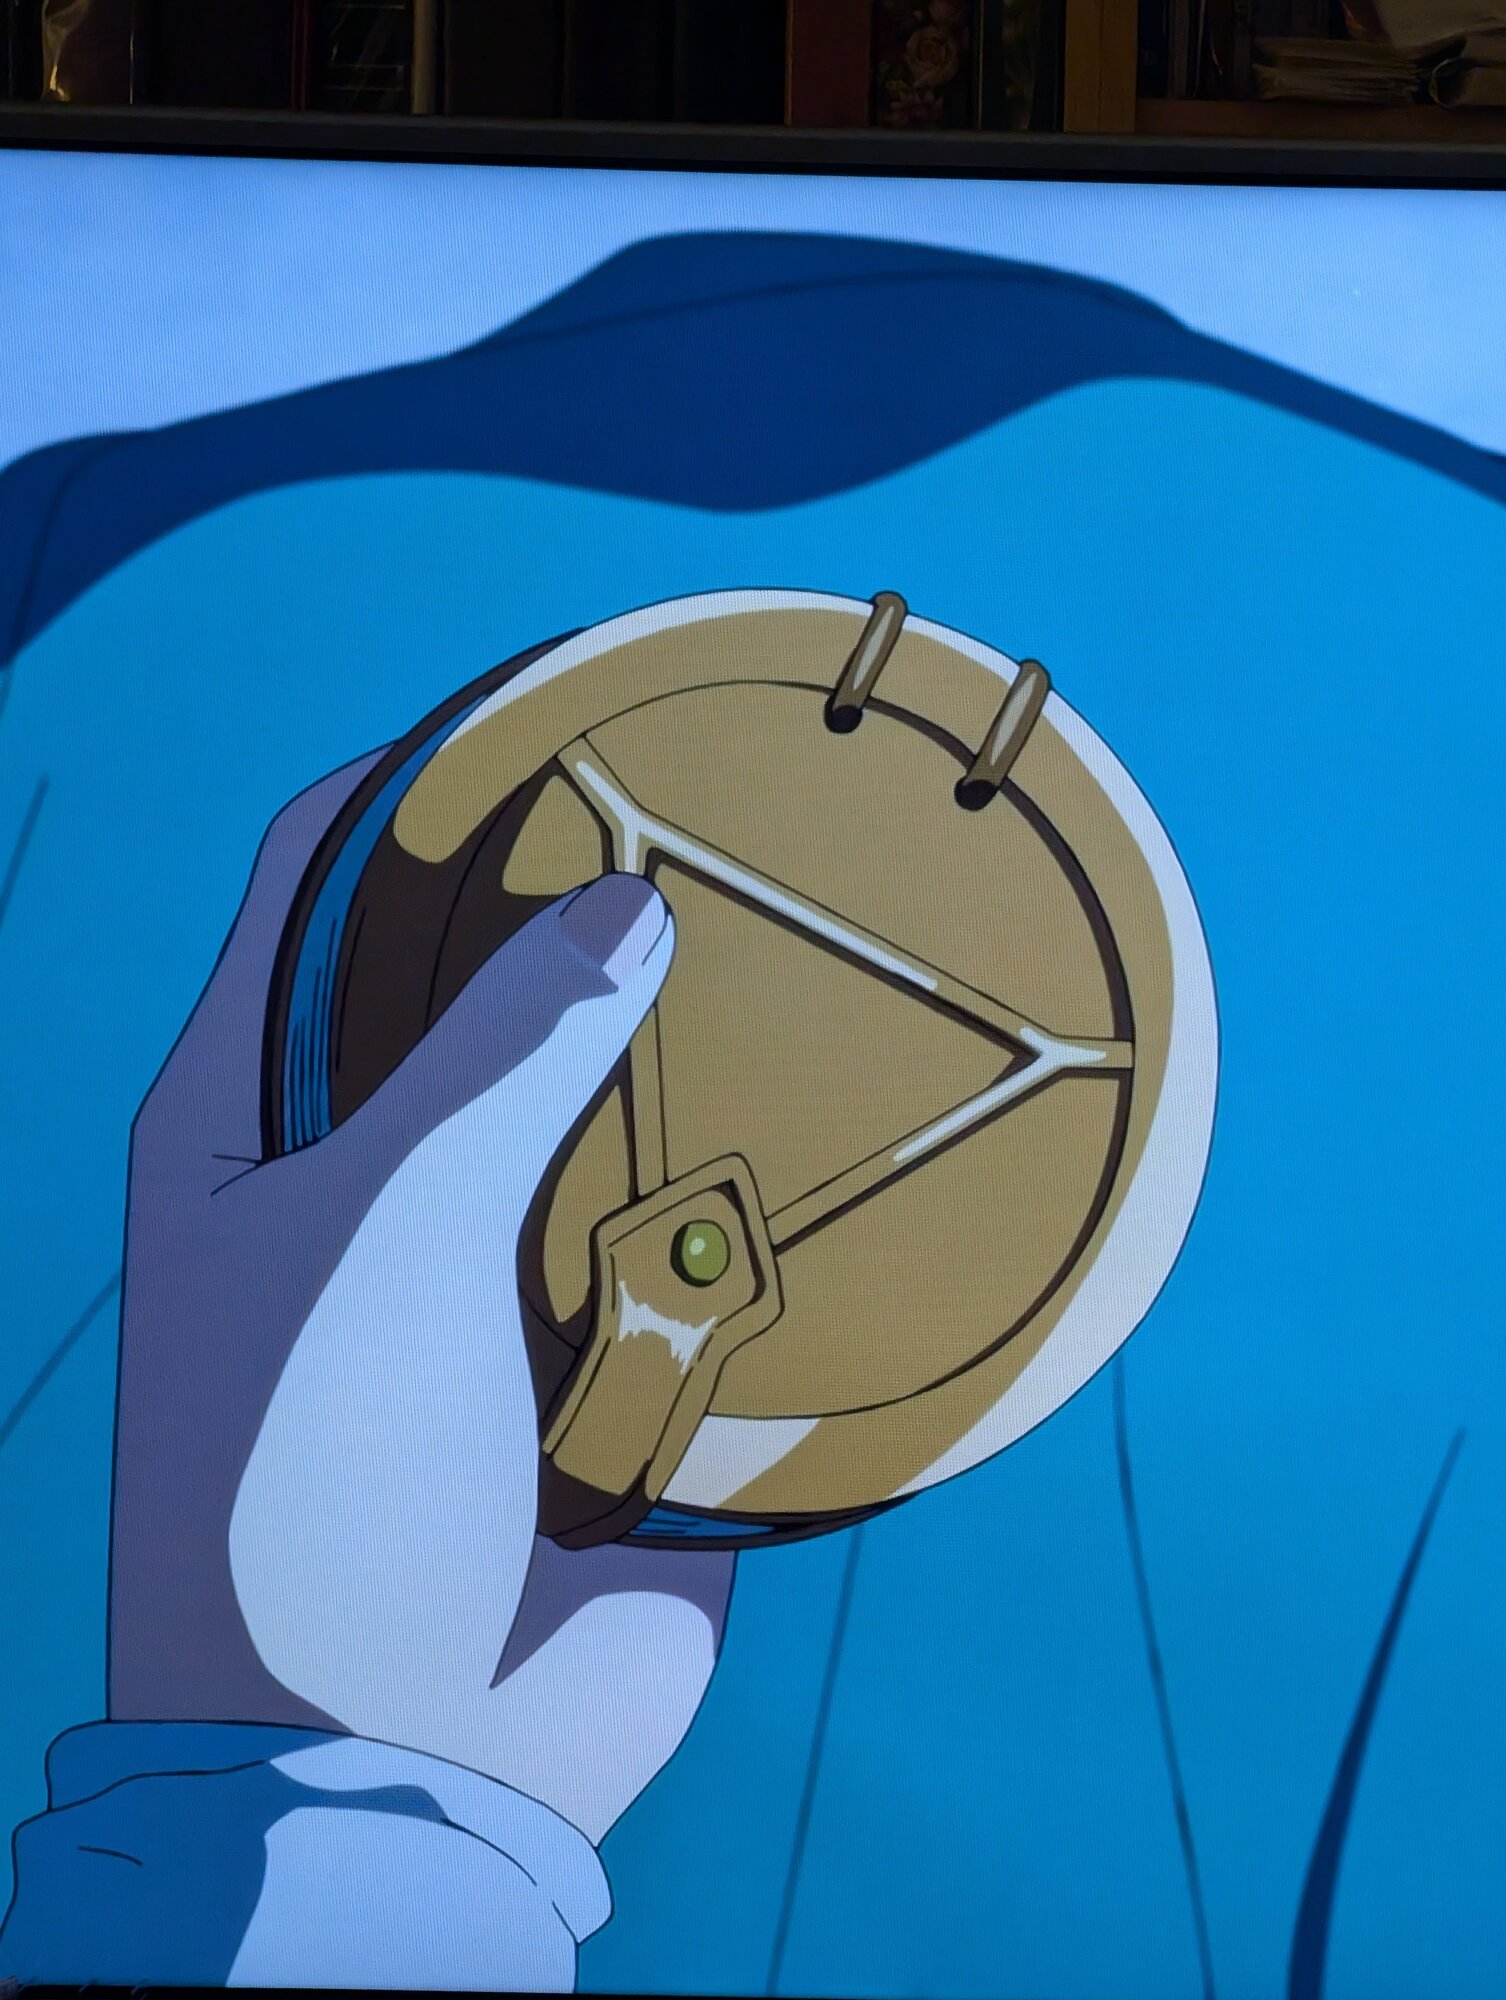
I also did a little more "research" by watching the show. This frame is from episode 5, I think (the one with the dragon). I was looking at the strap, since I'm still not completely sure how I want to do that. In the show it seems to be a snap, but I might do a simple post instead.
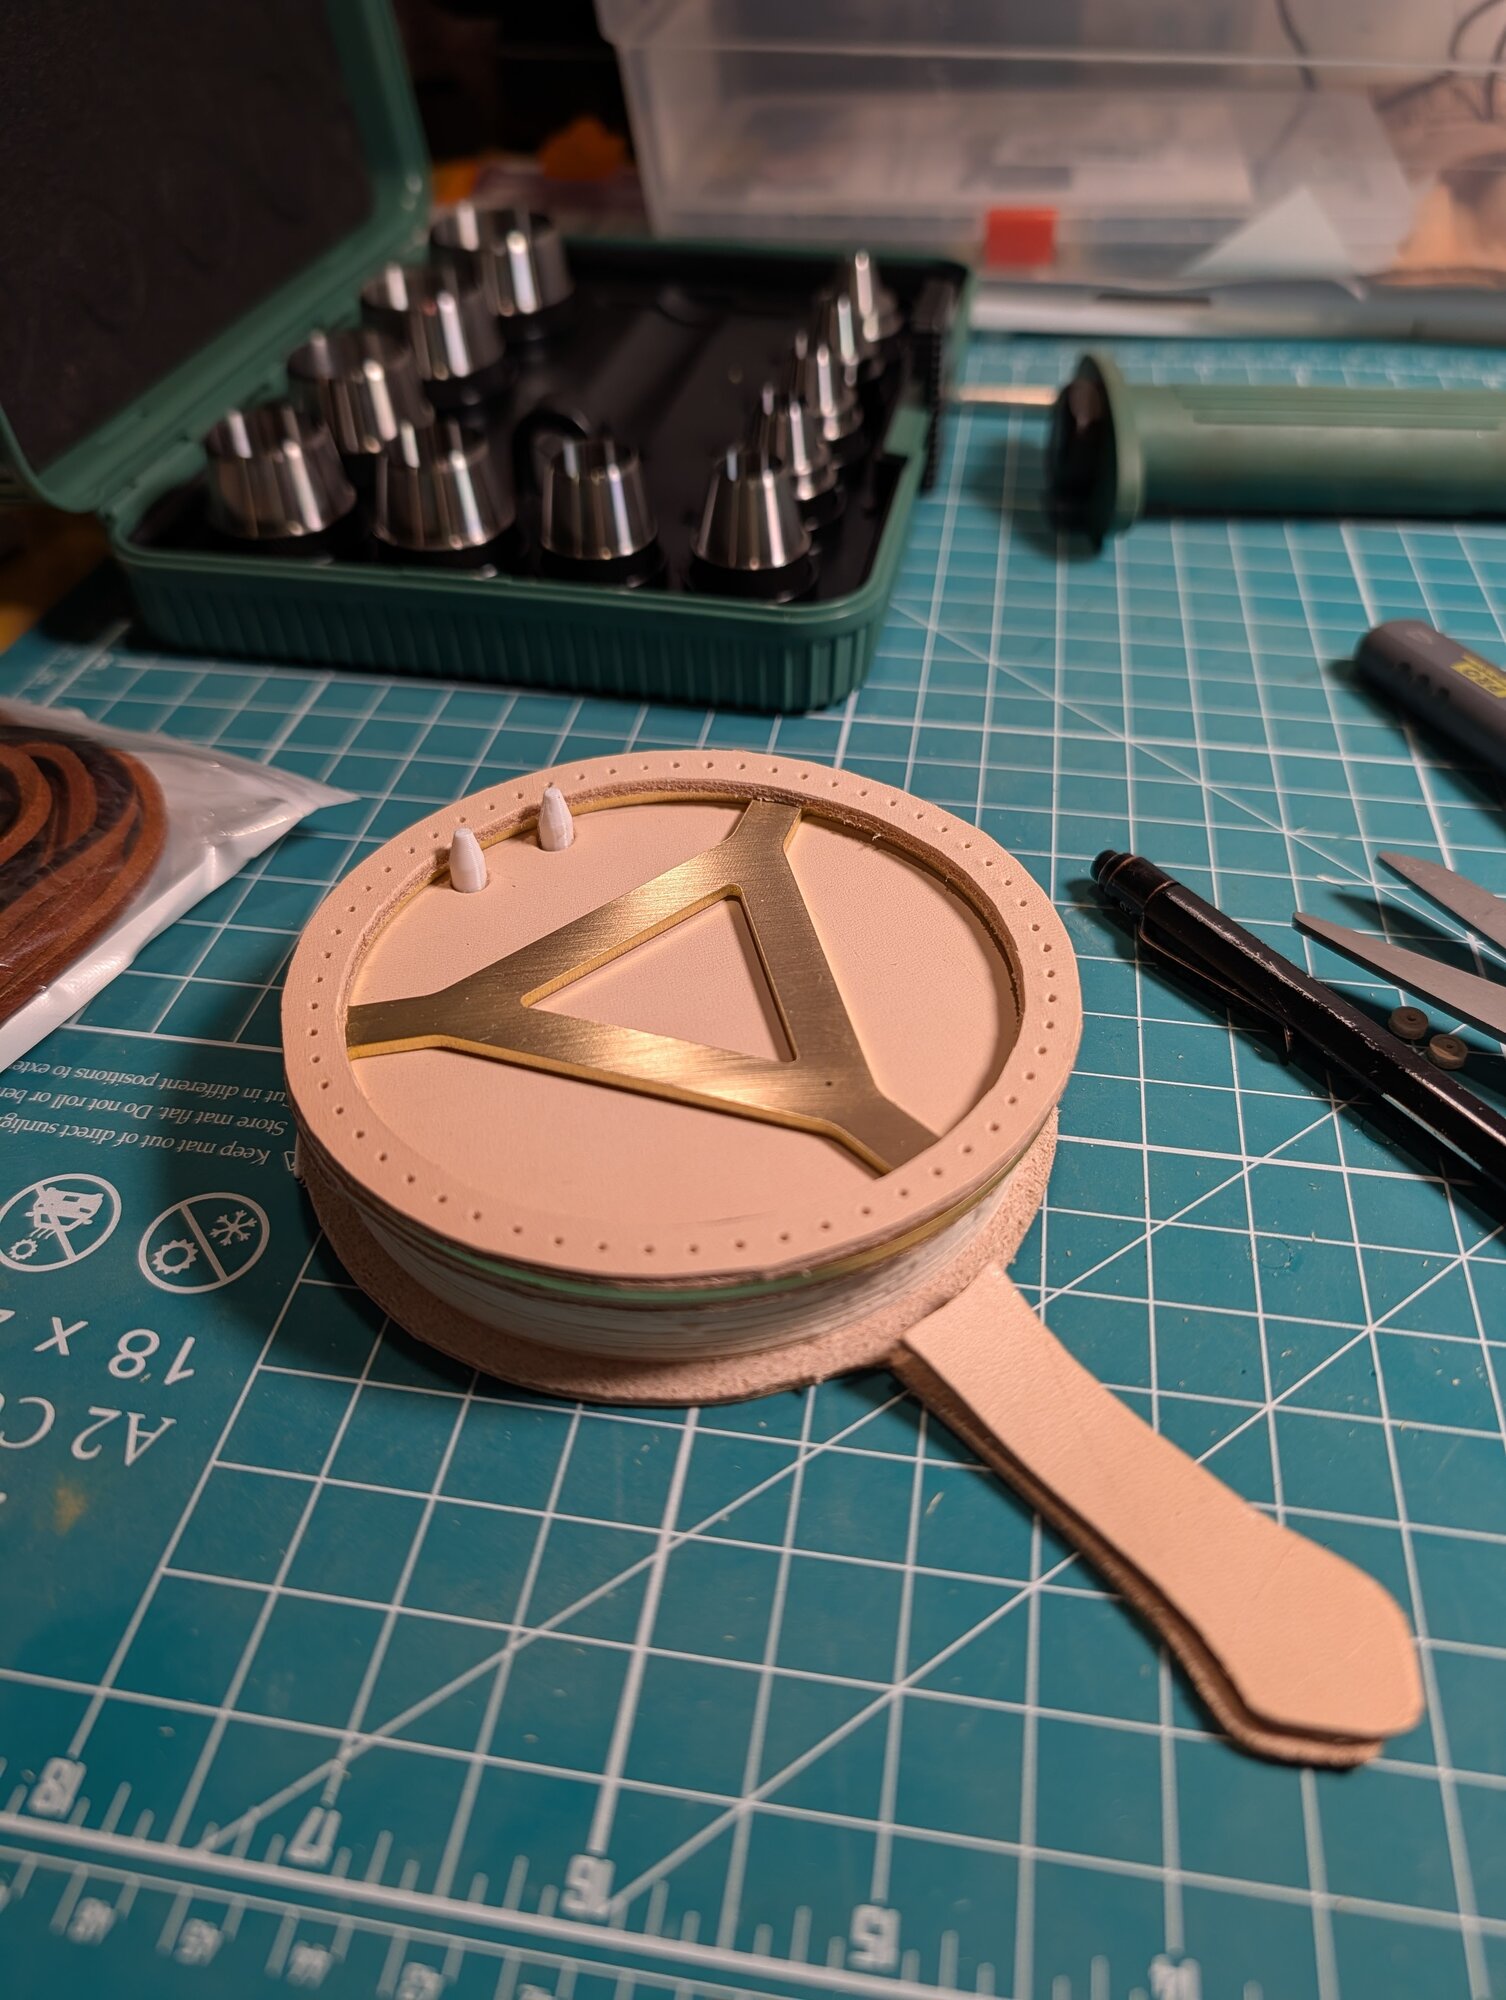
Then on to cutting the leather by hand. The white round is a PETG print I originally made just to understand the dimensions, but it turns out to make a good template. Printing one out on paper would have worked too.
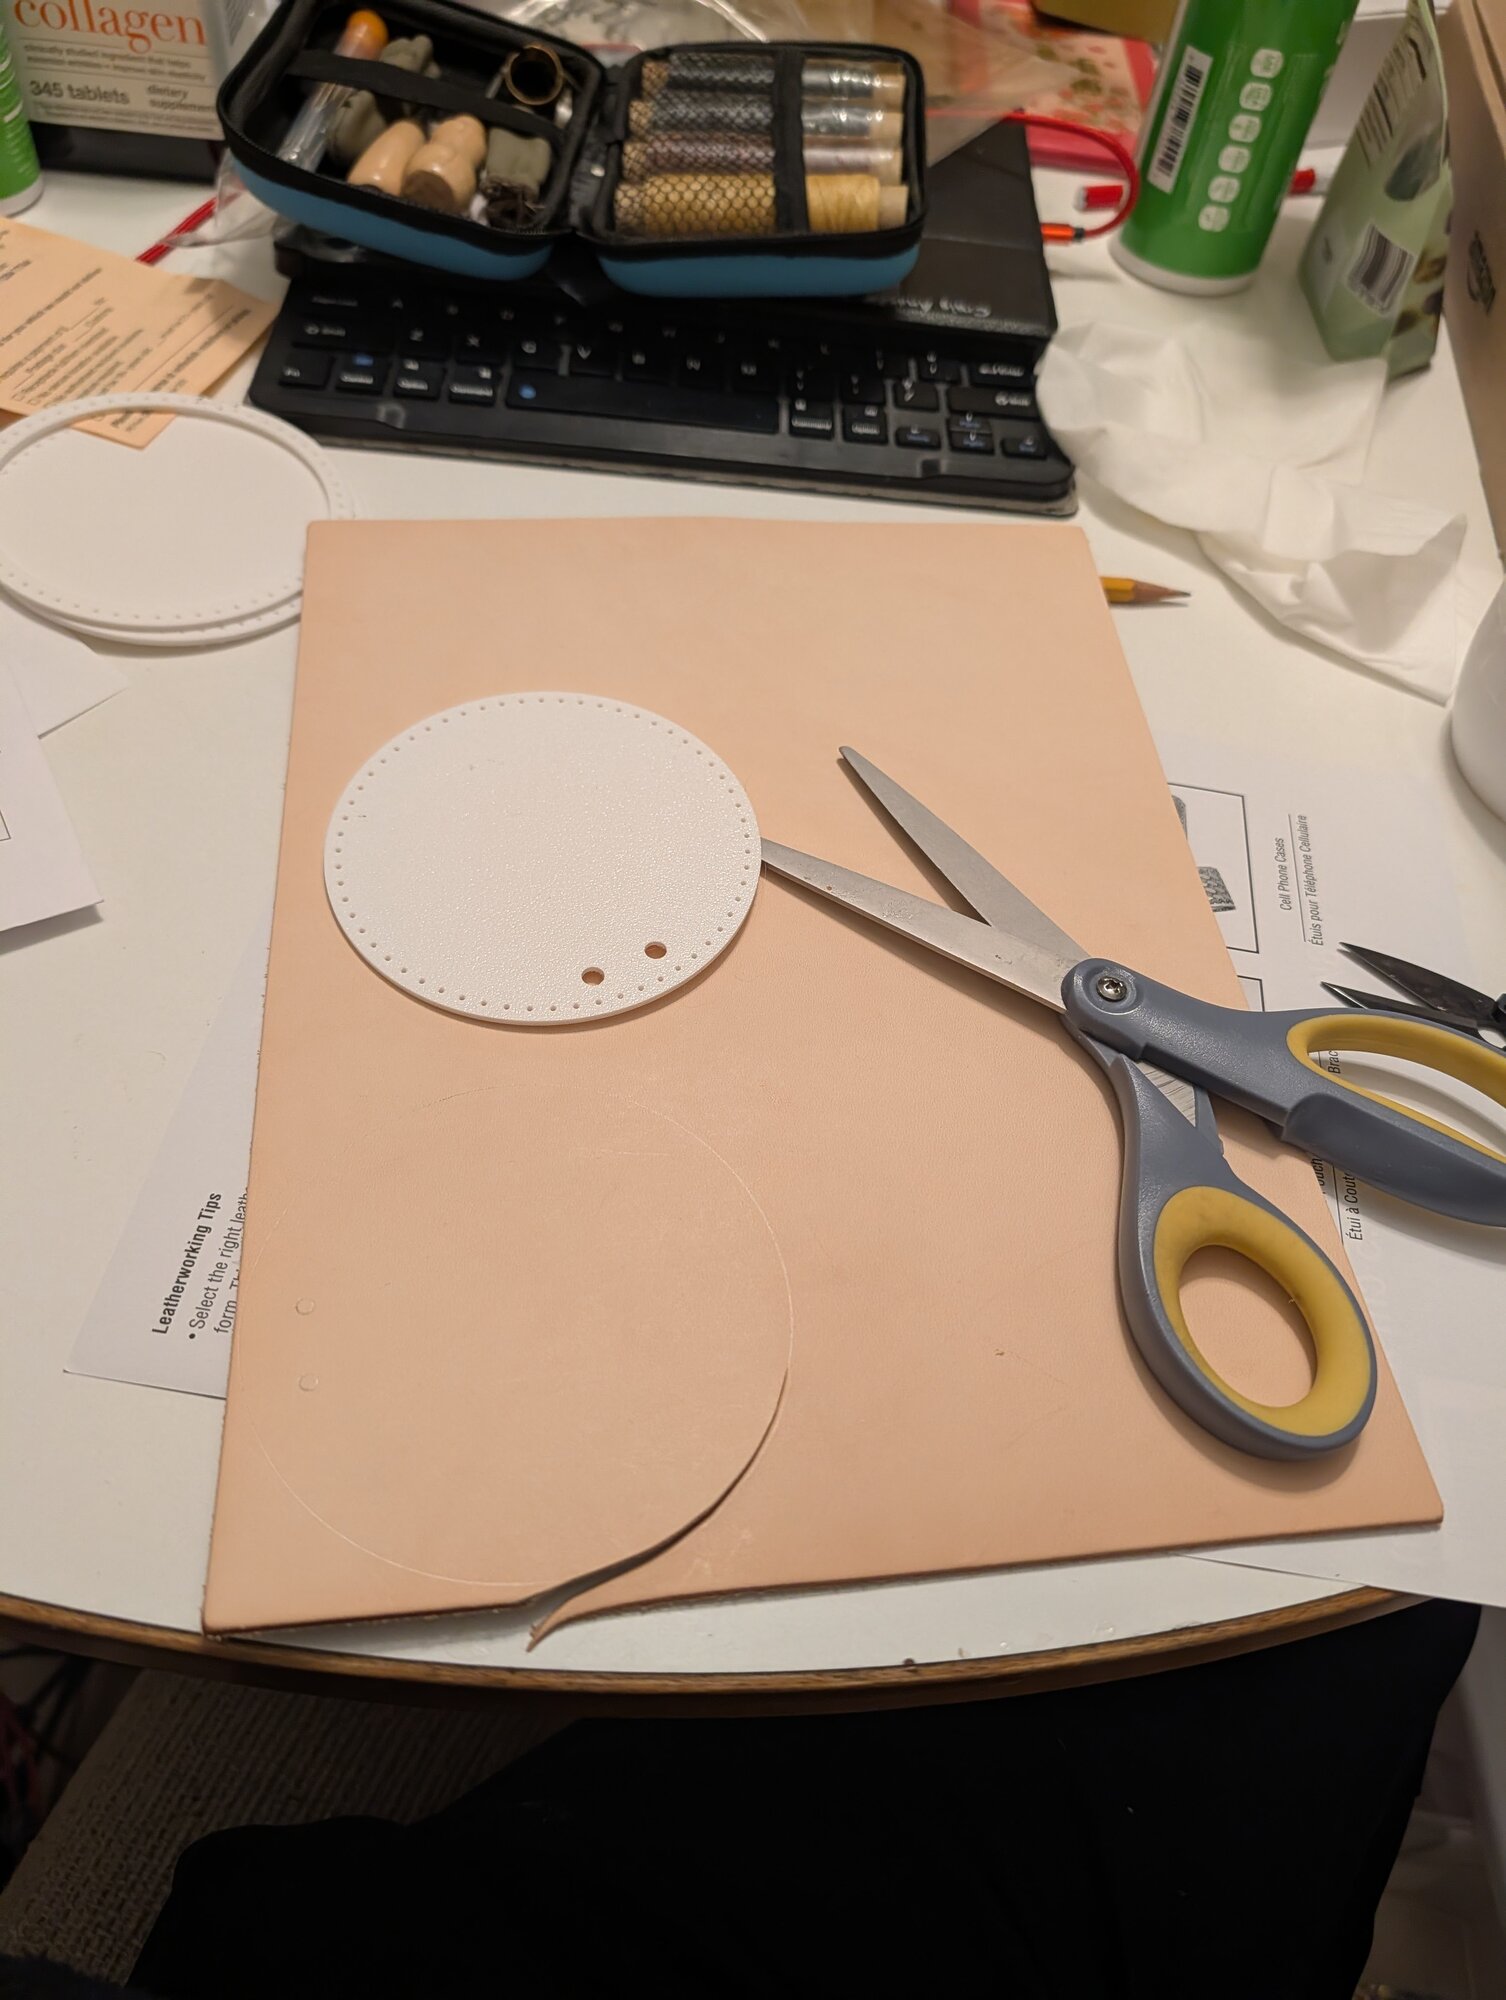
The top of the Quire is a leather ring, so the brass logo shows through.
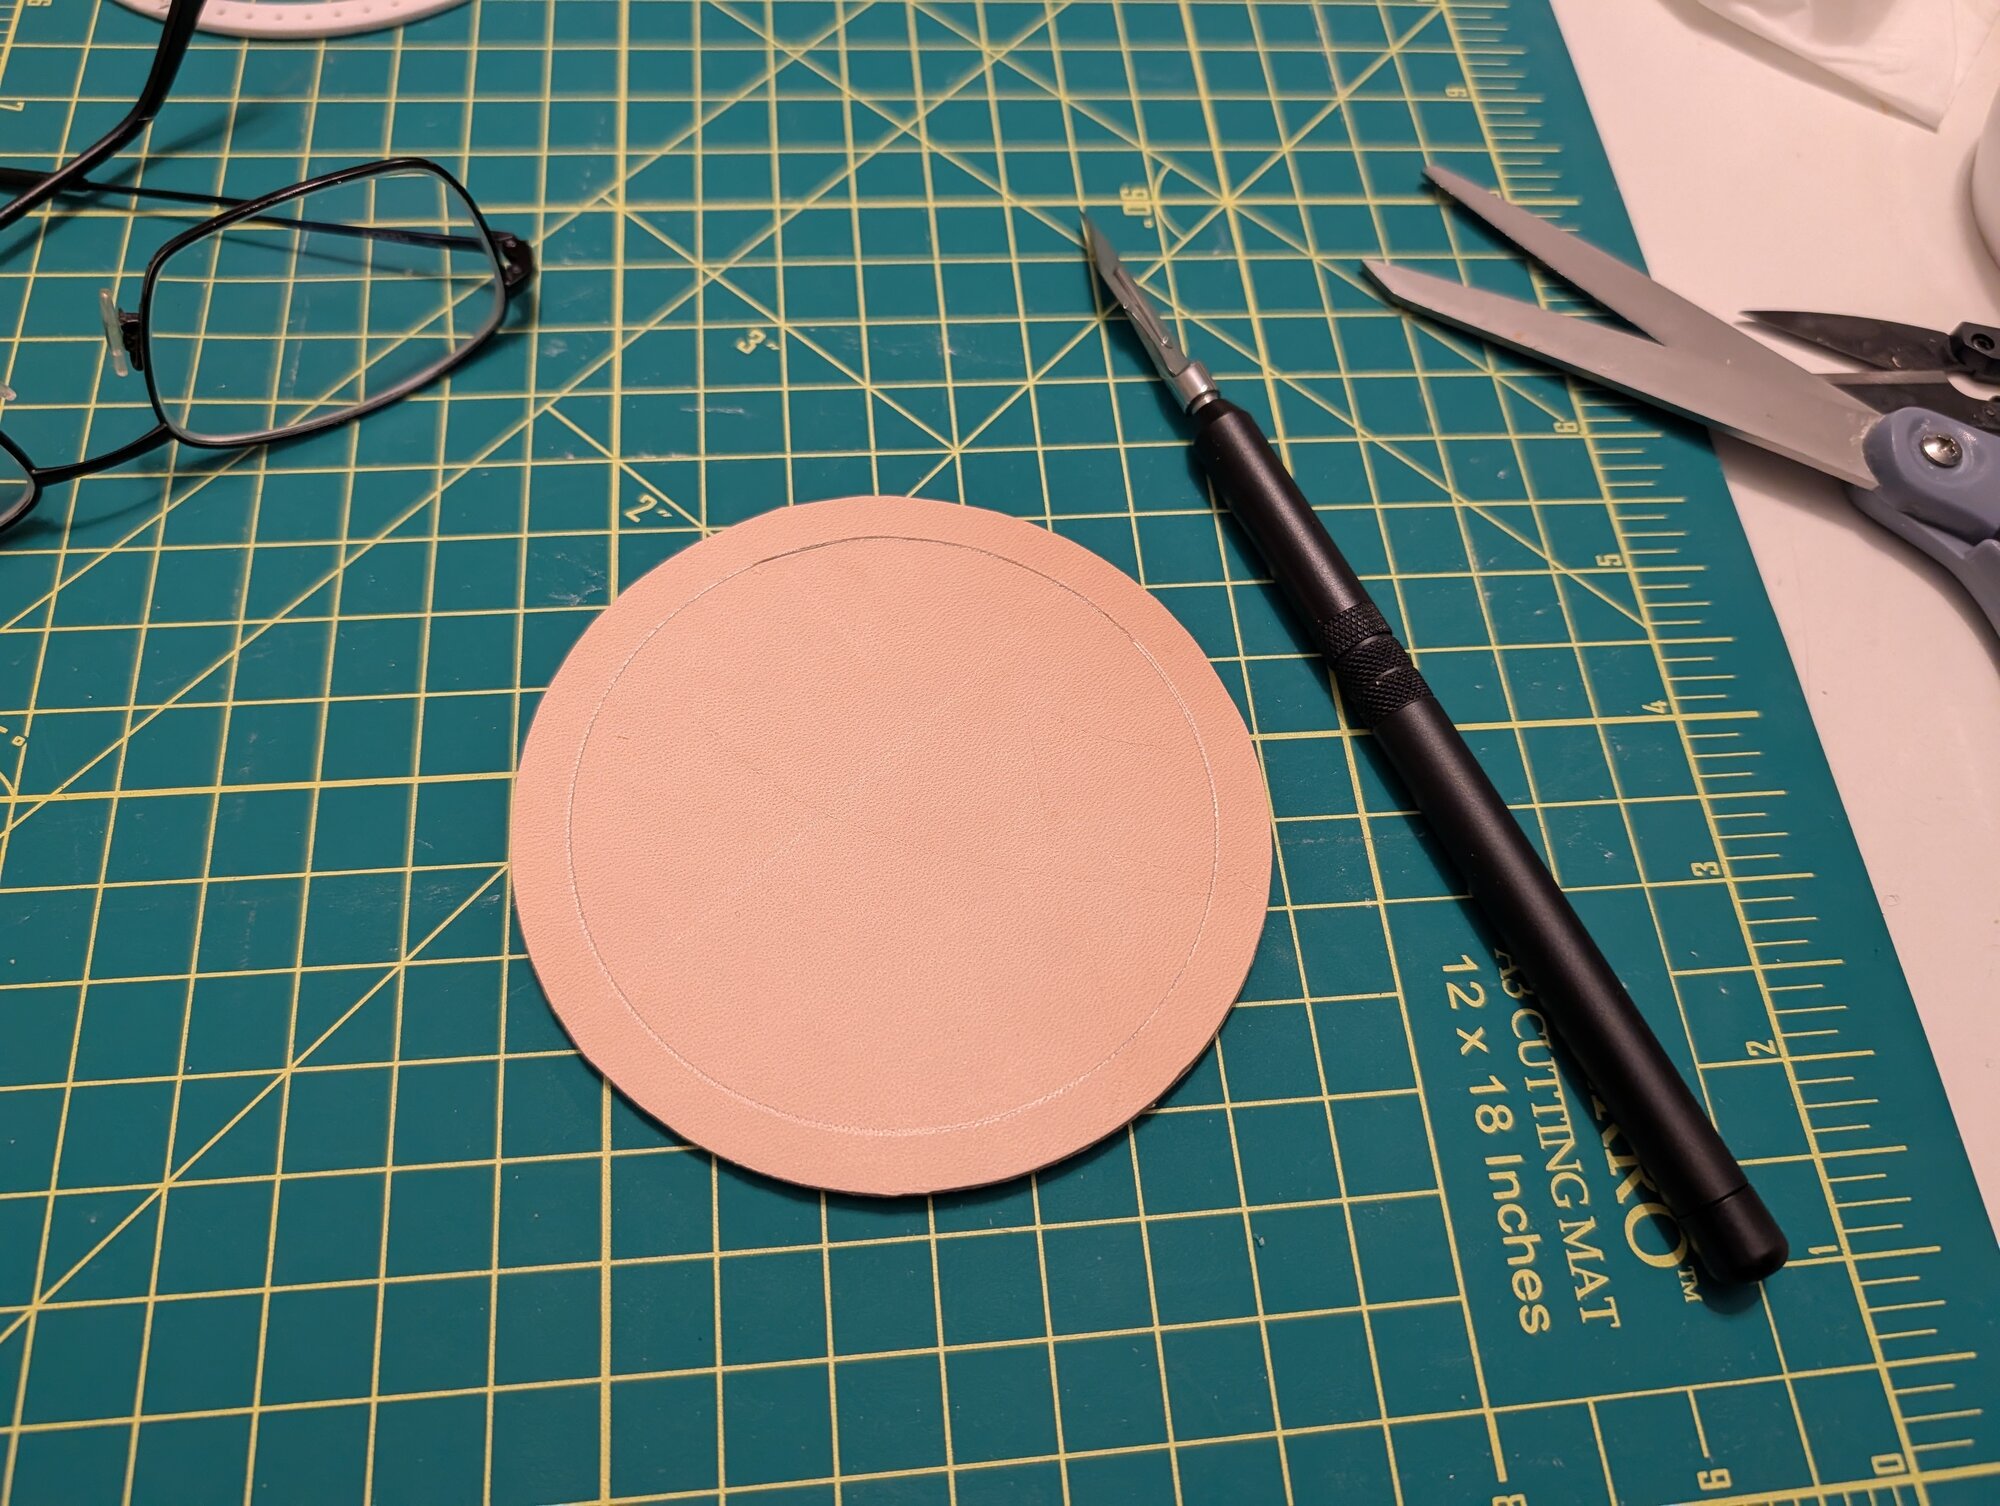
Next, the stitching holes. I mark them through the template with an awl or a needle, variously.
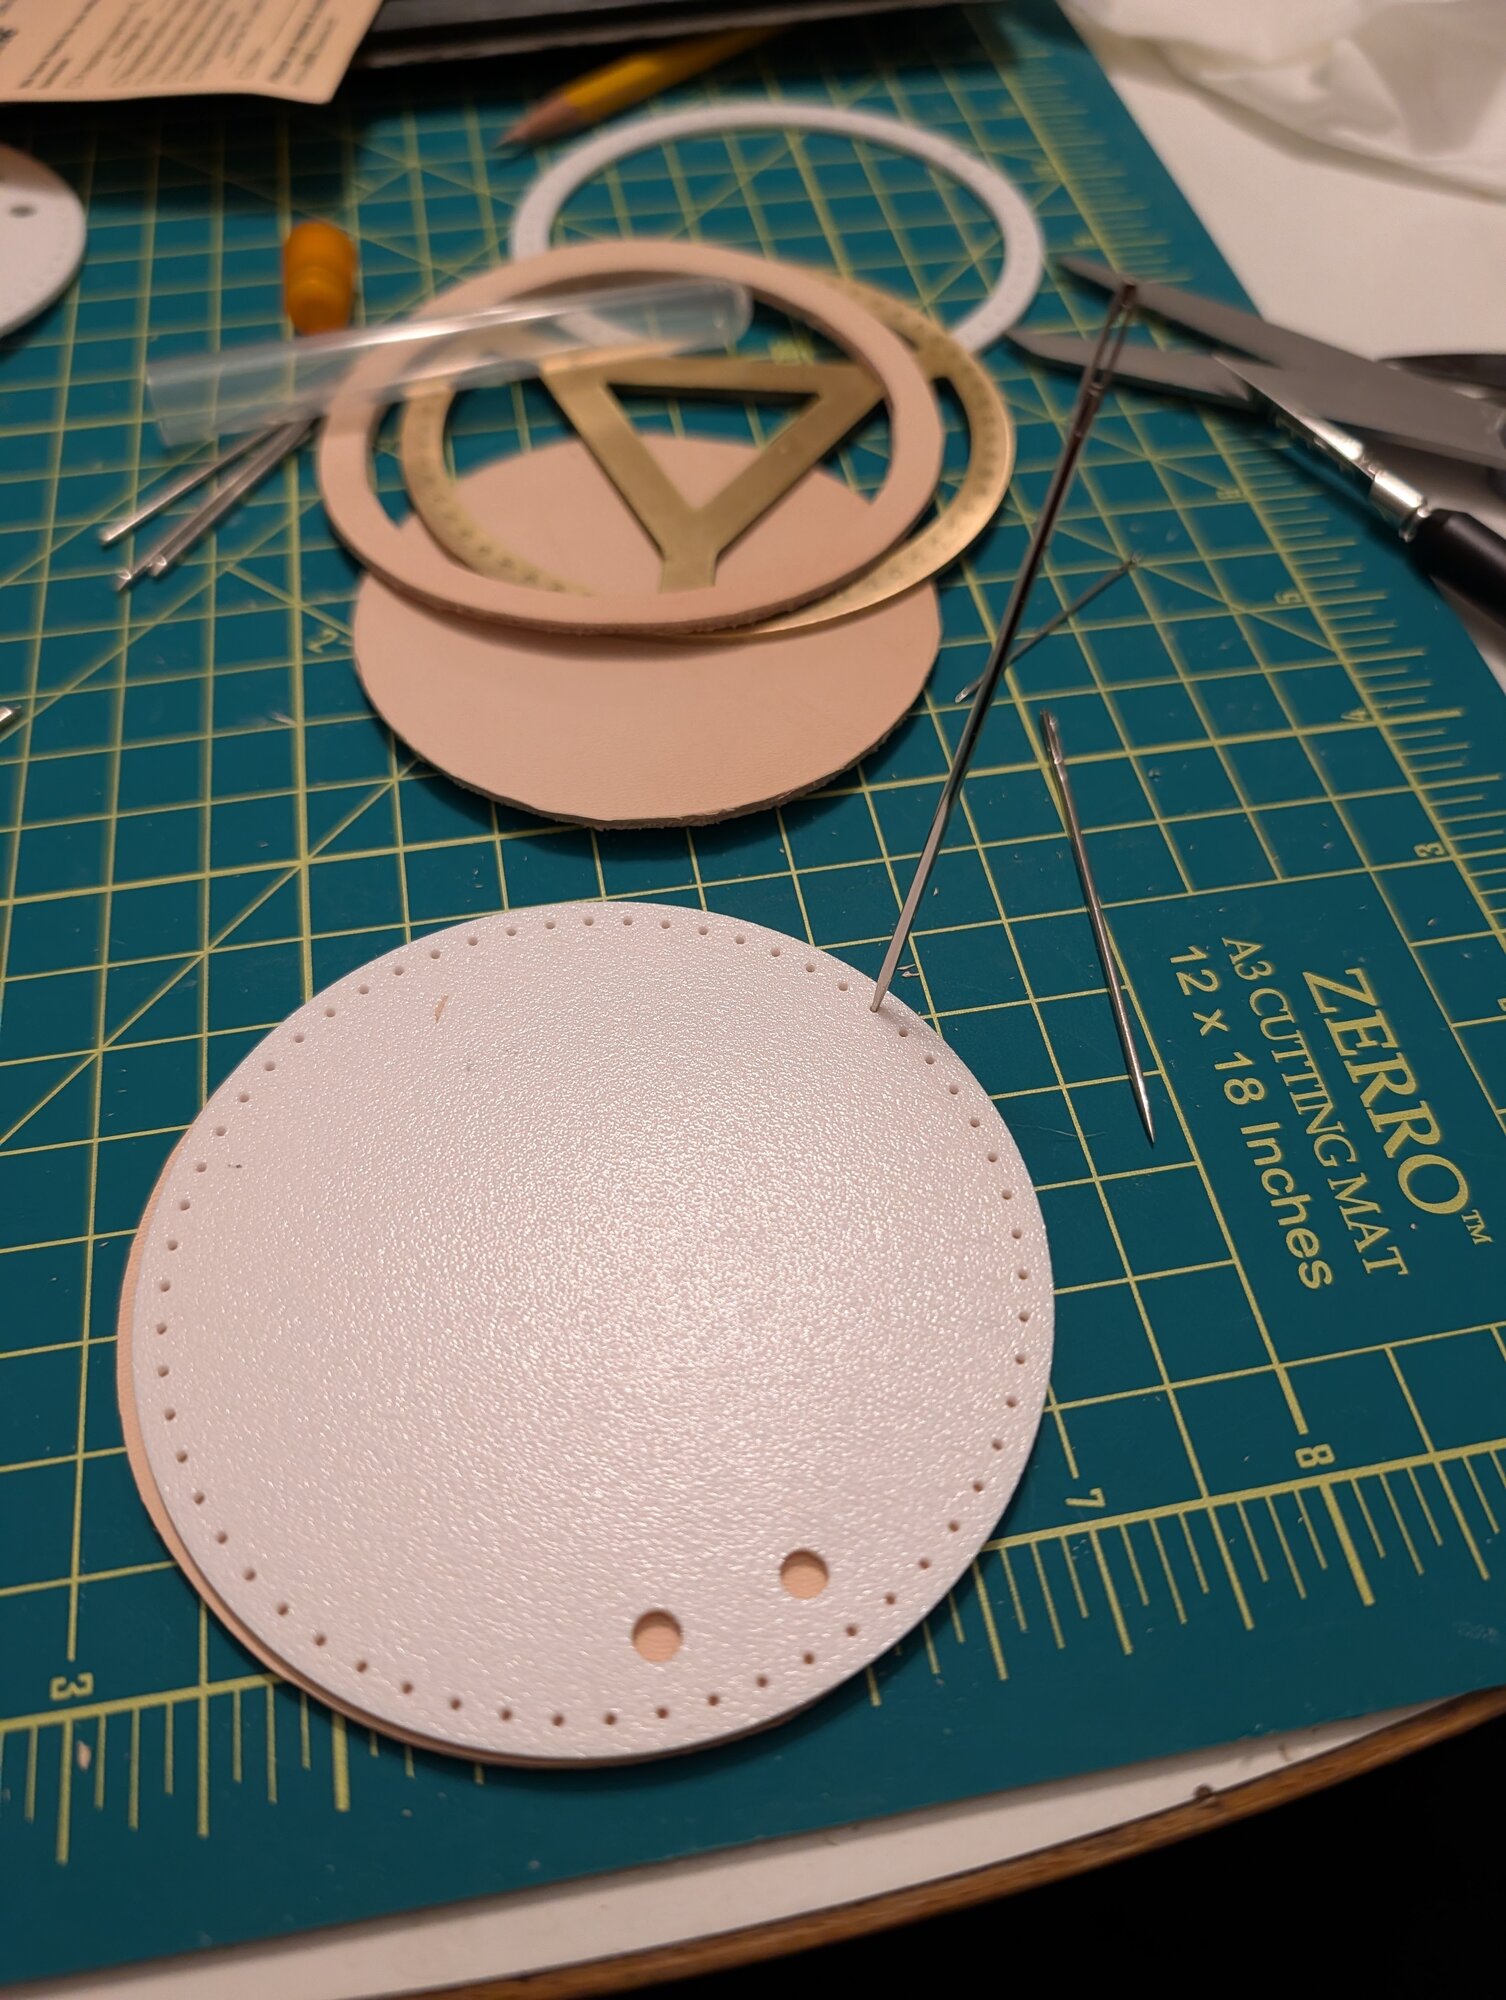
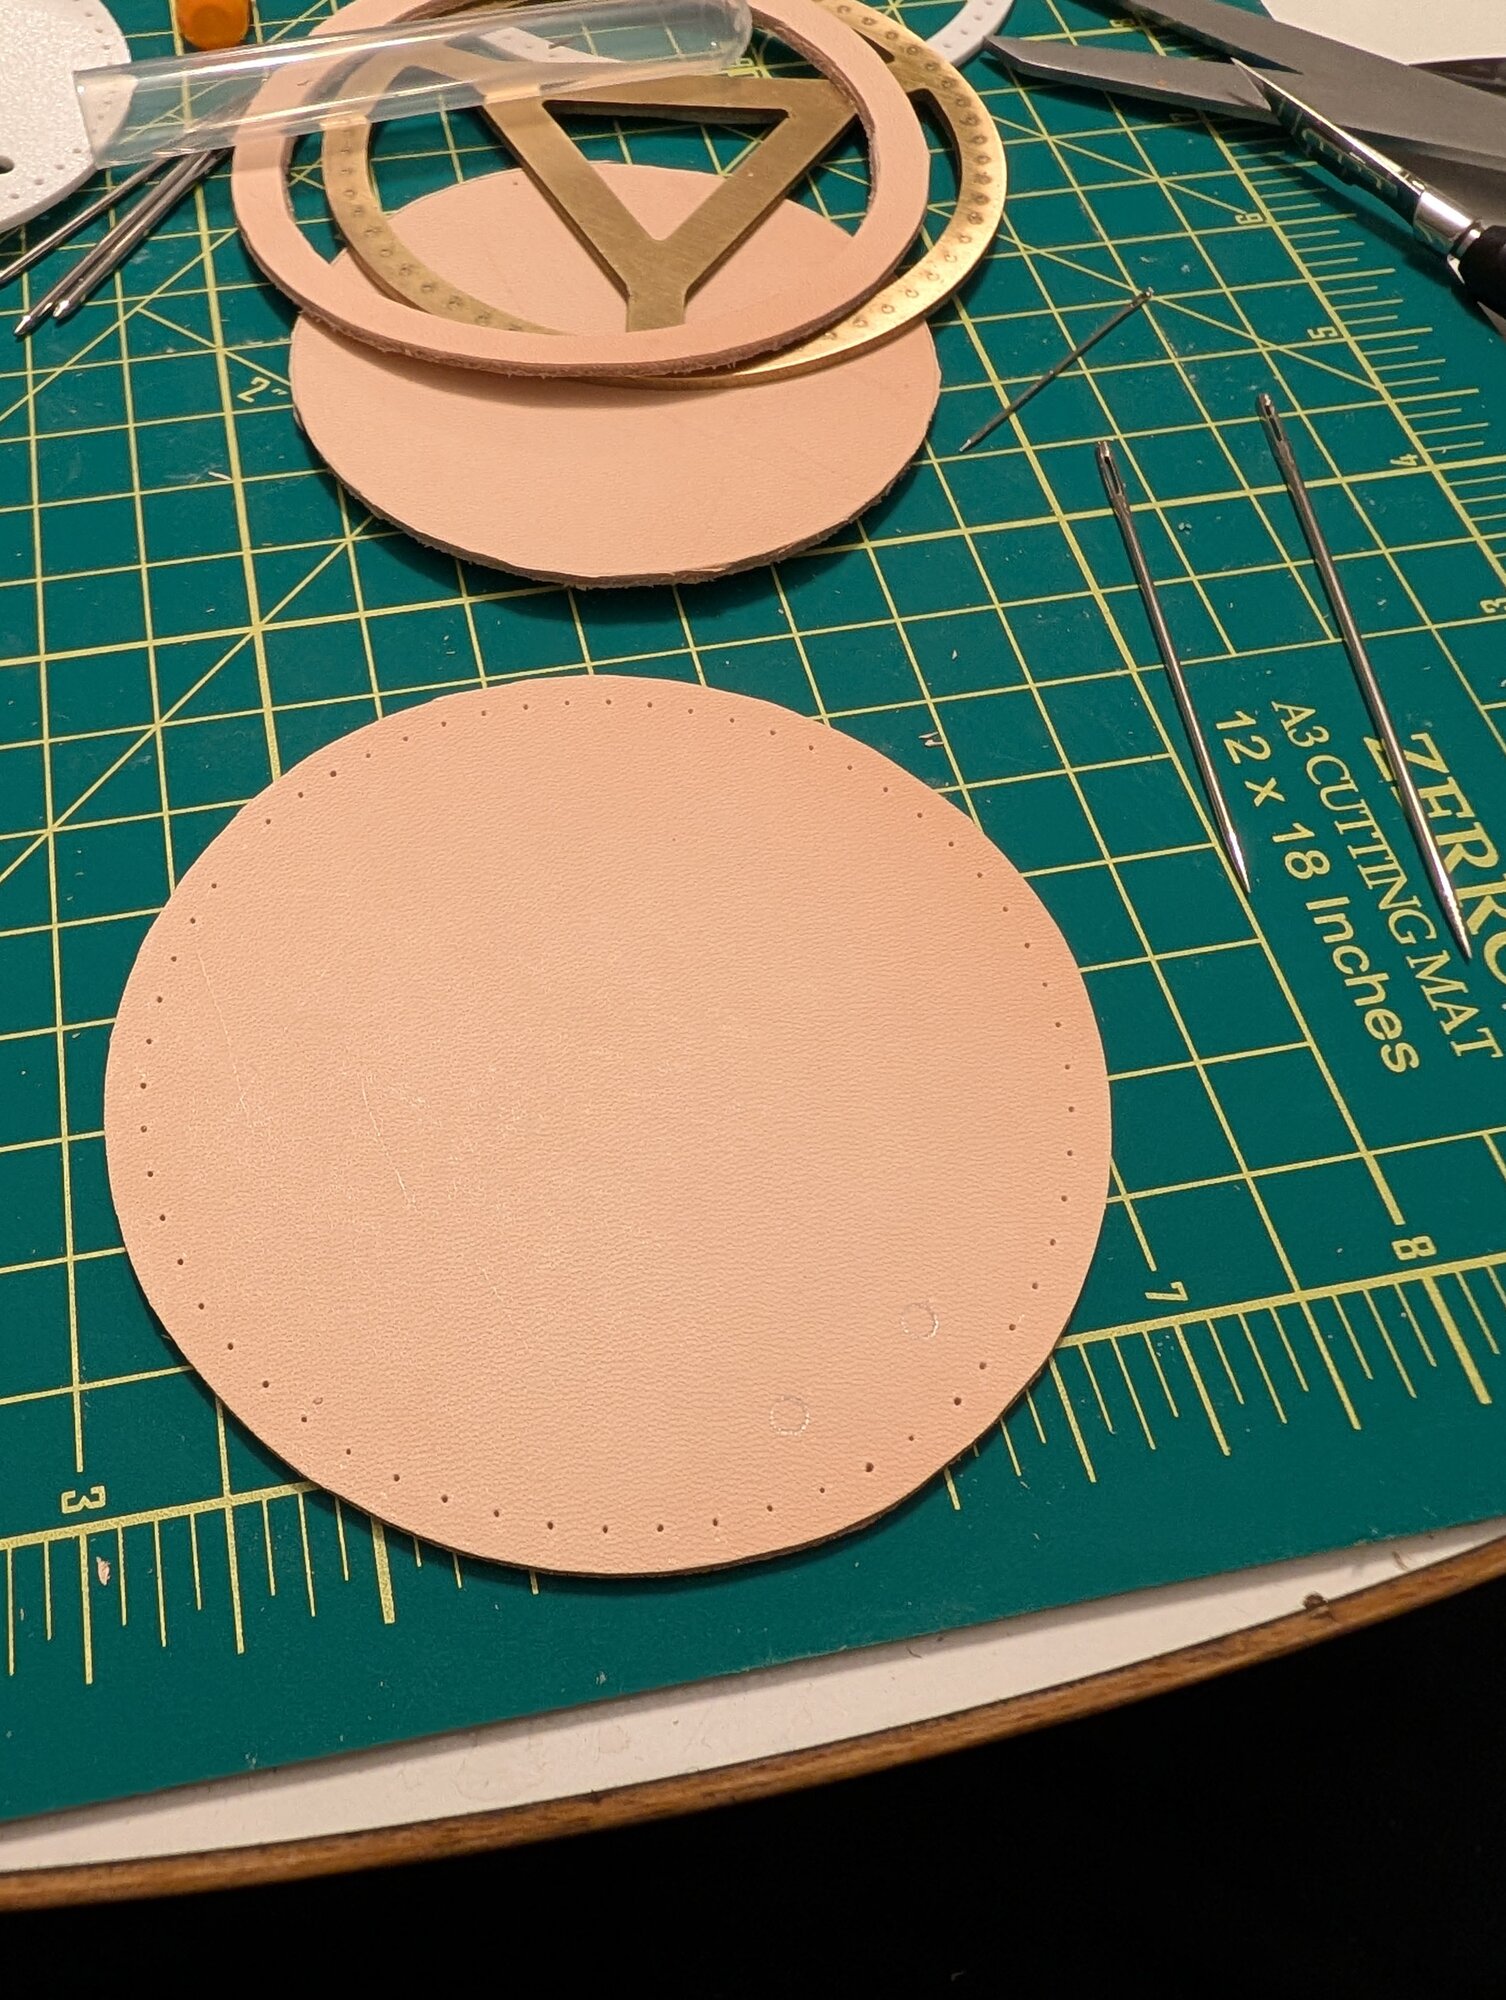
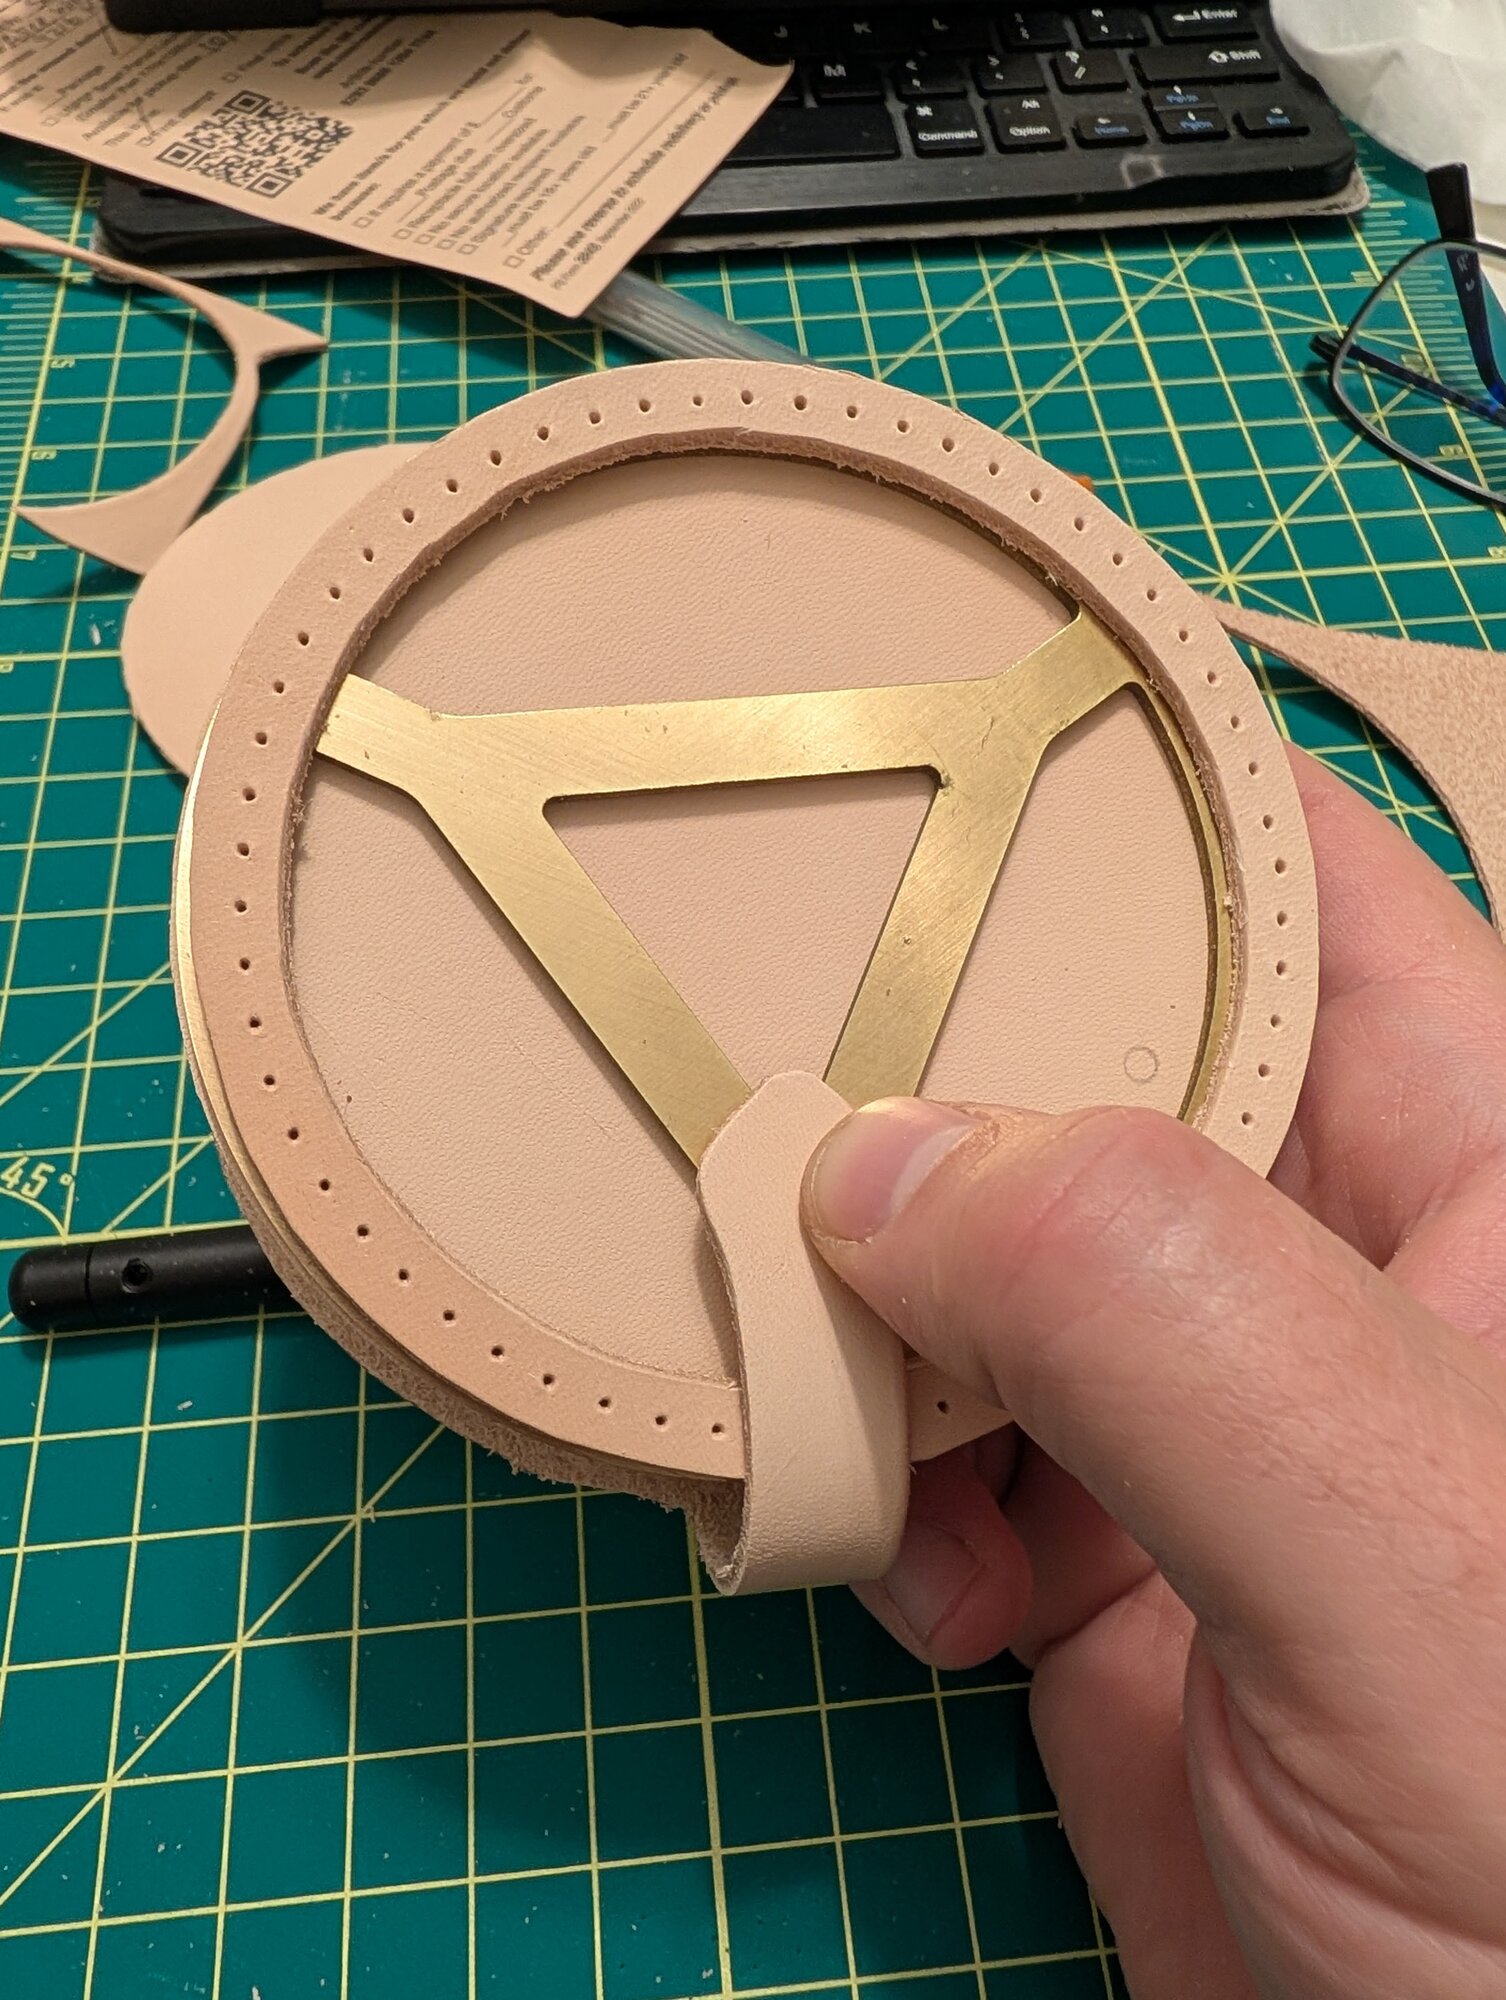
Finally, a quick dry fit of the whole assembly. The strap is slightly long, but I can make up for that by including more paper. Or cutting it down.
Friday, October 23rd, 2026
Another go at cutting the brass piece. I got the nitrogen hooked up on the M3, so I thought I would try it again.
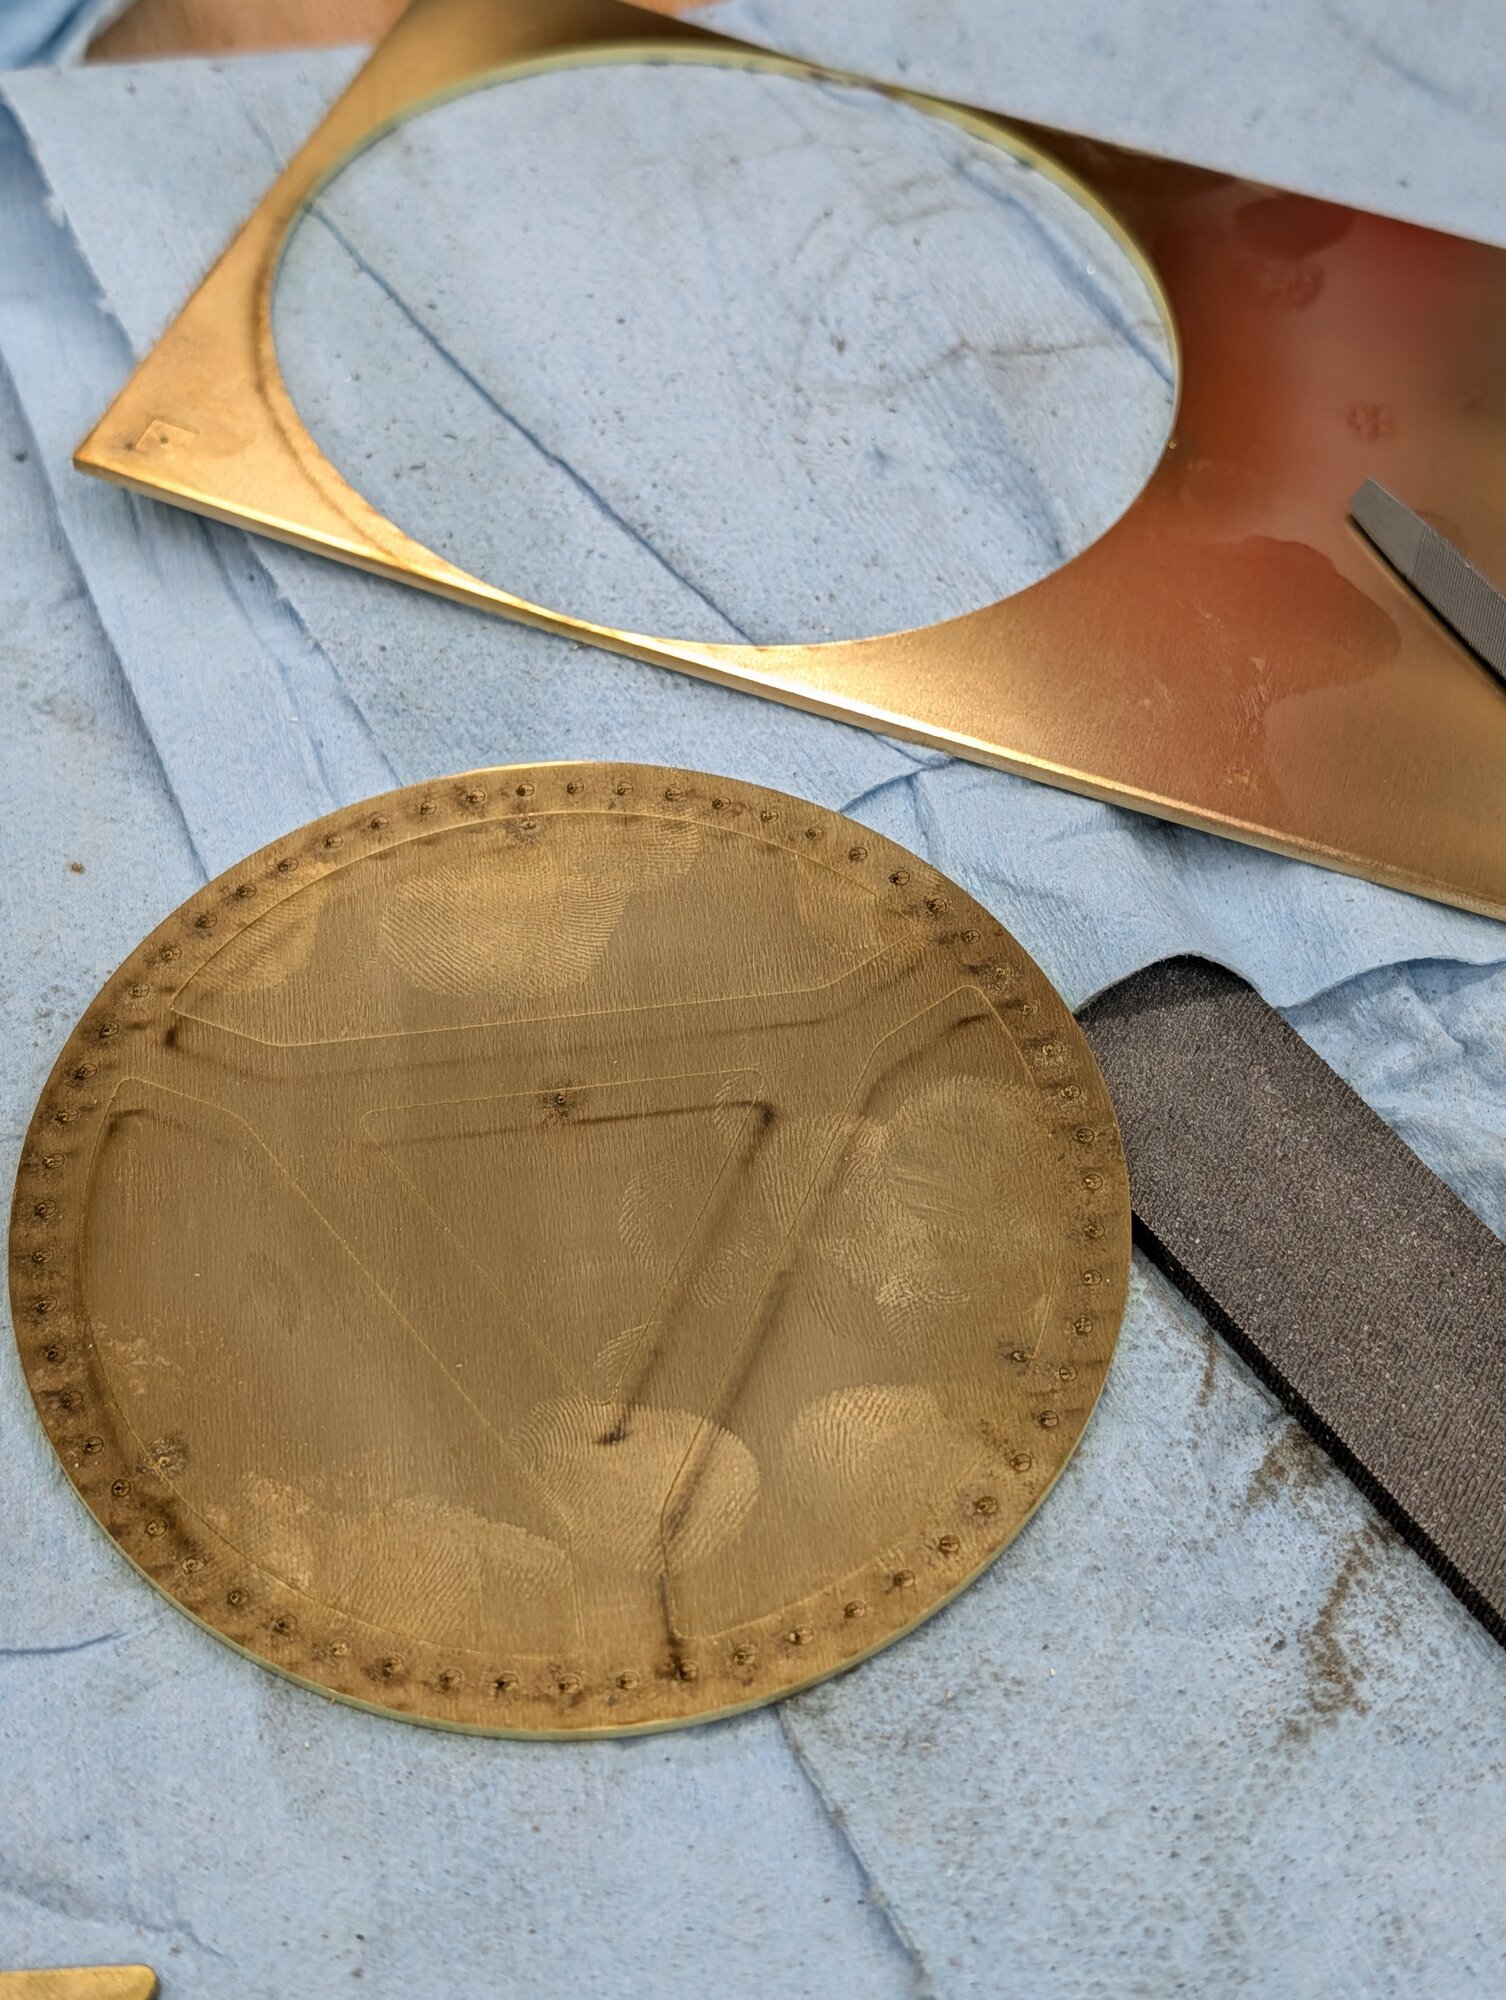
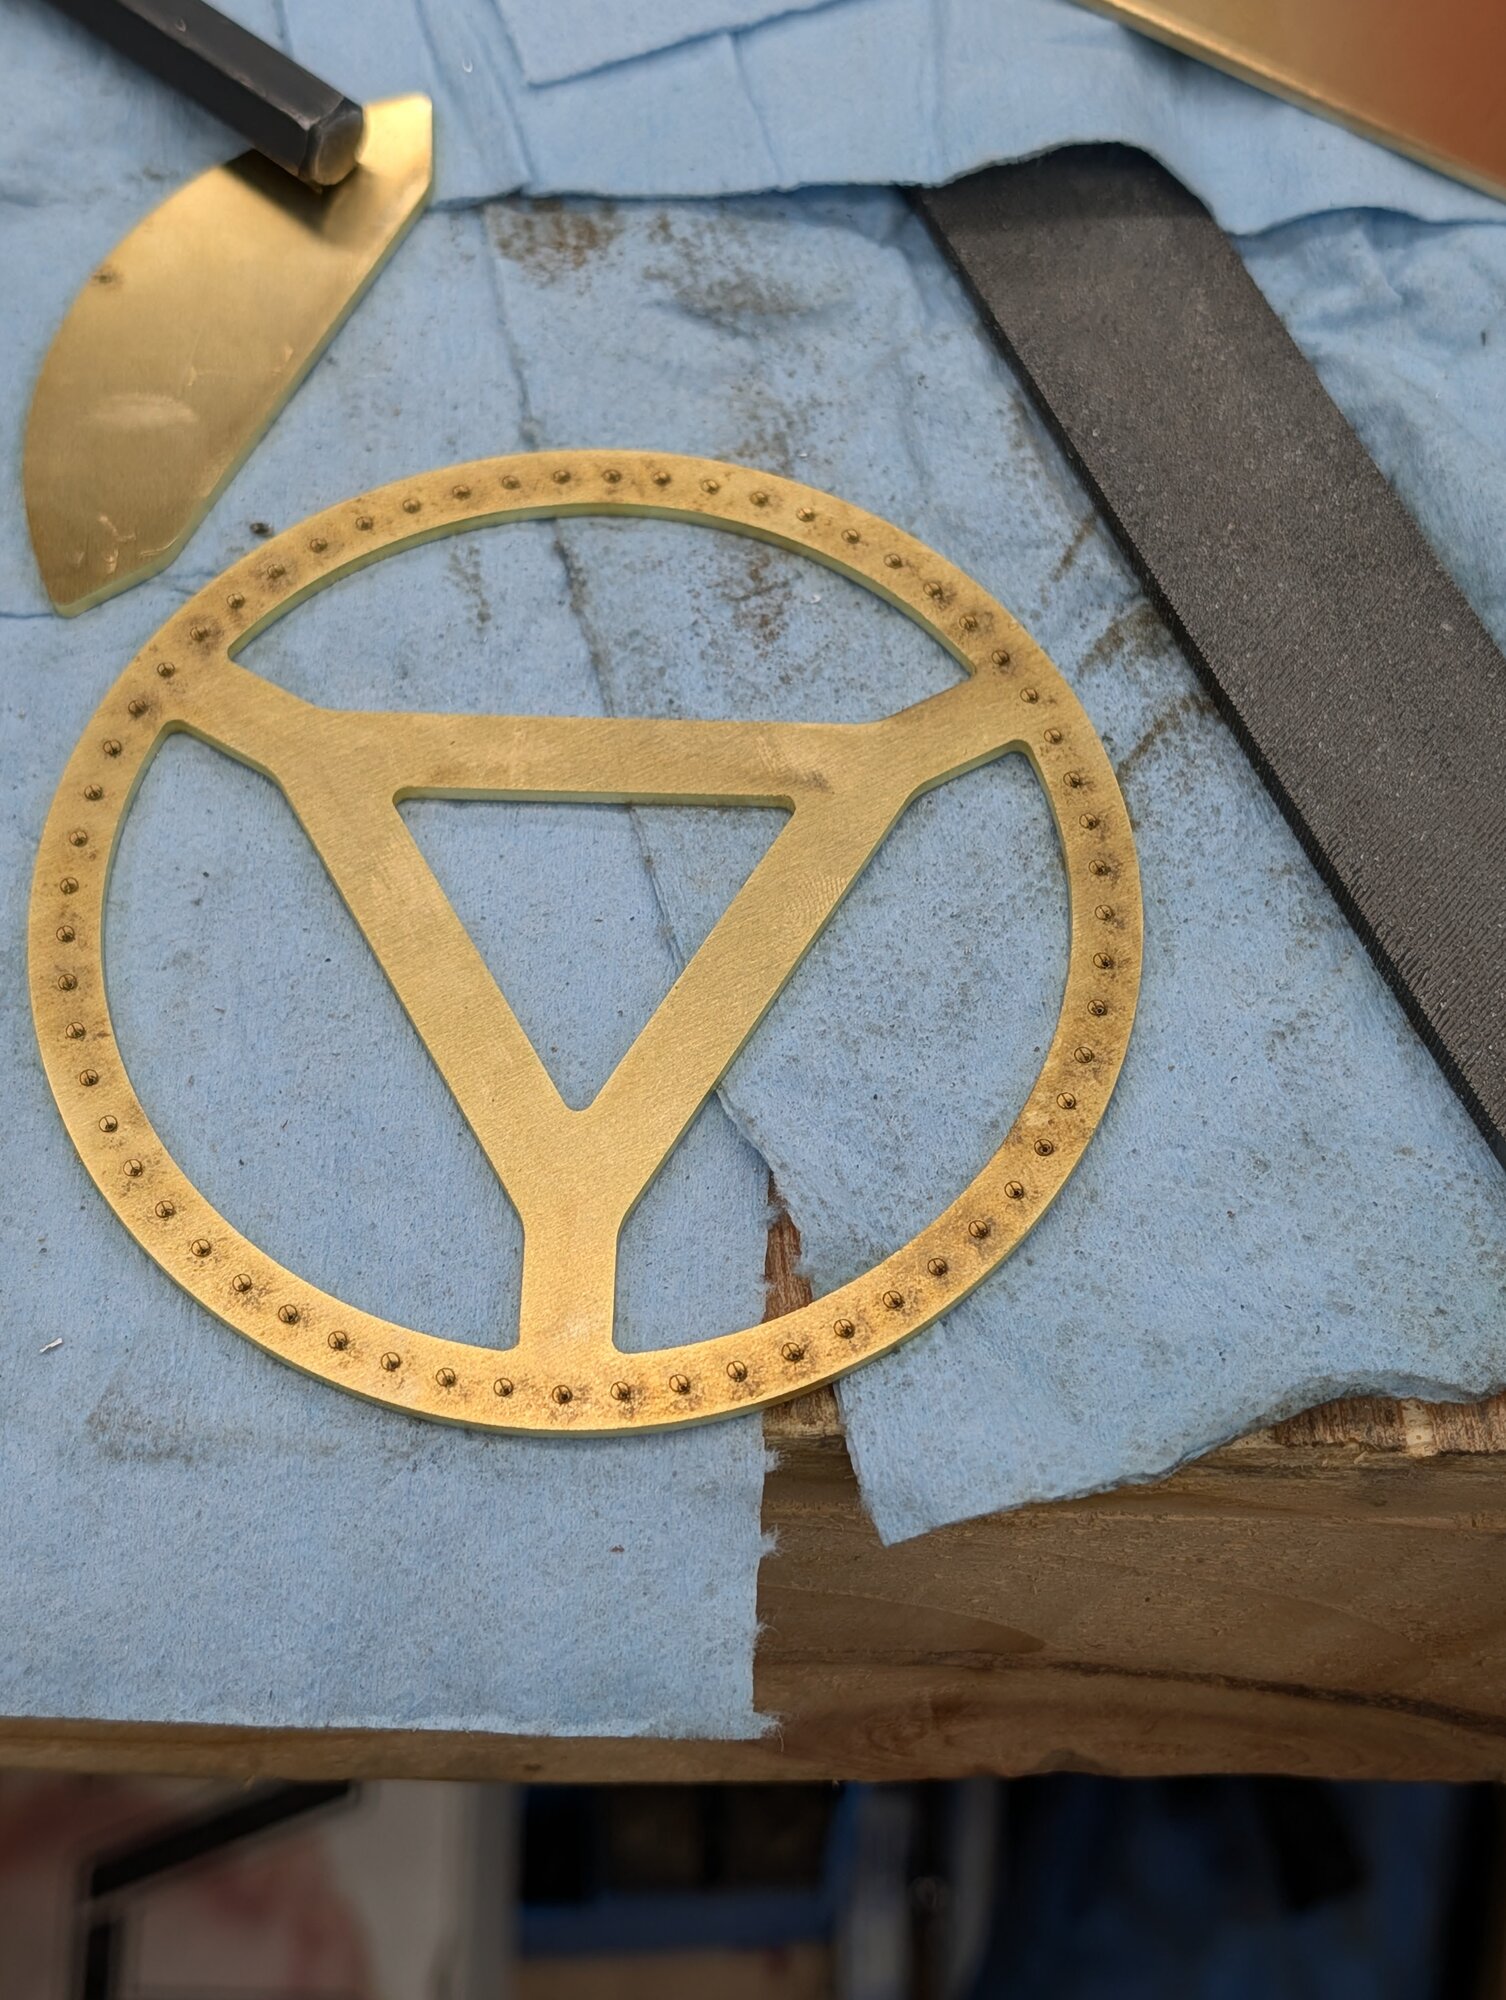
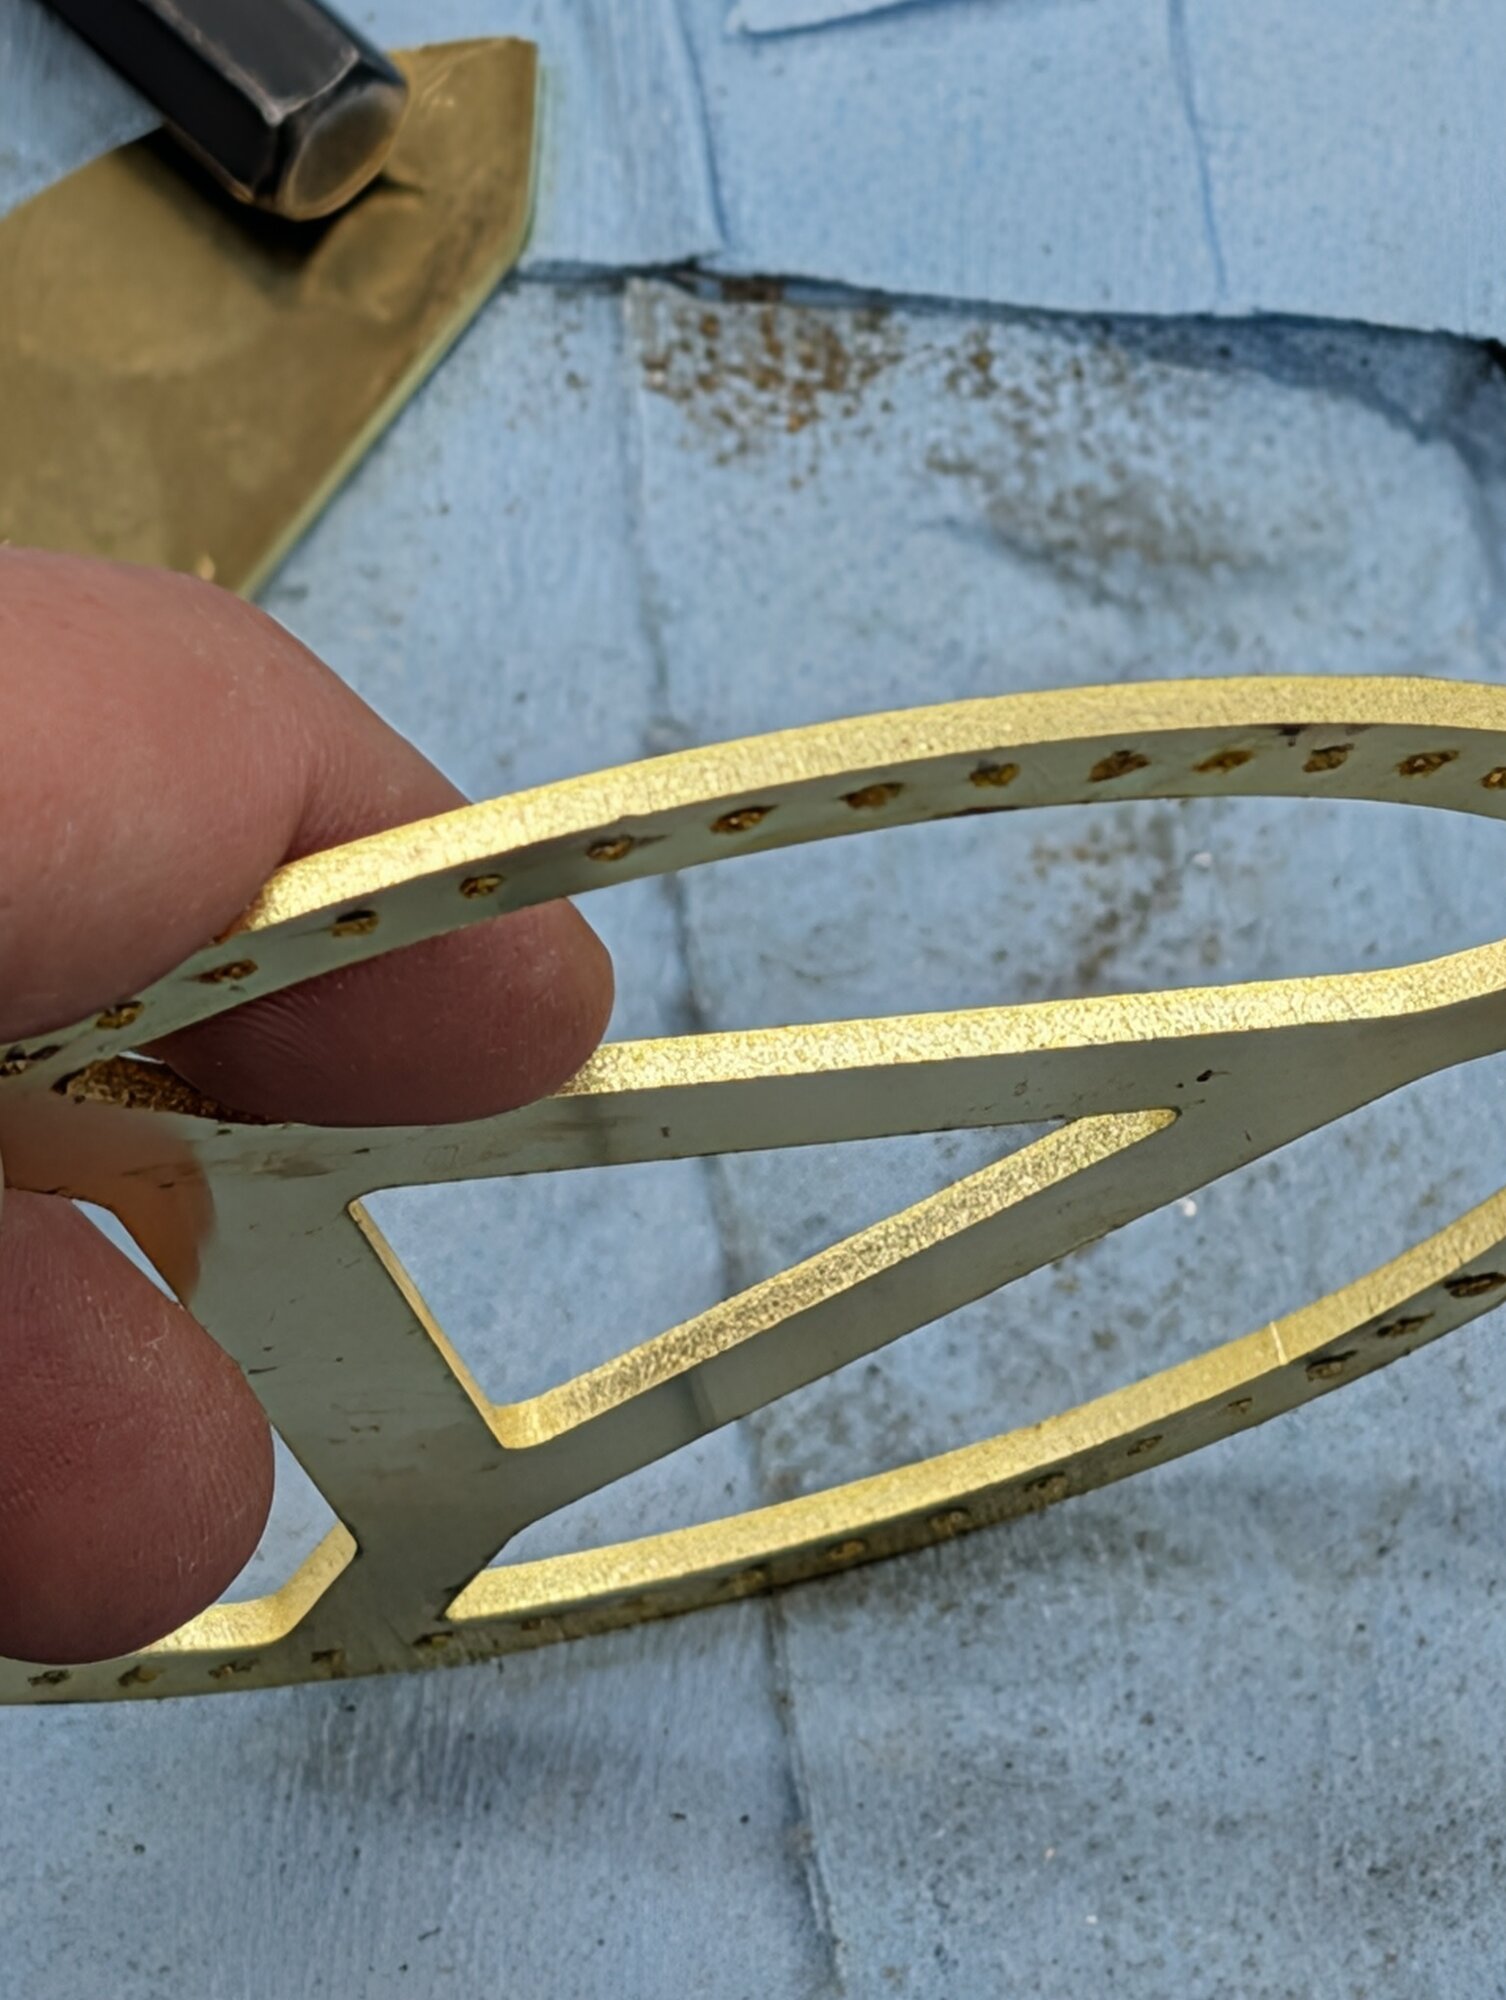
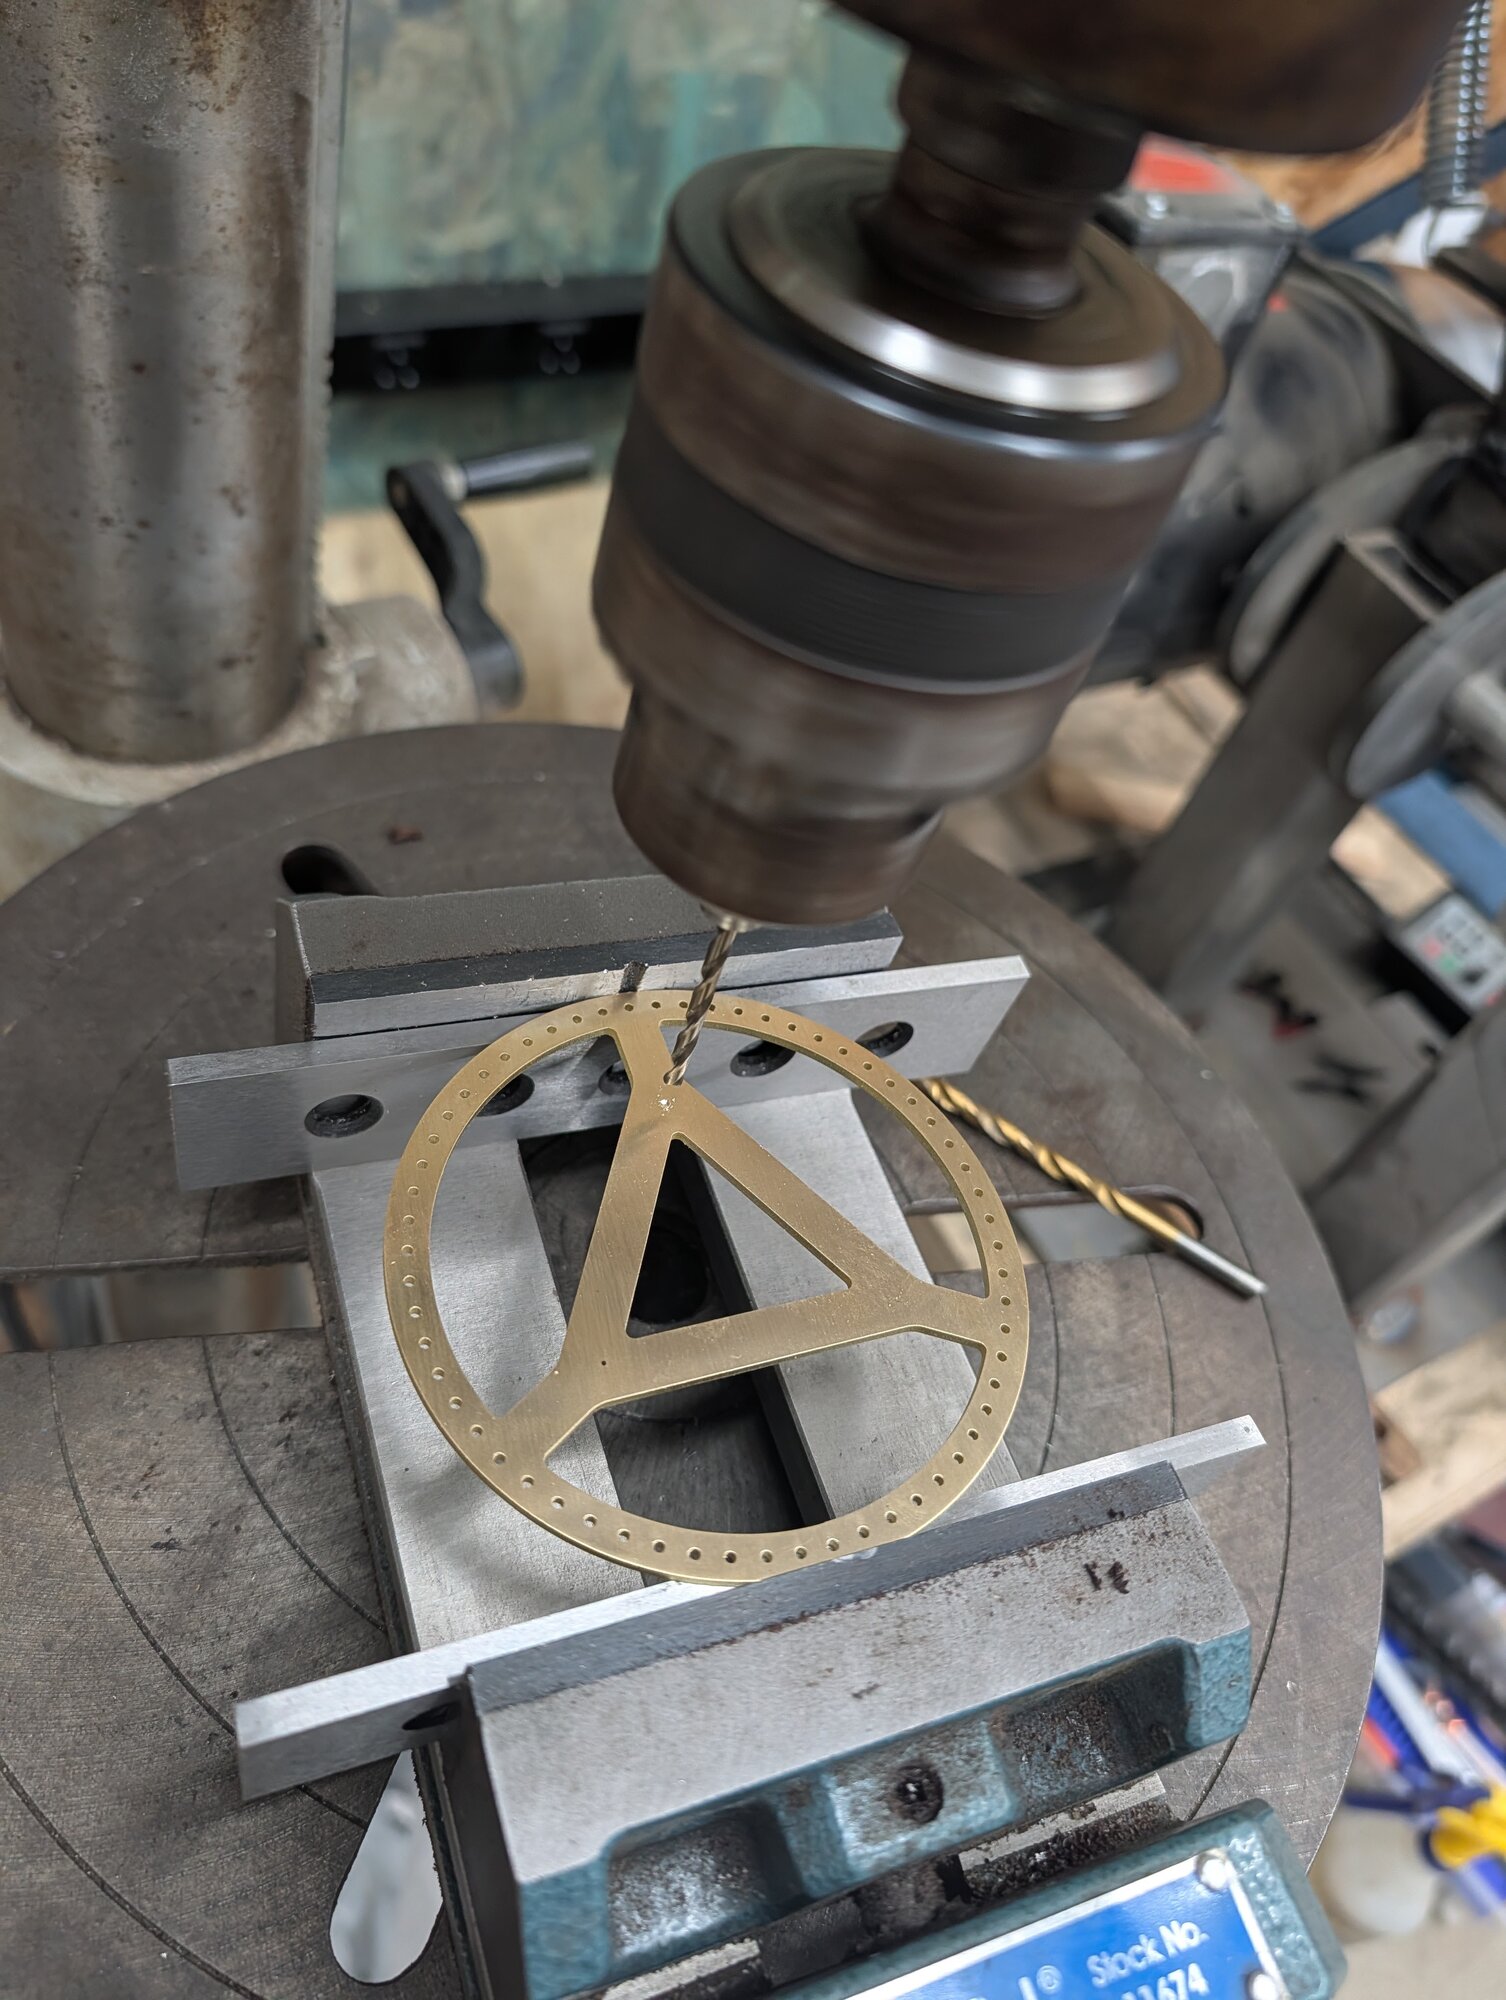
As you can see, the results were quite good, although I had to punch out the waste with a big punch for the large areas and a really small drill bit for the holes. Everything came out fairly easily.
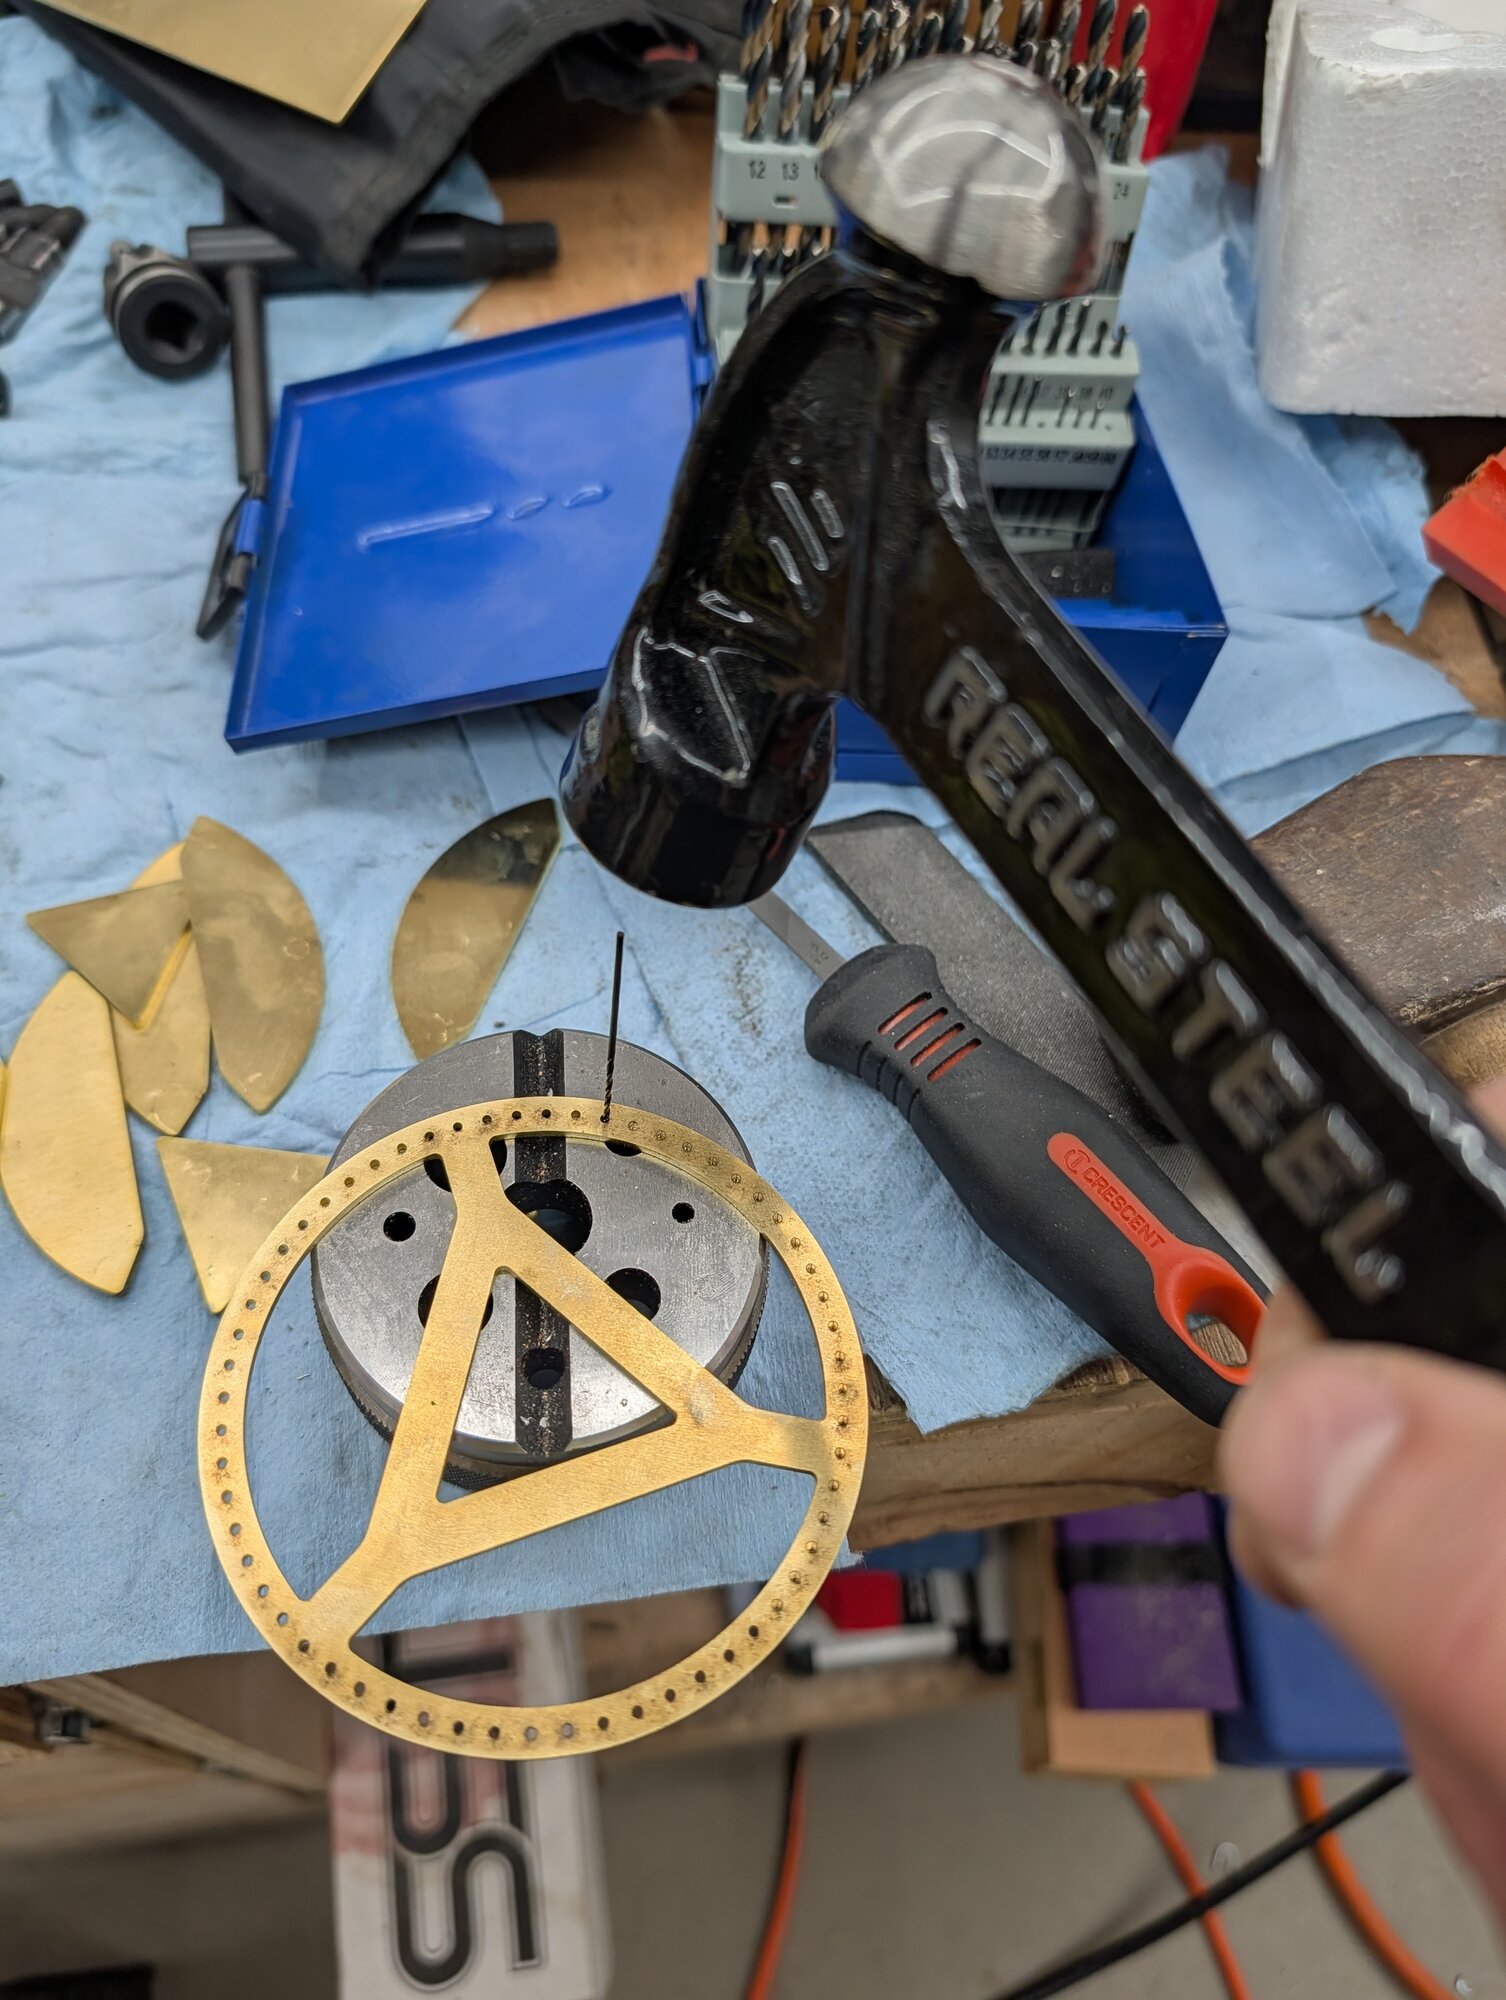
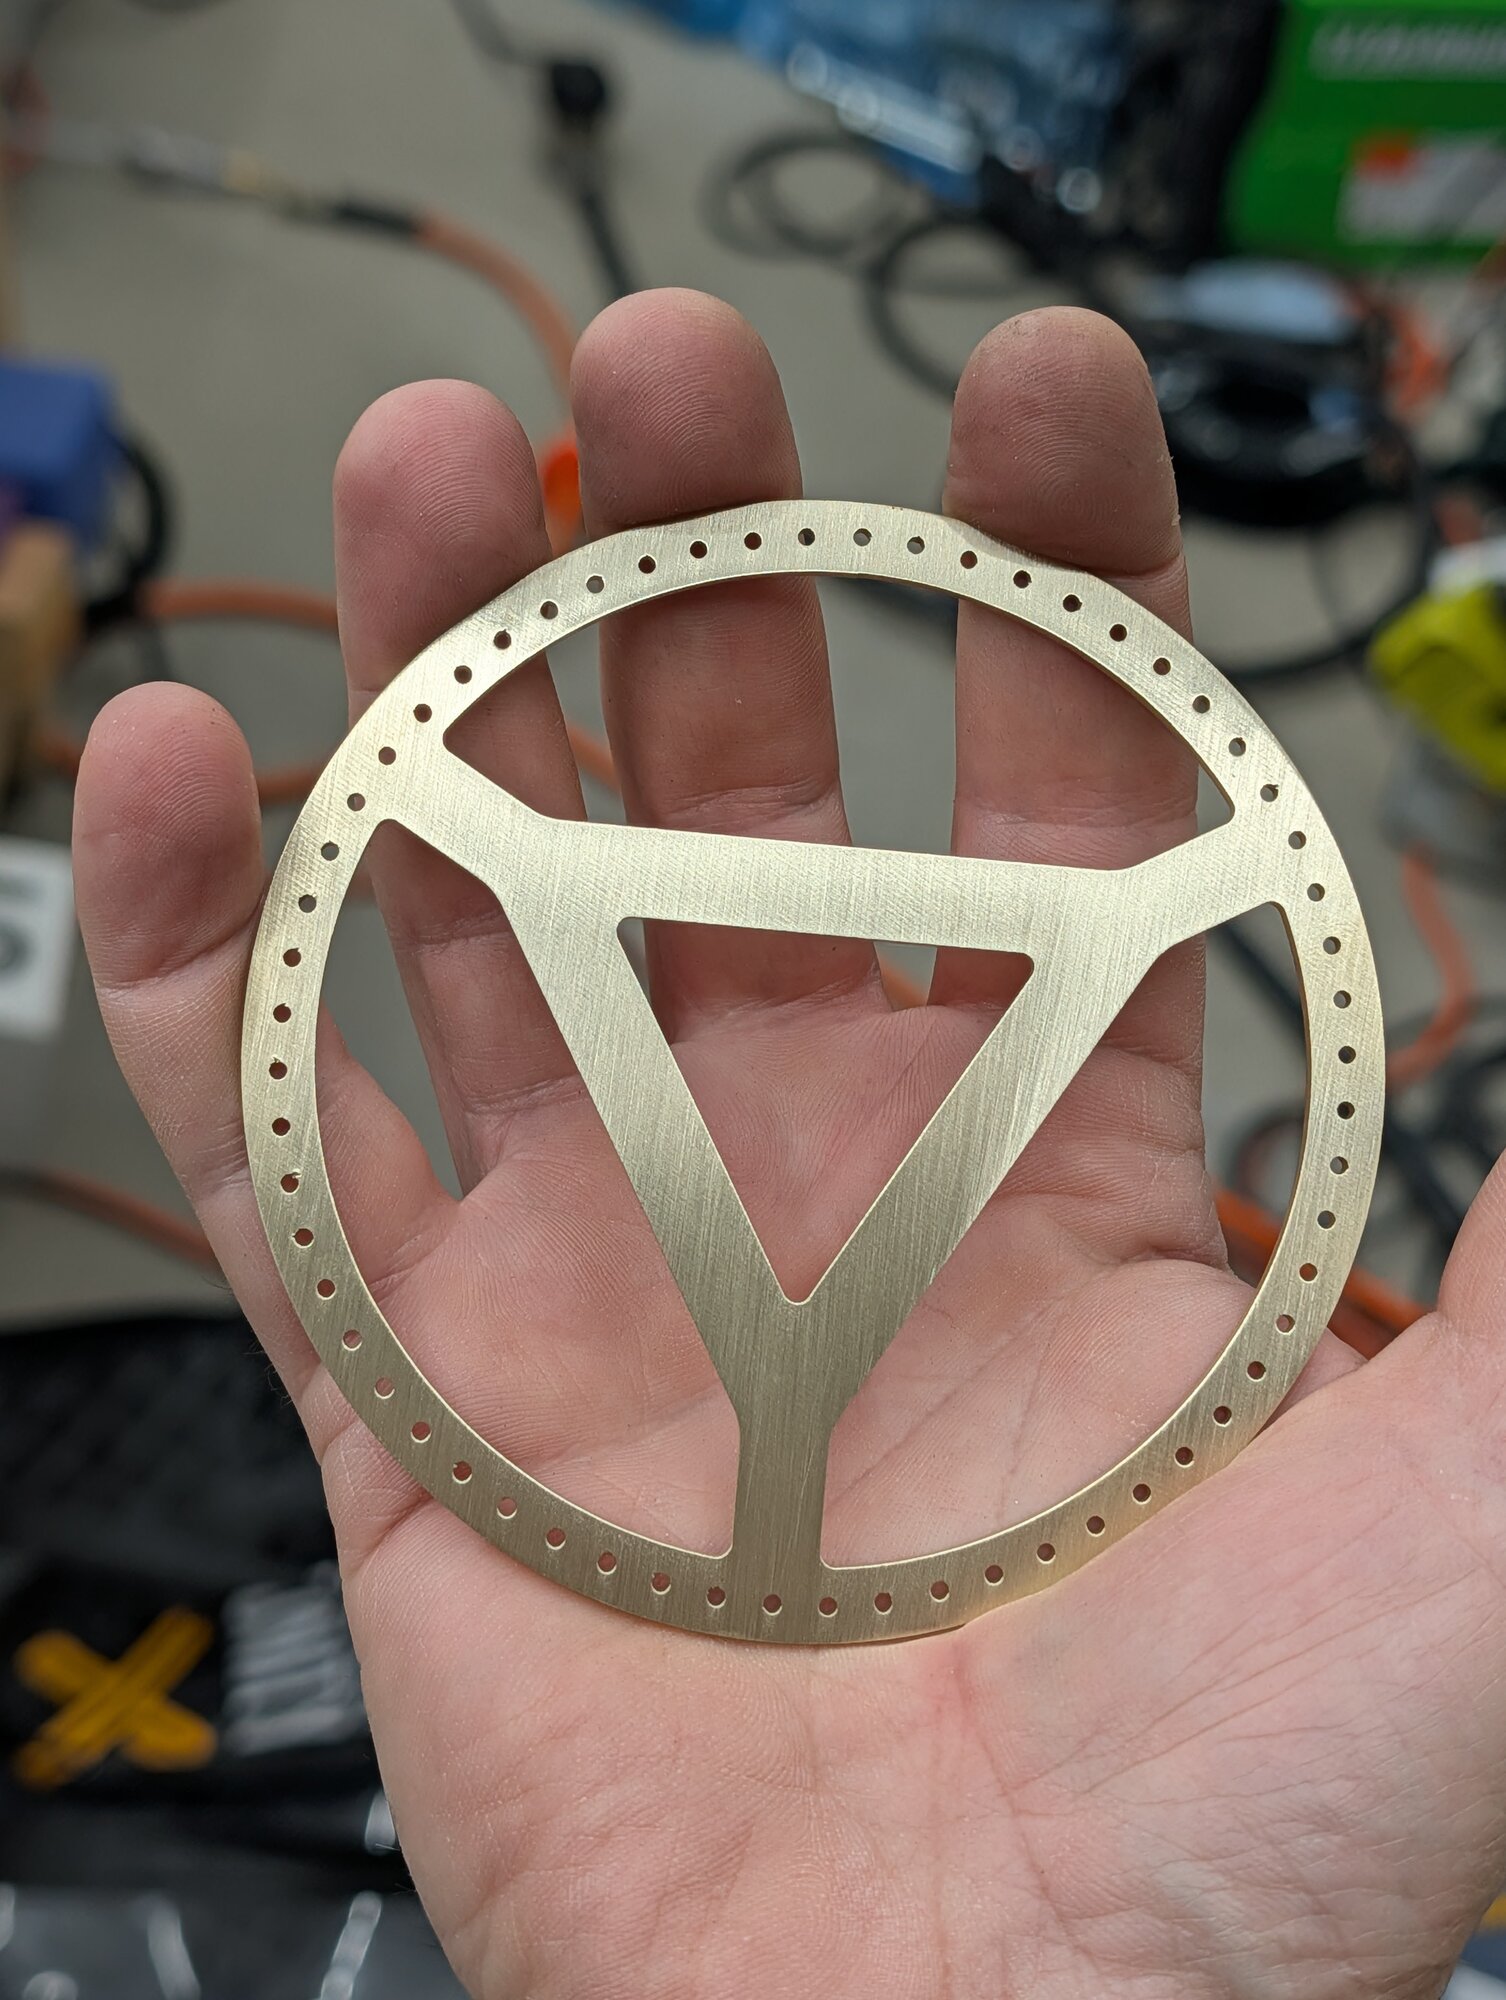
However.
The nitrogen definitely helped make a nice clean cut, both because it prevents oxidation and because it runs at a higher pressure than my compressor can manage. But I looked up halfway through the cut and I could see the tank pressure was way down. I just barely finished this small piece before the tank was completely empty.
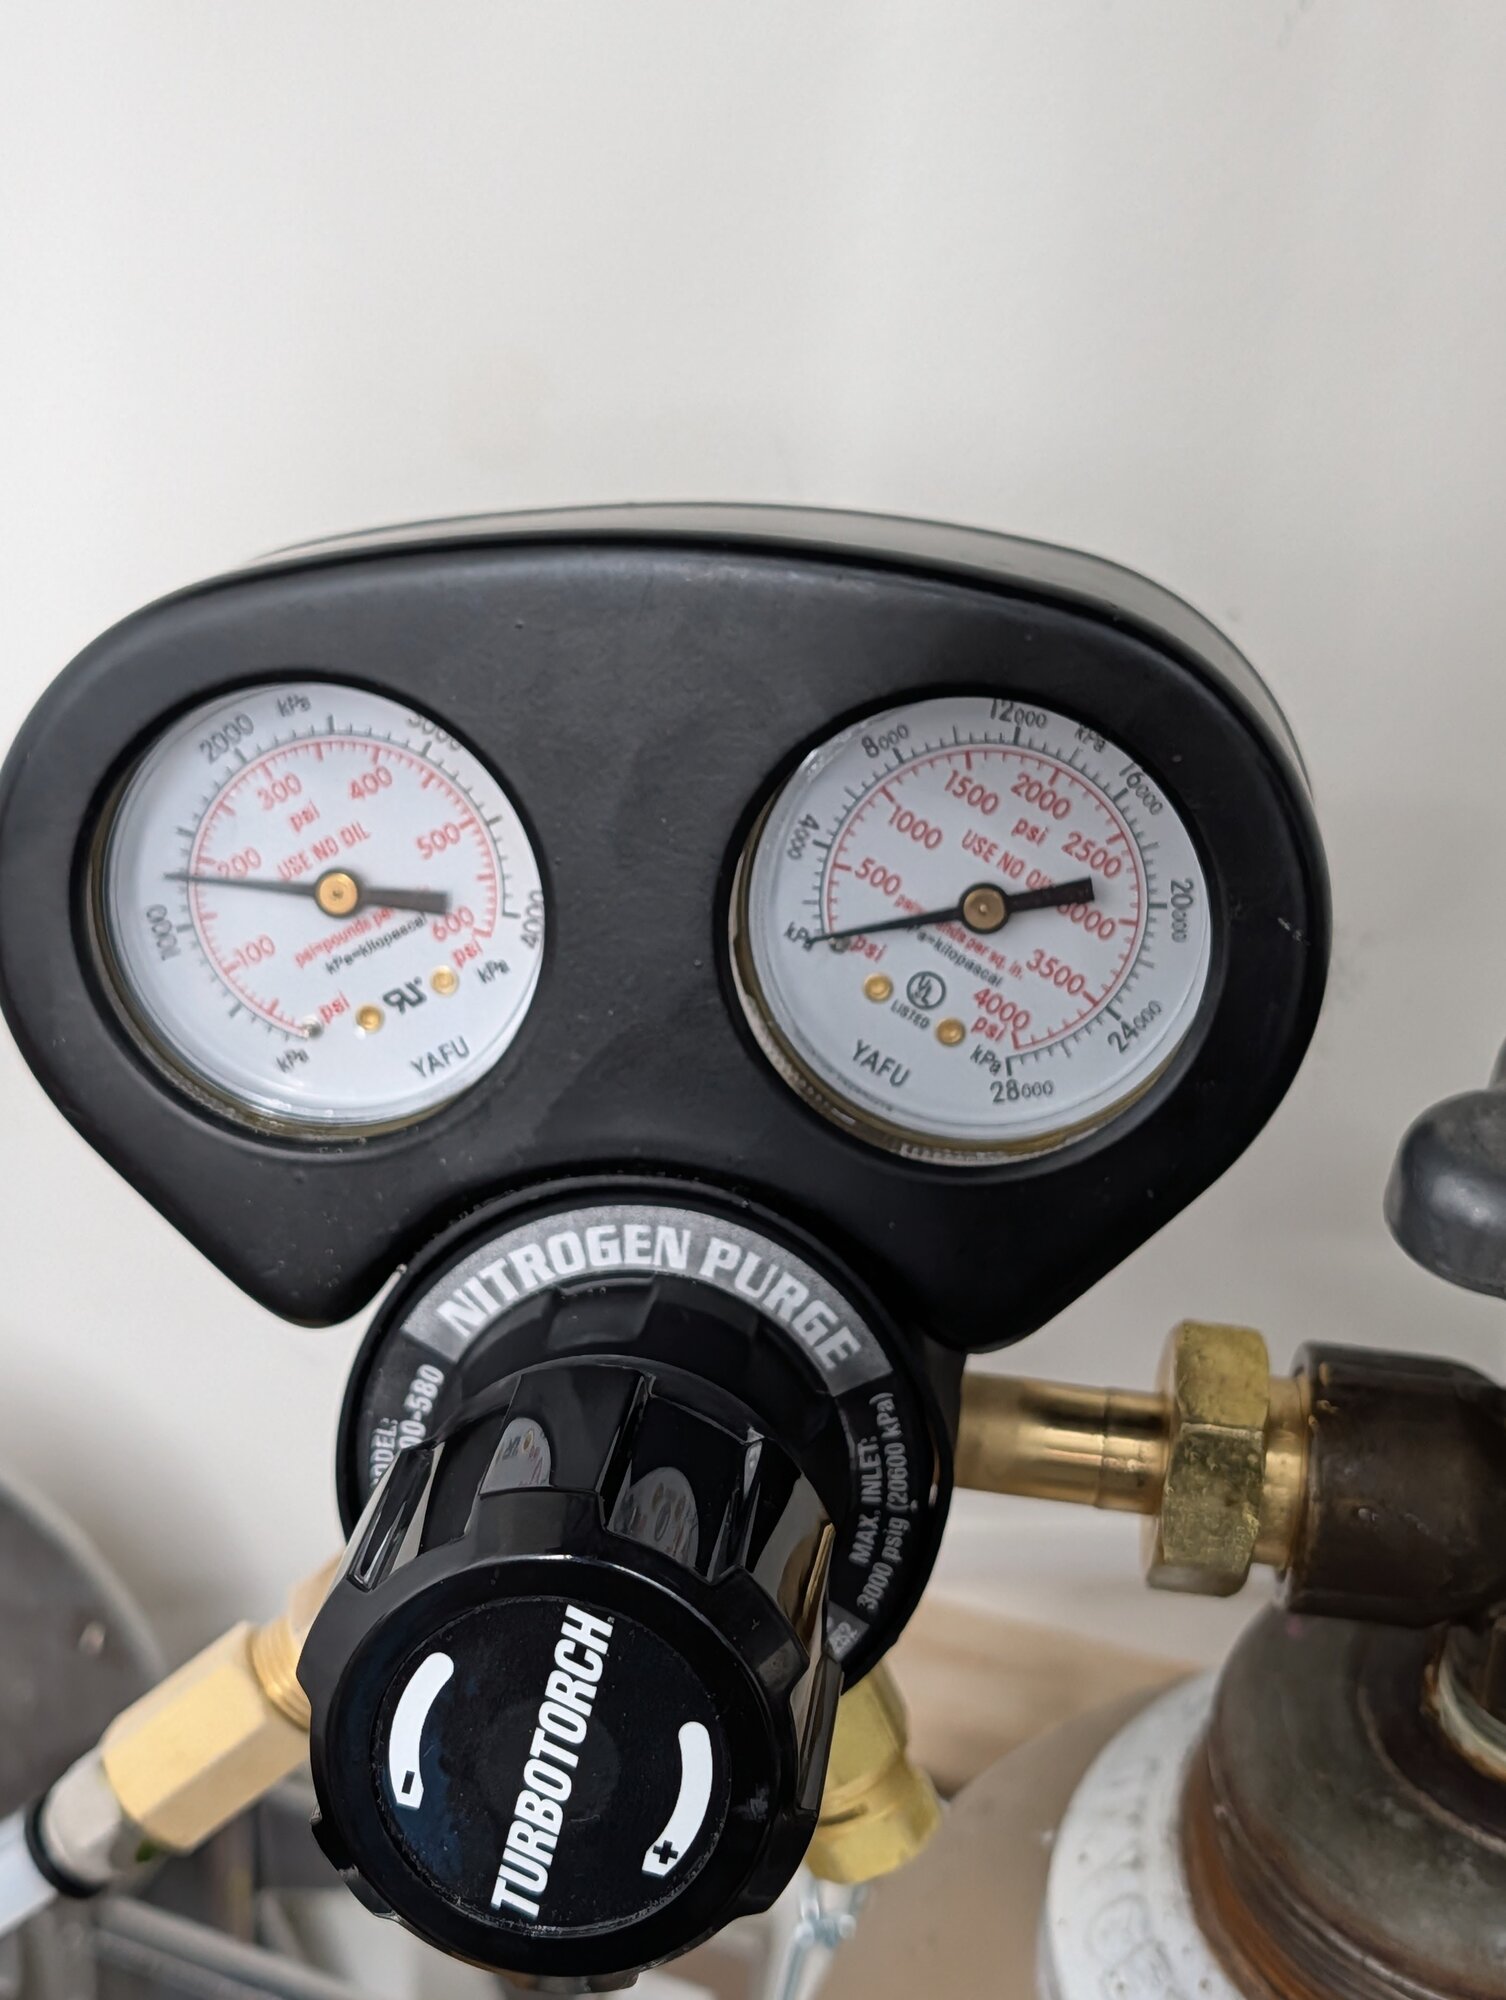
Holy dollar bills, Batman: an entire tank just to do this one thing. That's something like $50.
Obviously, I will need to consider carefully when I use bottled gas in the future, and rely on compressed air most of the time. That's the last metal cut I'll need for this project, though. If I do anything else, it'll be on the CO2 laser.
Saturday, October 24th, 2026
Final assembly day.
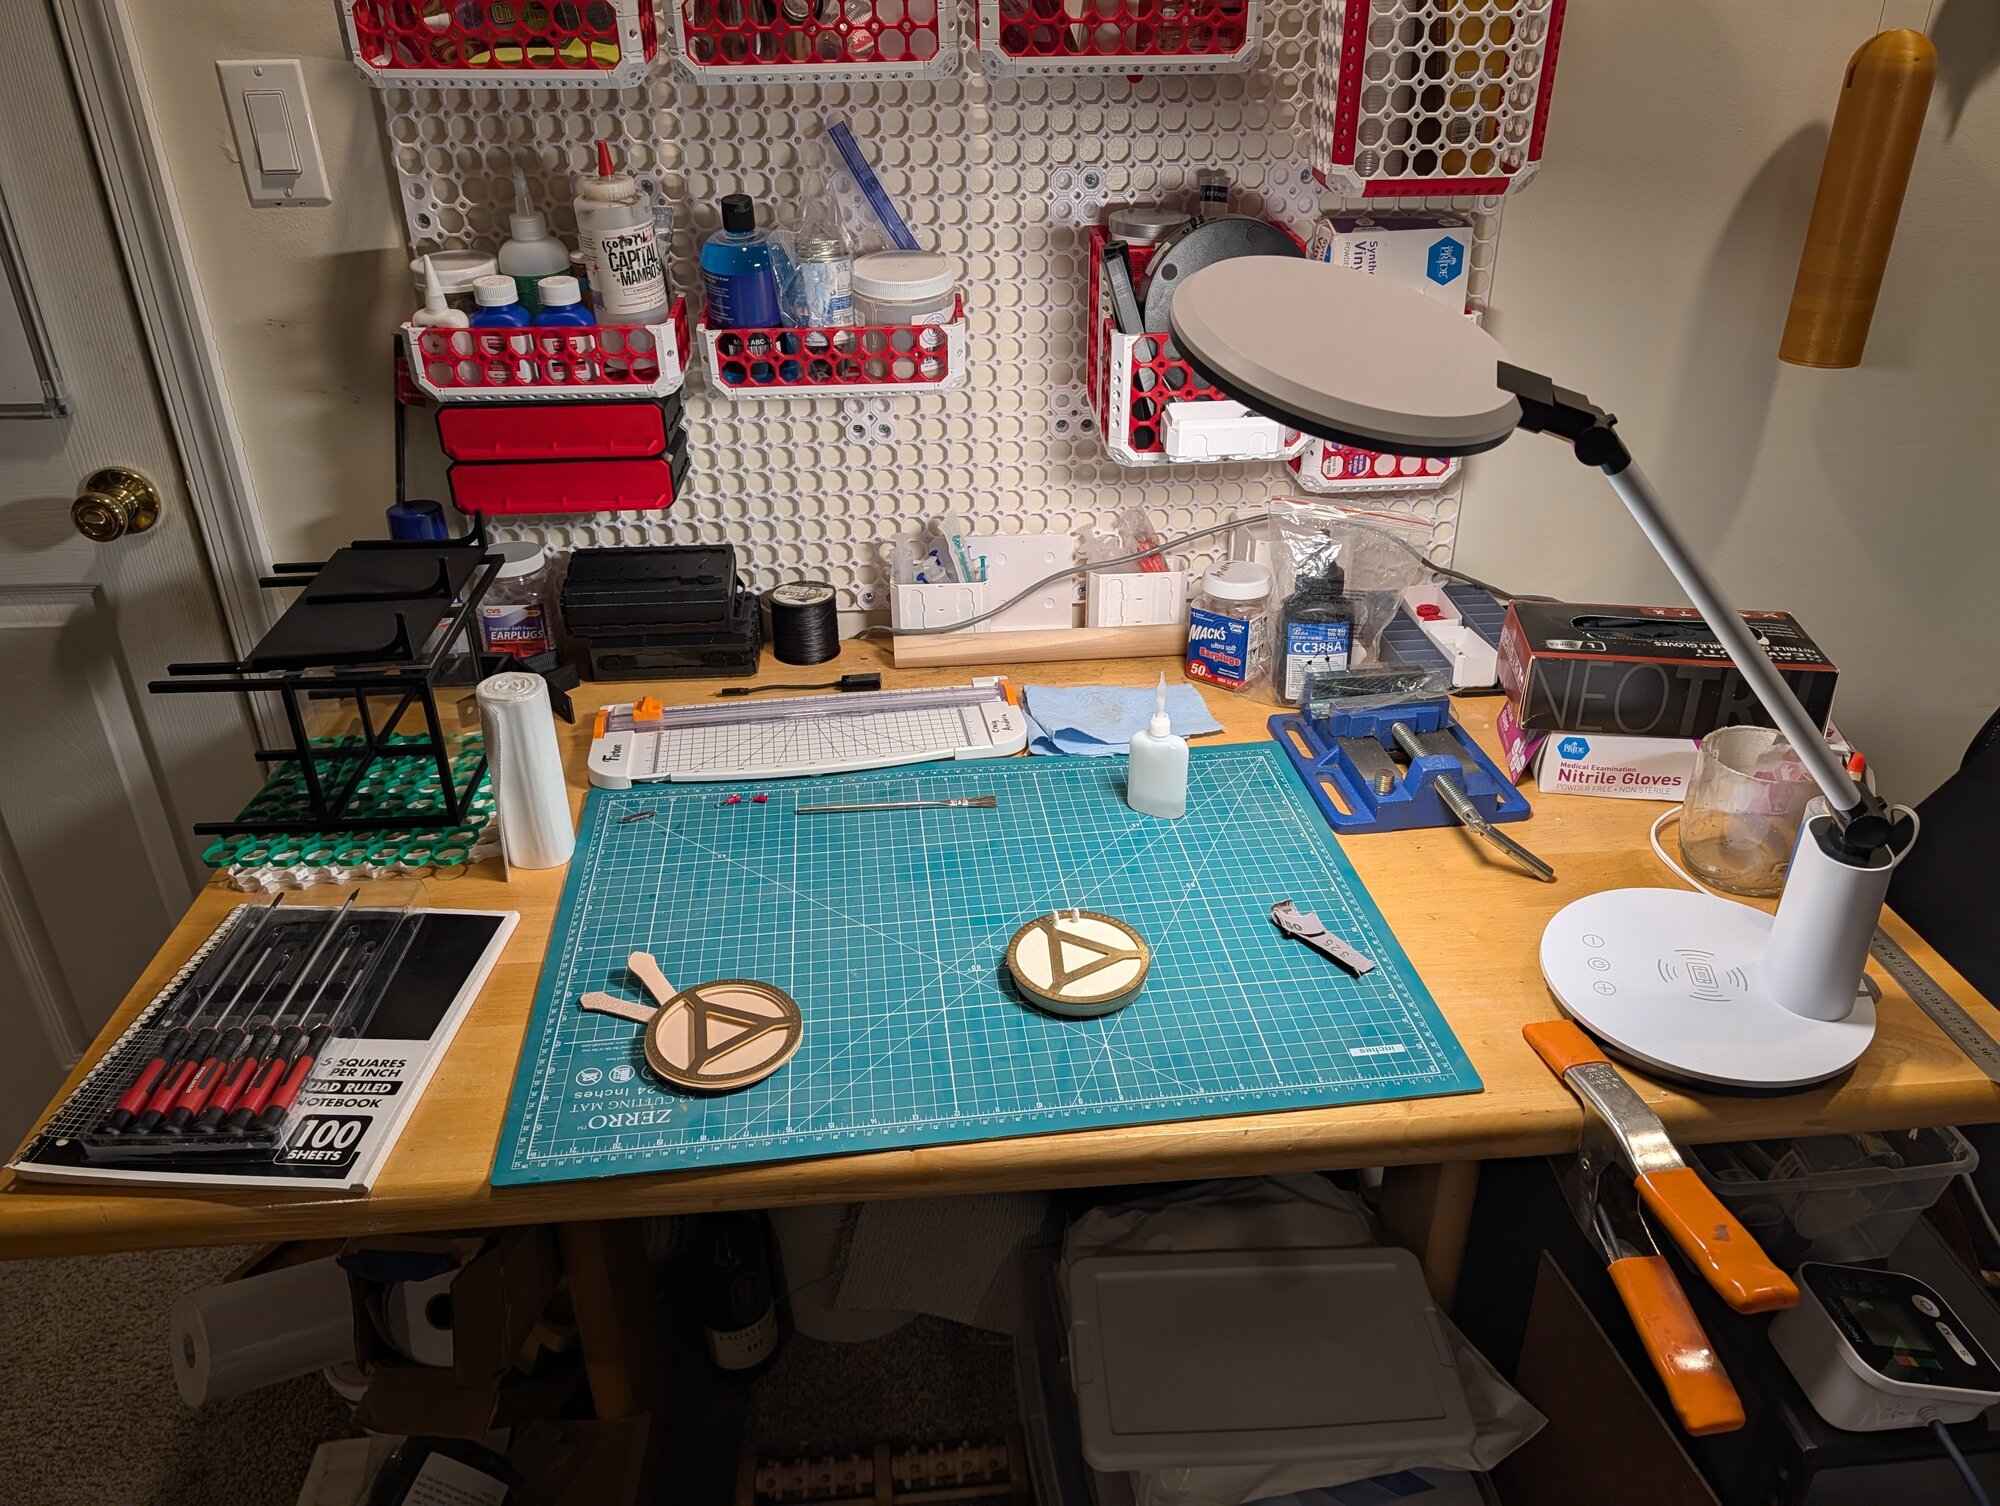
I had an extra bit of leather on the closure that I considered sewing on, but ultimately decided to omit.
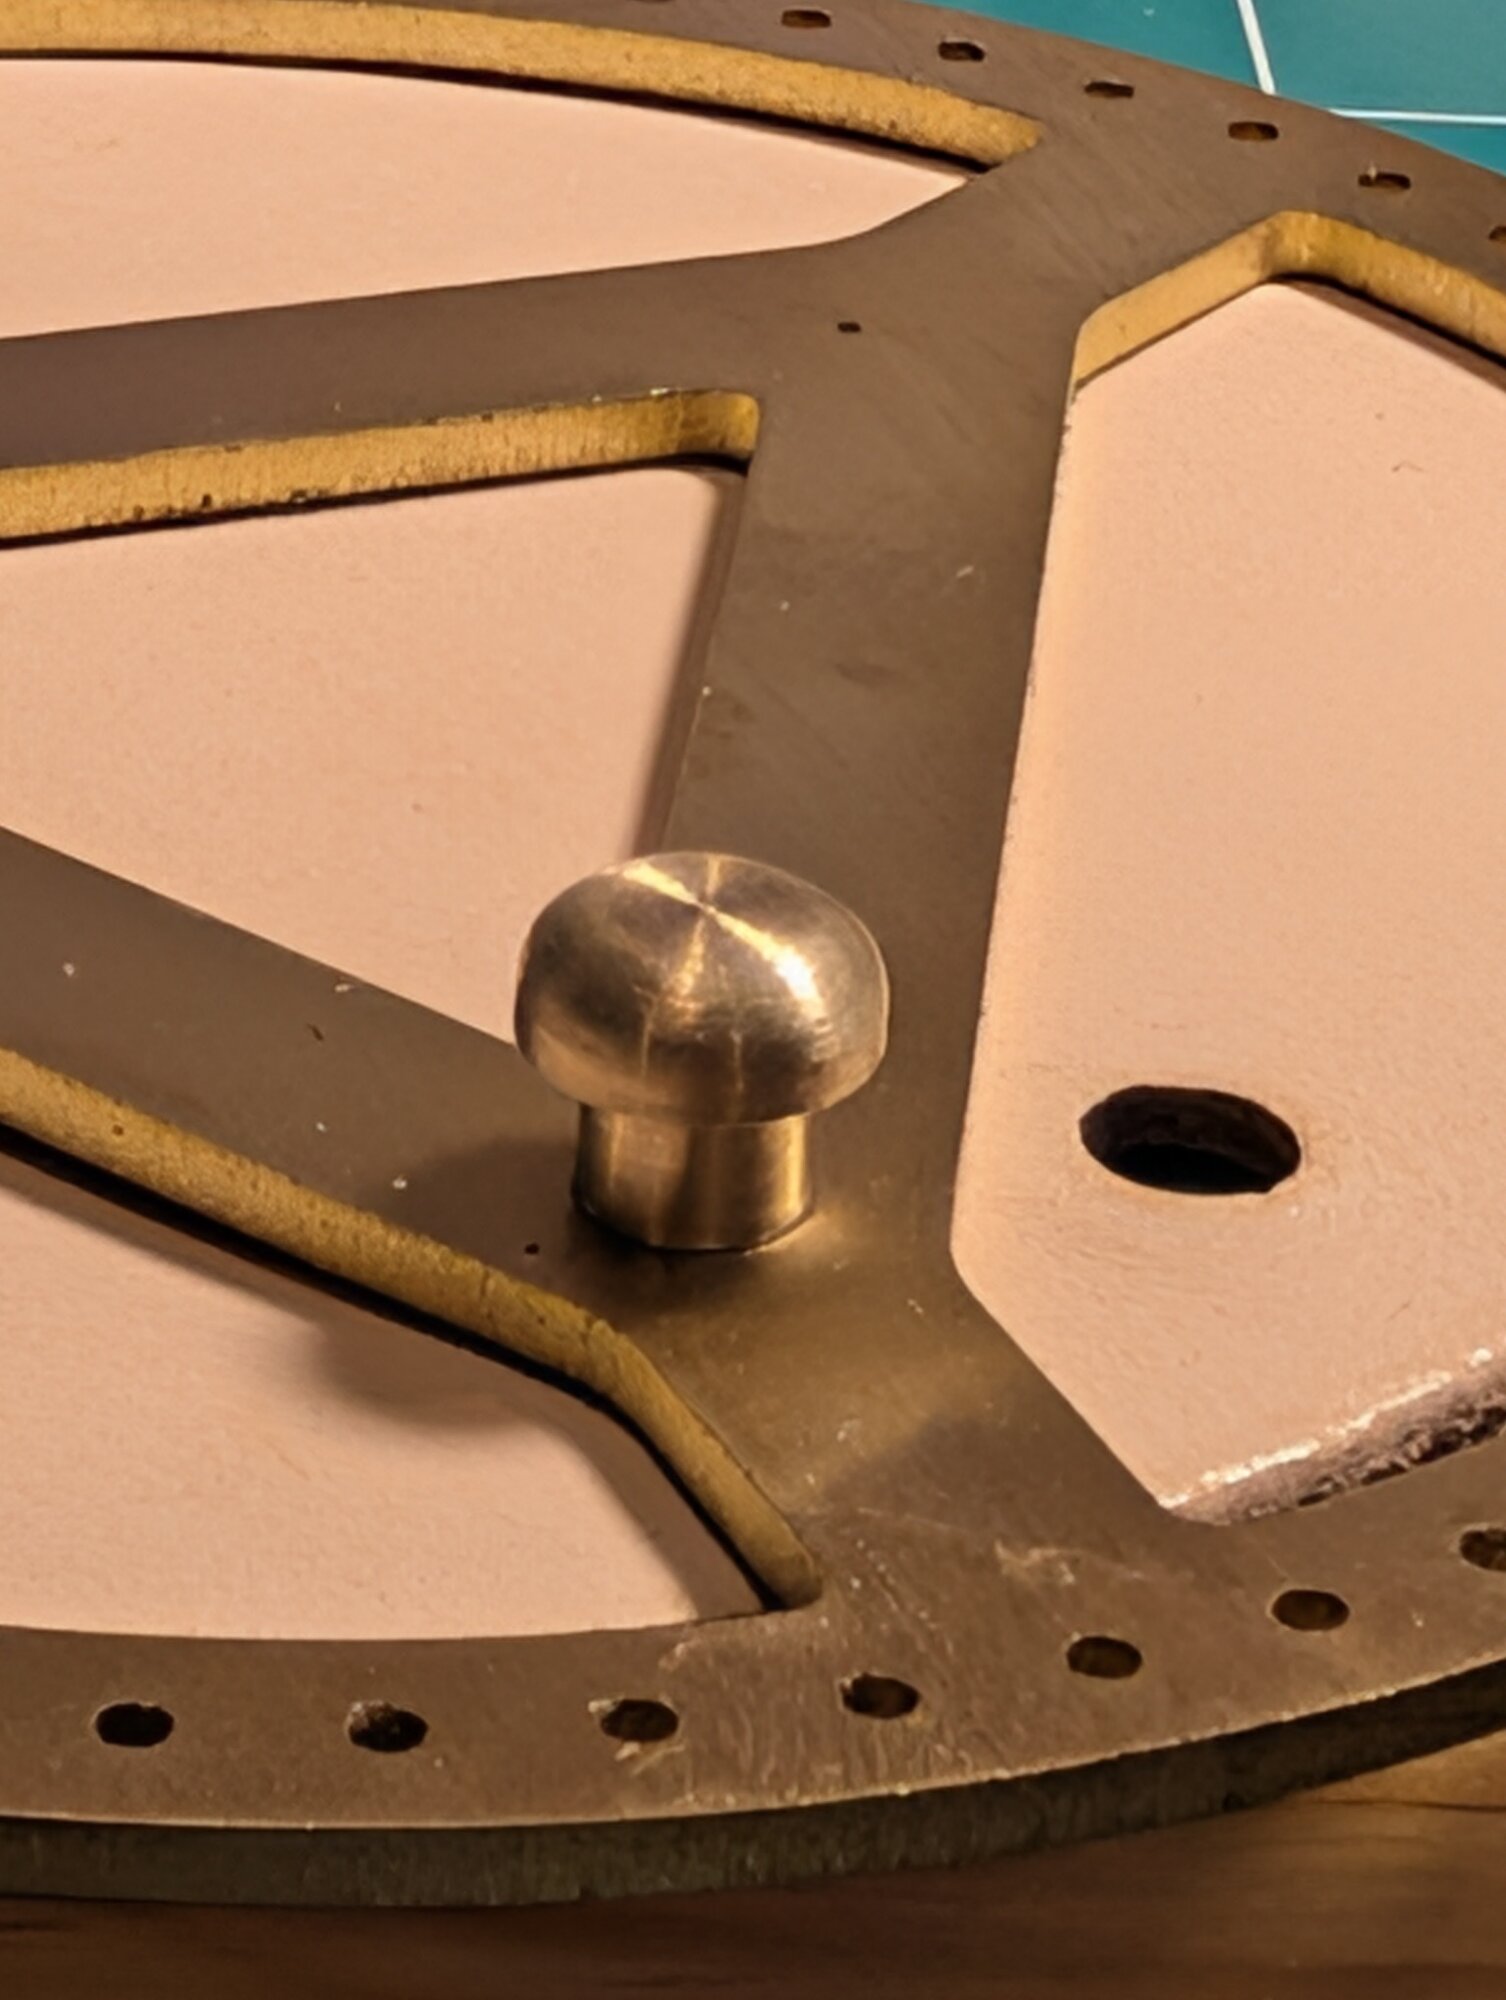
The strap needed something to hold it closed, so I made a small brass catch. Here I'm using the metal lathe to form the stem.
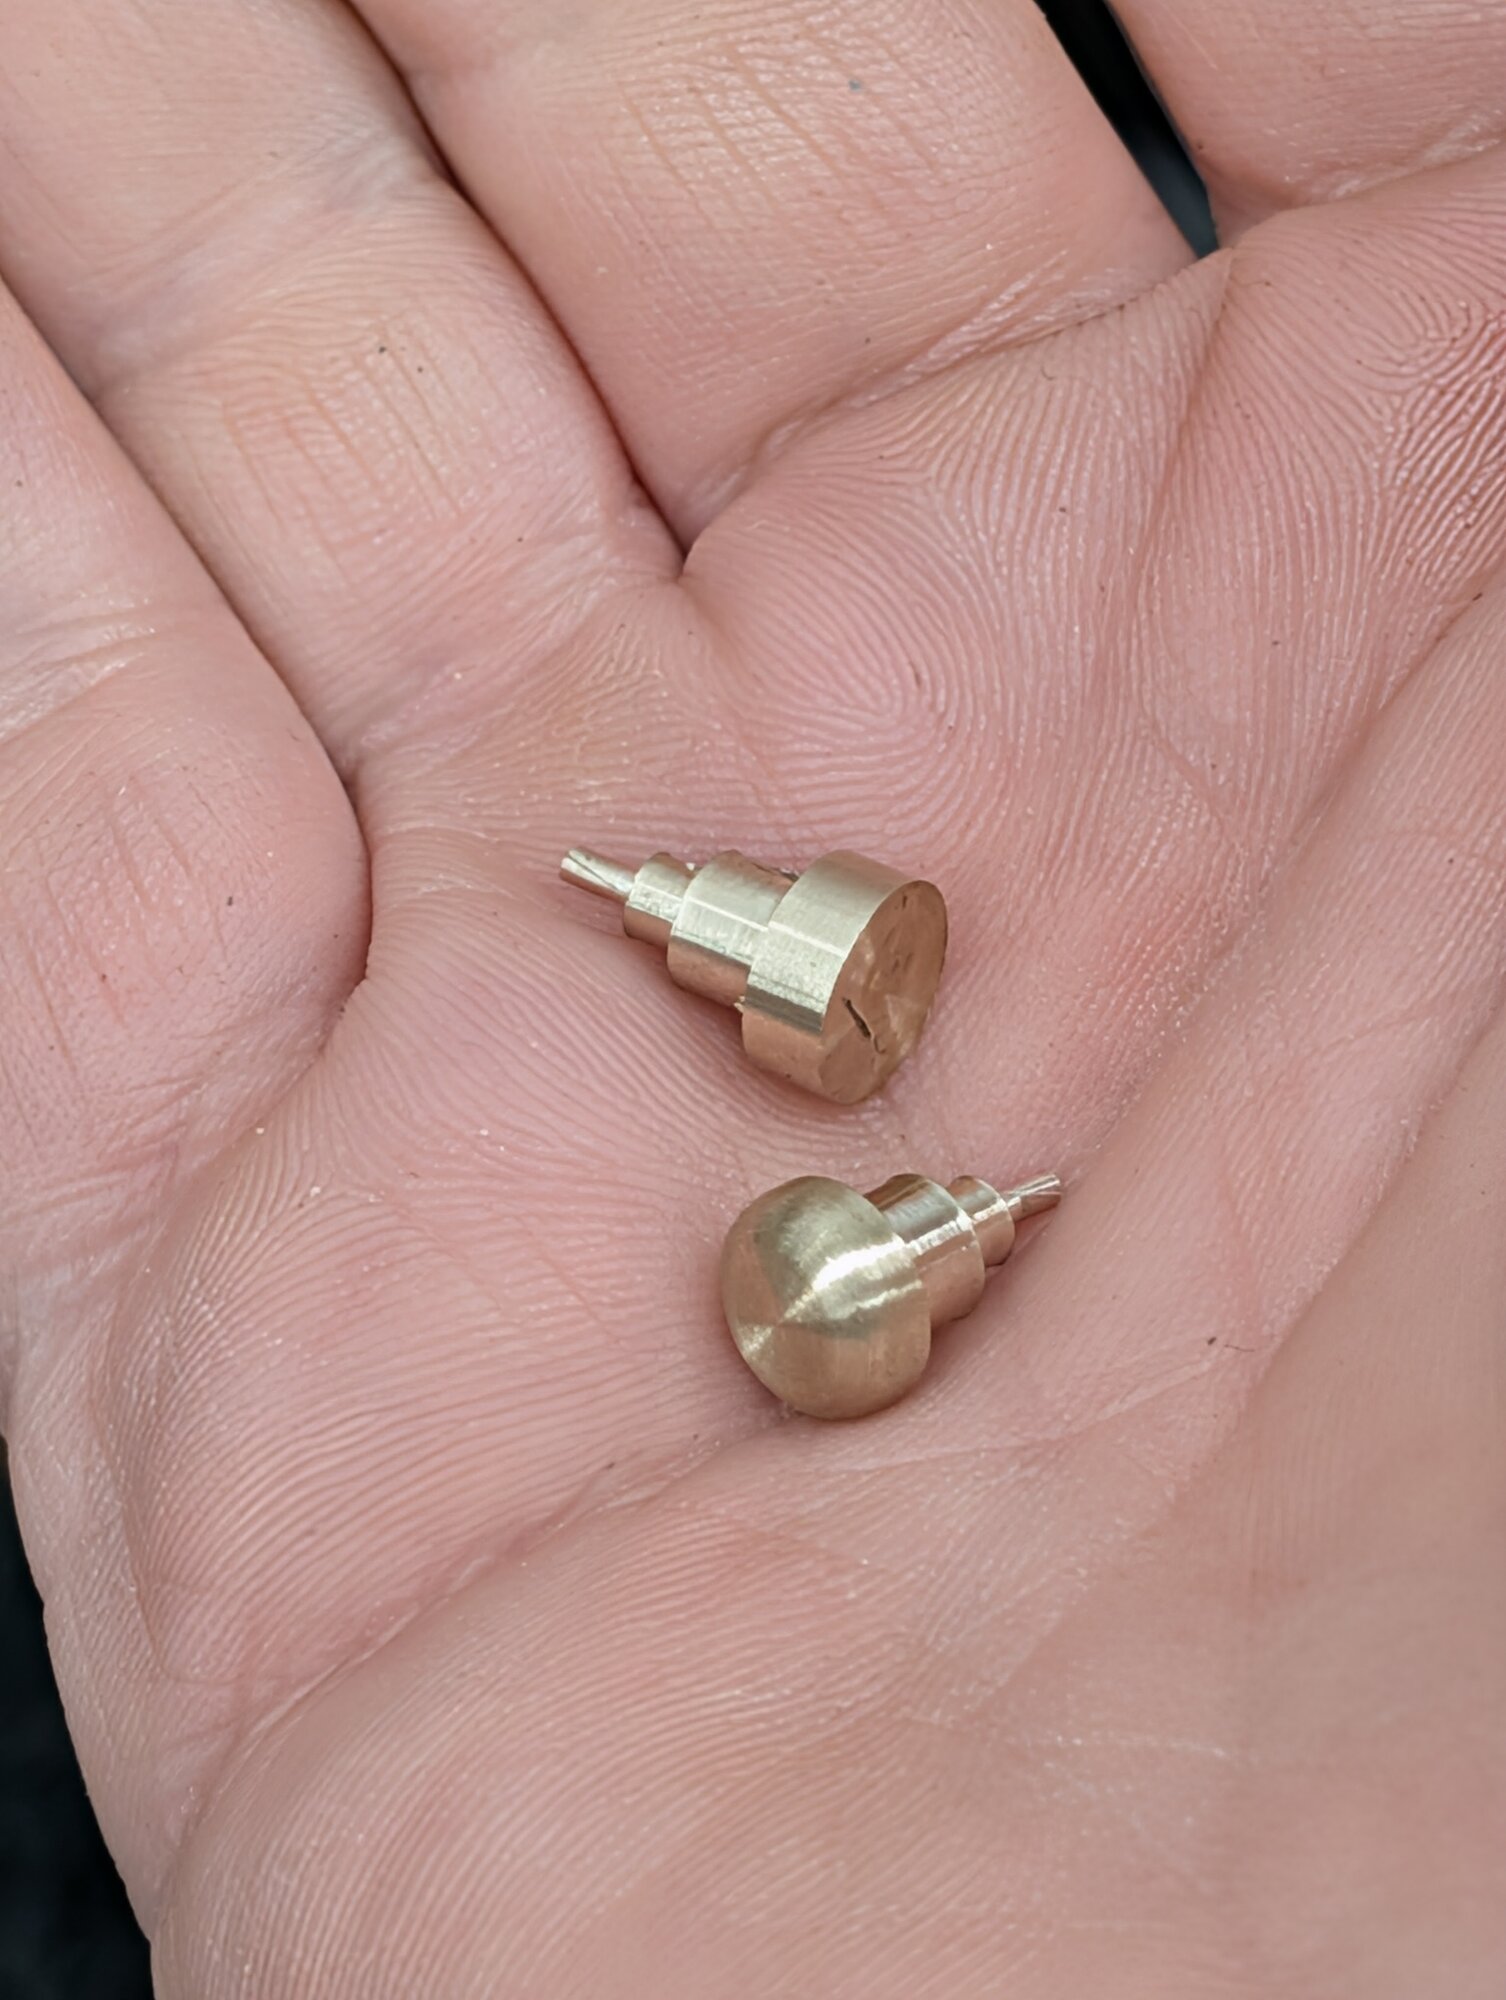
Since brass is so soft, and the shape isn't critical, it was easiest to form the end of the catch with a file.
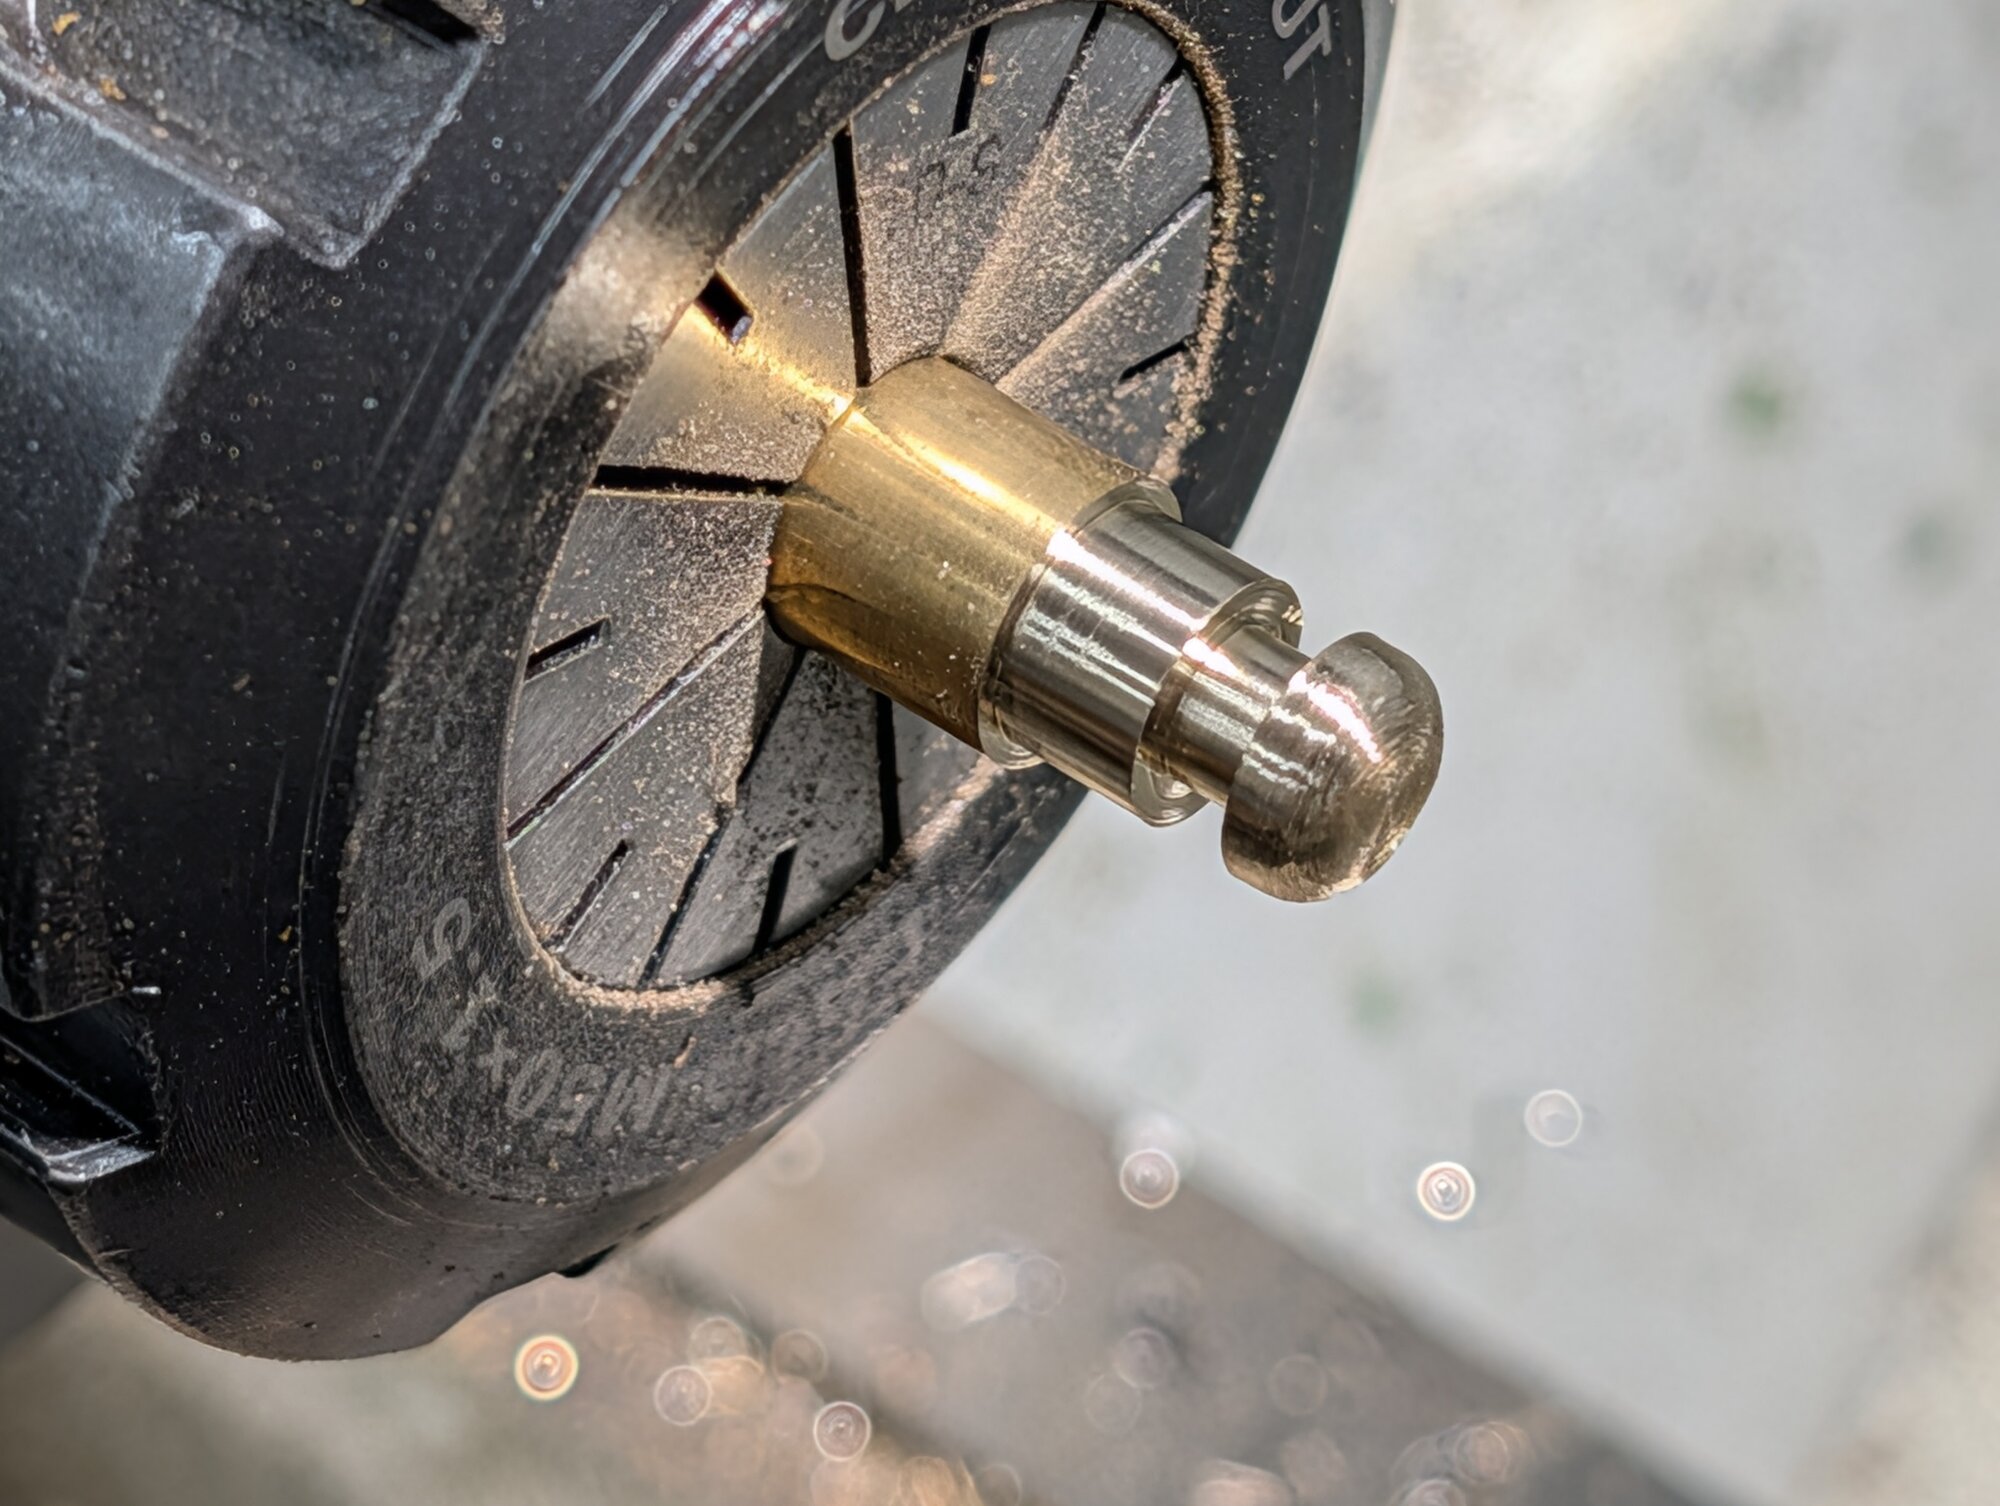
I parted off the first one before thinking about how I was going to hold it to file the end, so it was easier to just start over. Order of operations matters!
The last metal operation of the project was just drilling a hole, but I was a bit nervous about it, because a mistake at this point would have been a big reset.
A dry fit of the catch. Looks pretty good, I think!
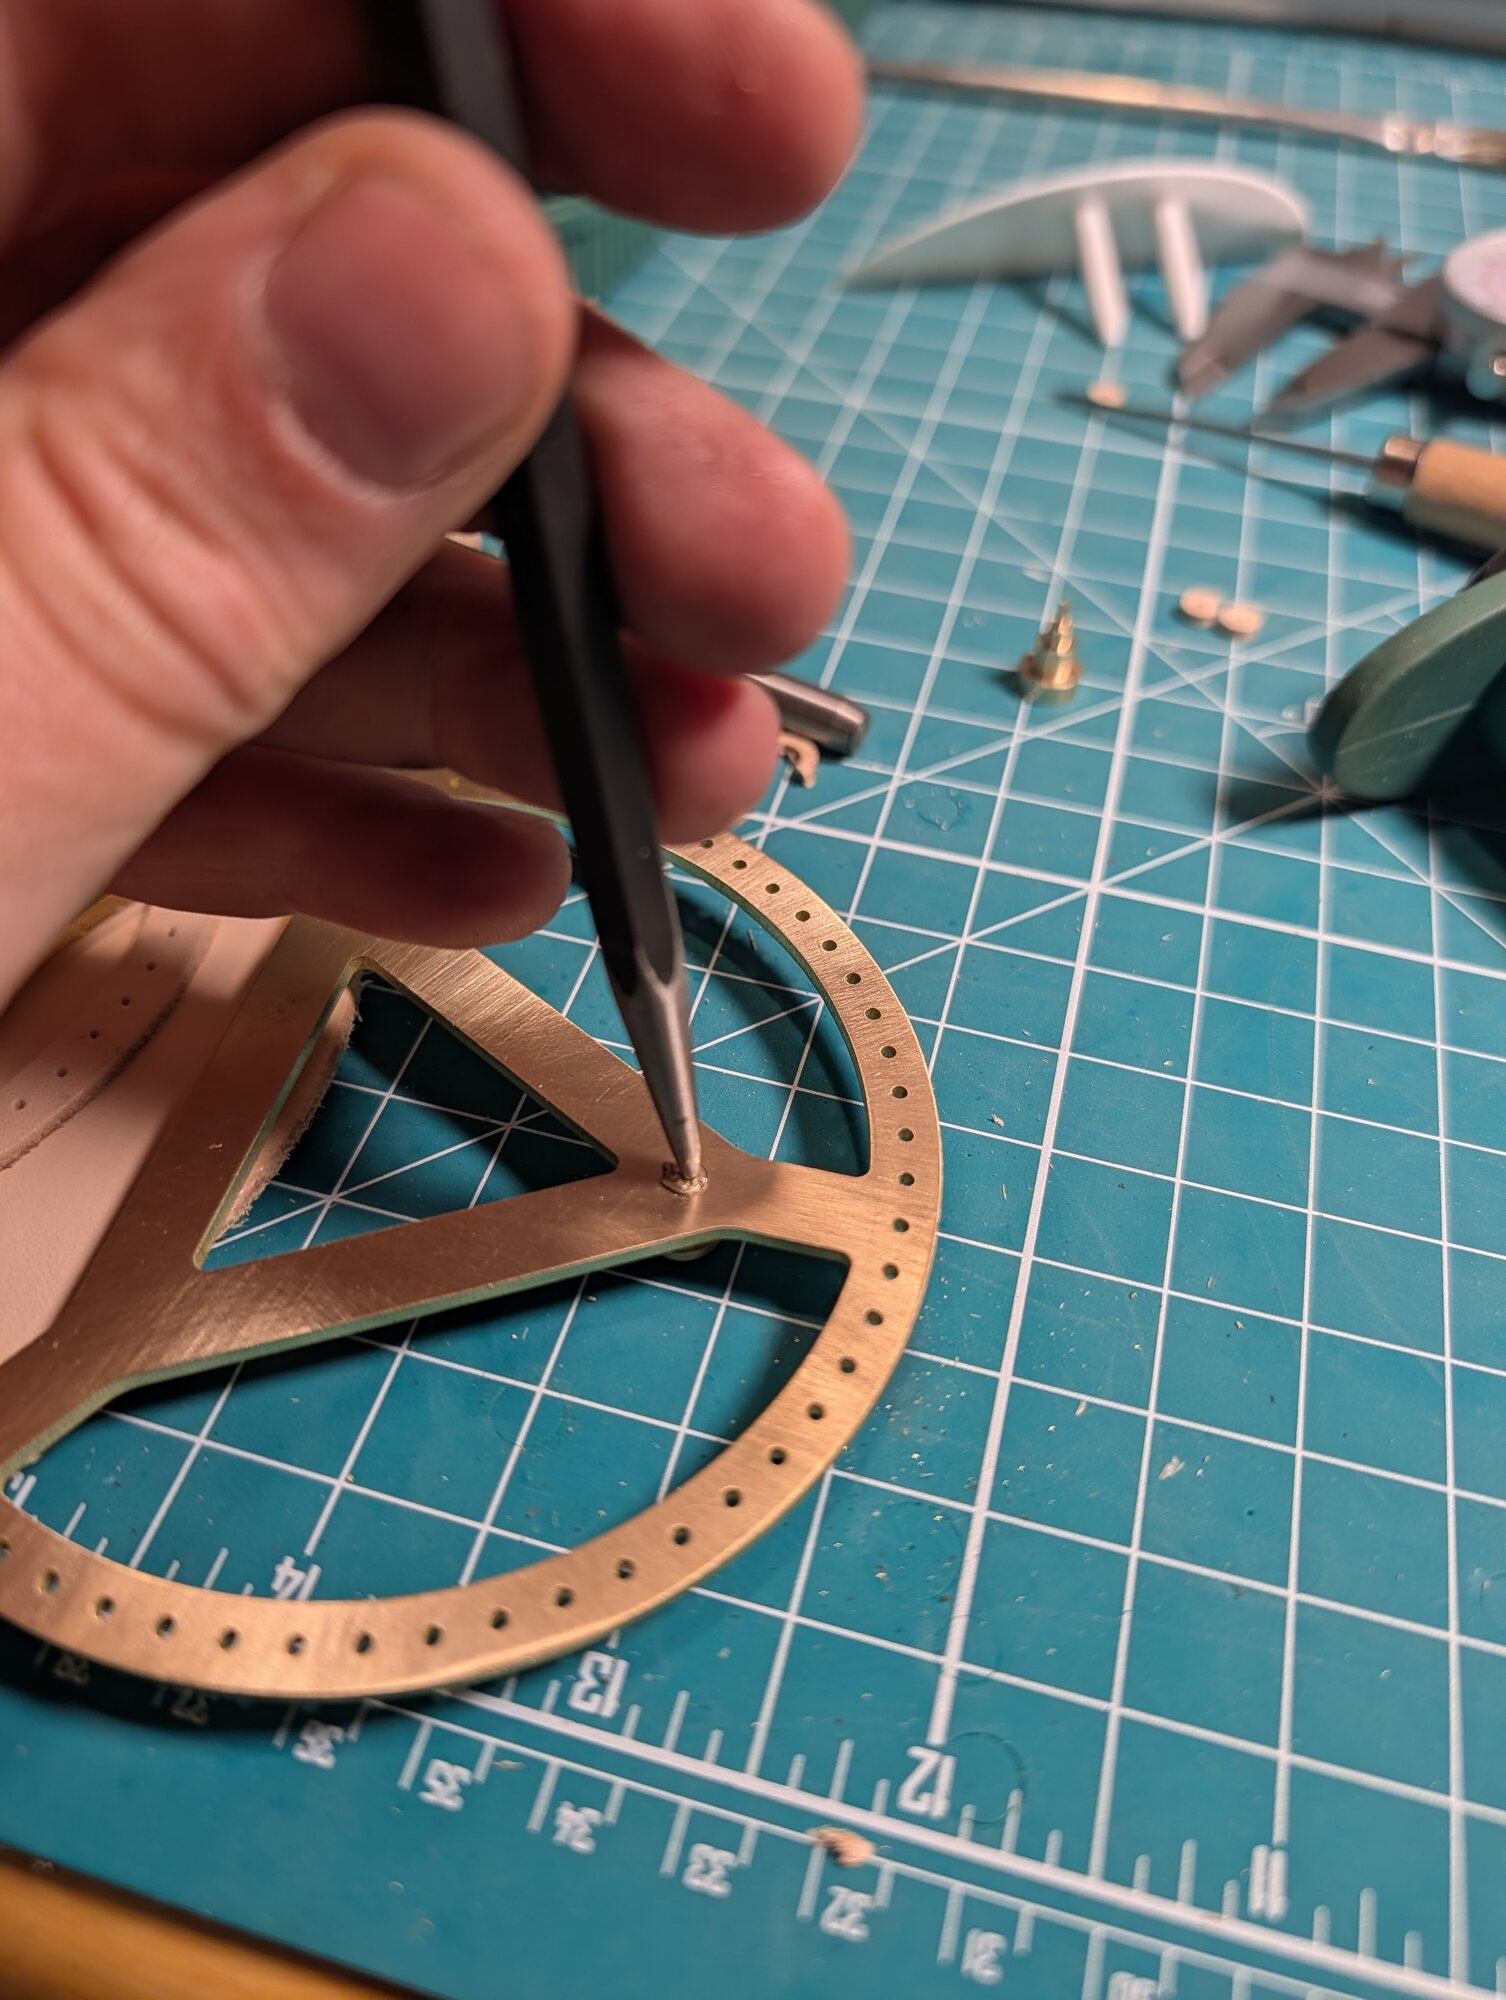
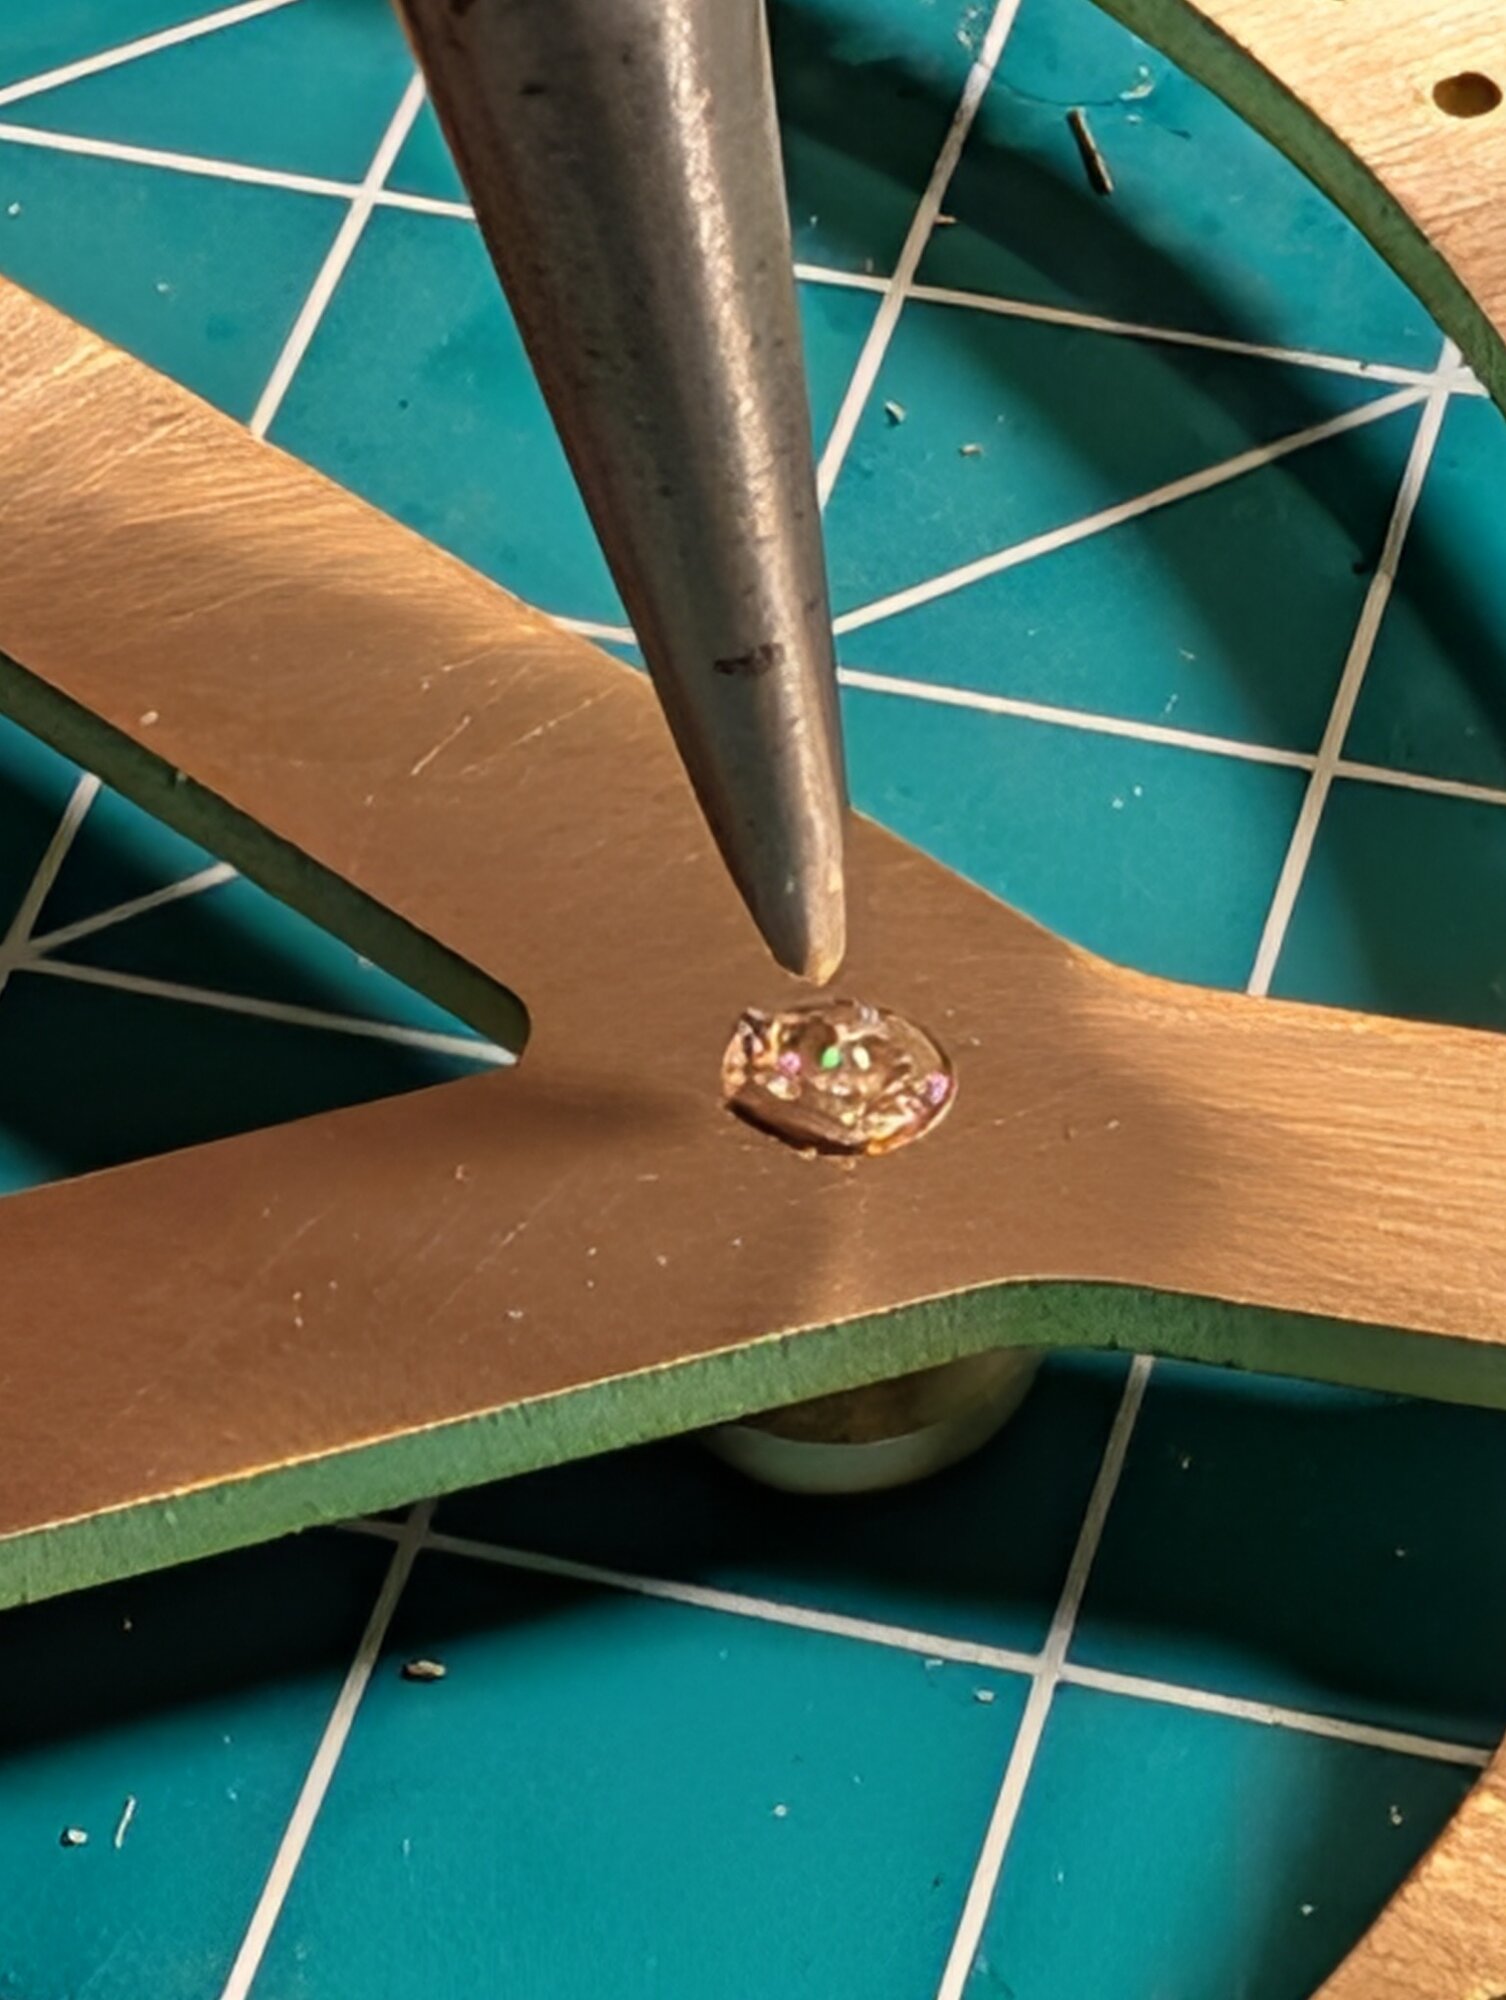
Next up was sewing everything together. The holes I'd made in the leather weren't big enough to pass the needle easily, so I had to go around and punch every one of them bigger.
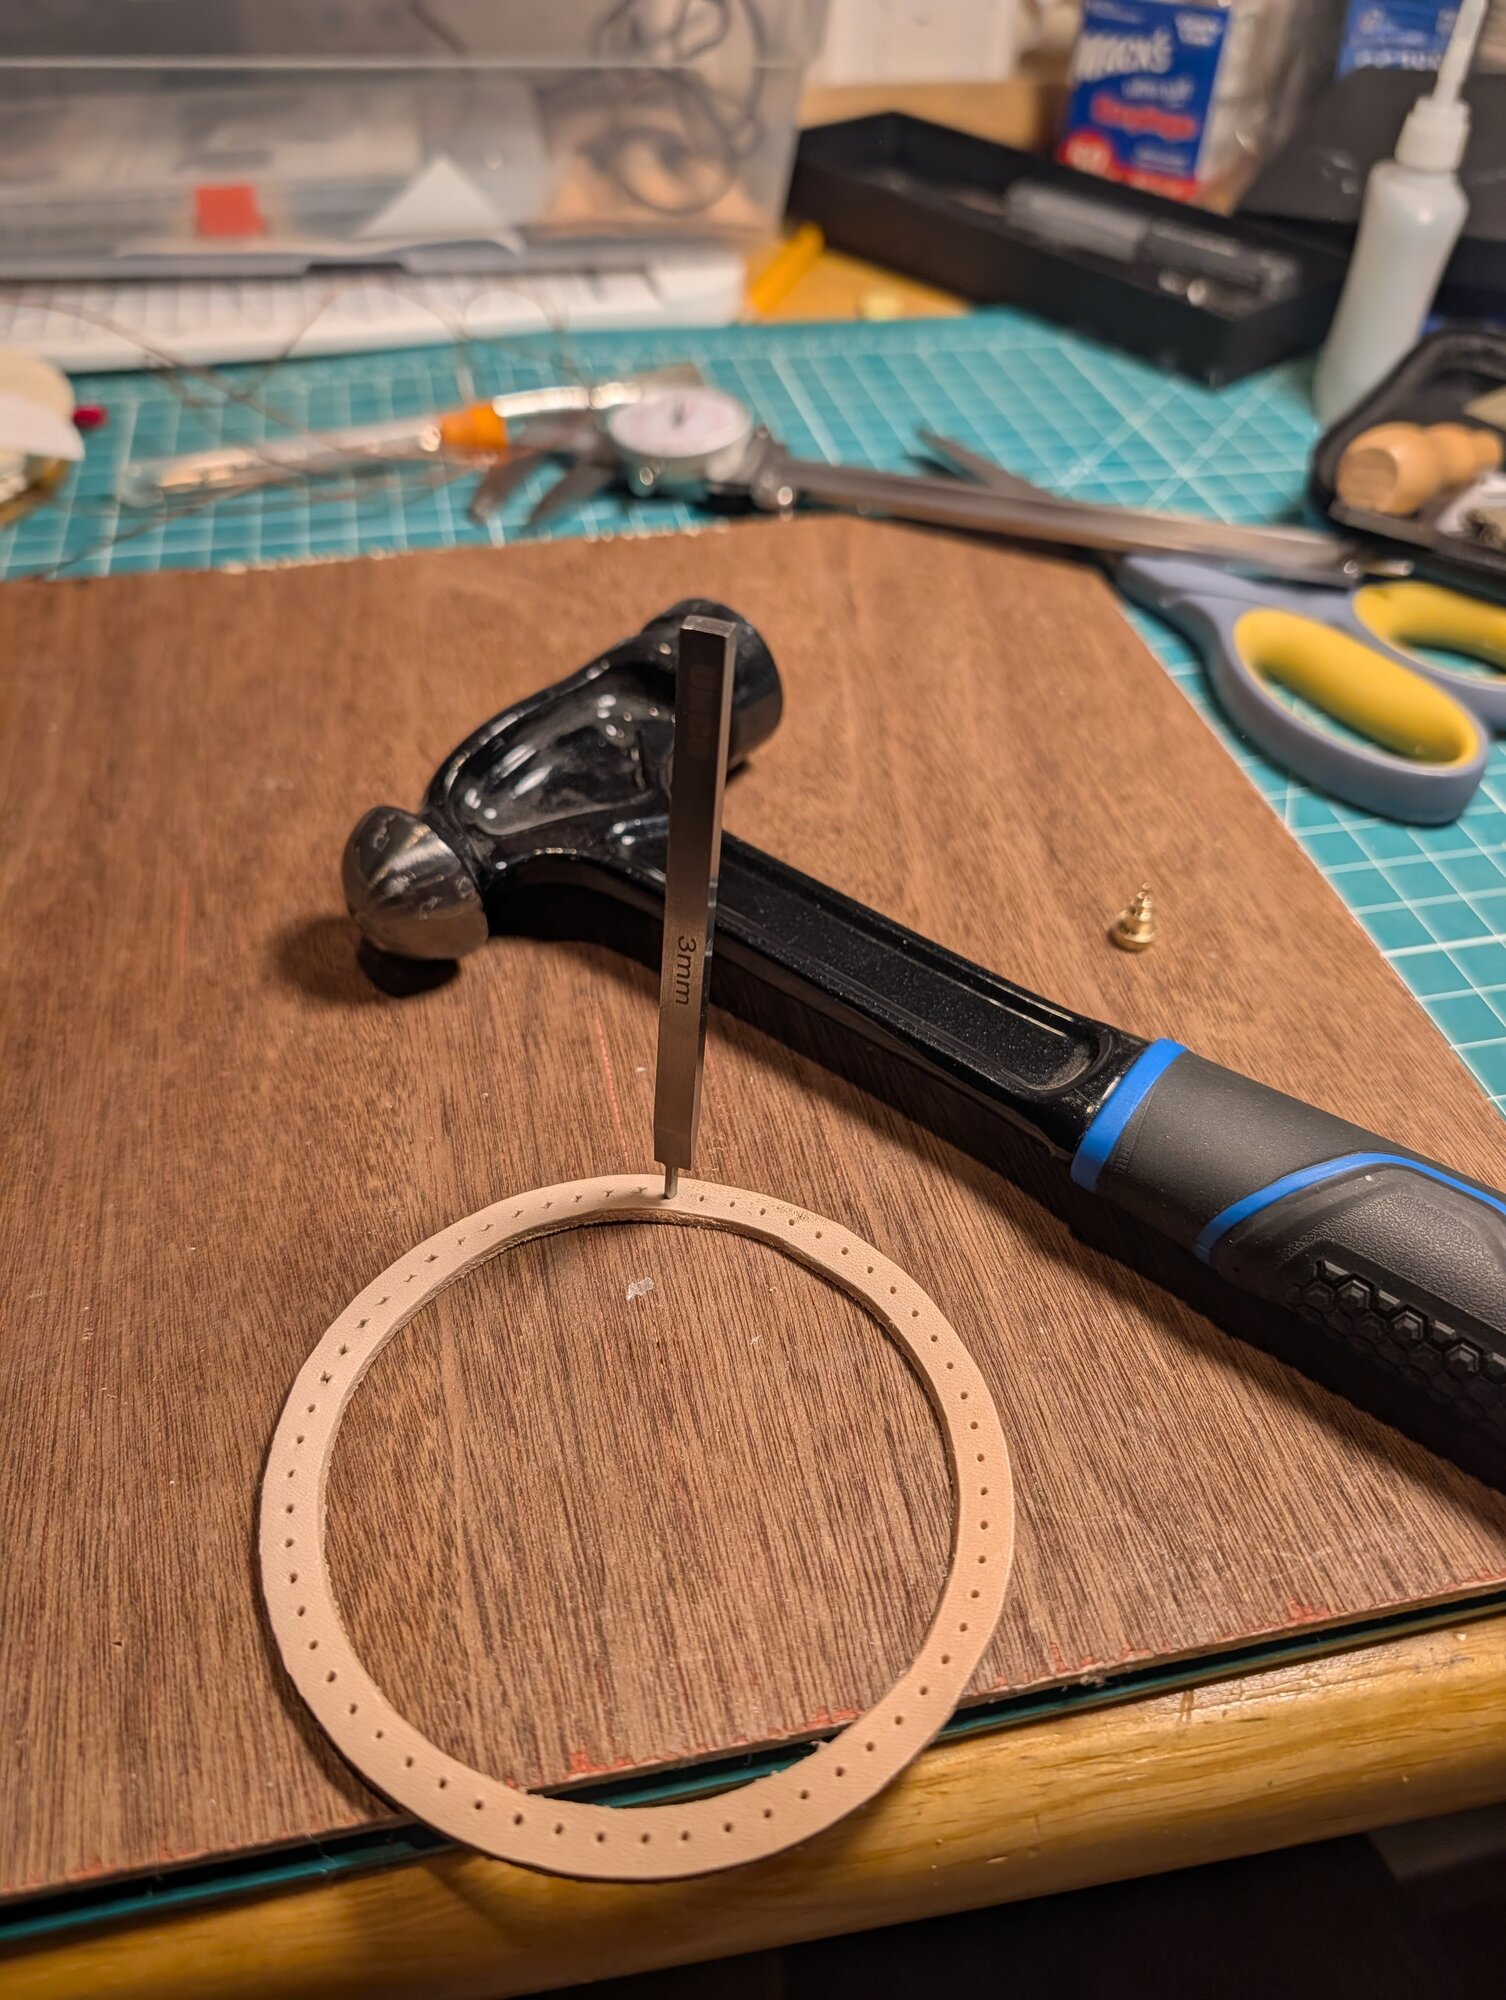
Let the sewing begin!
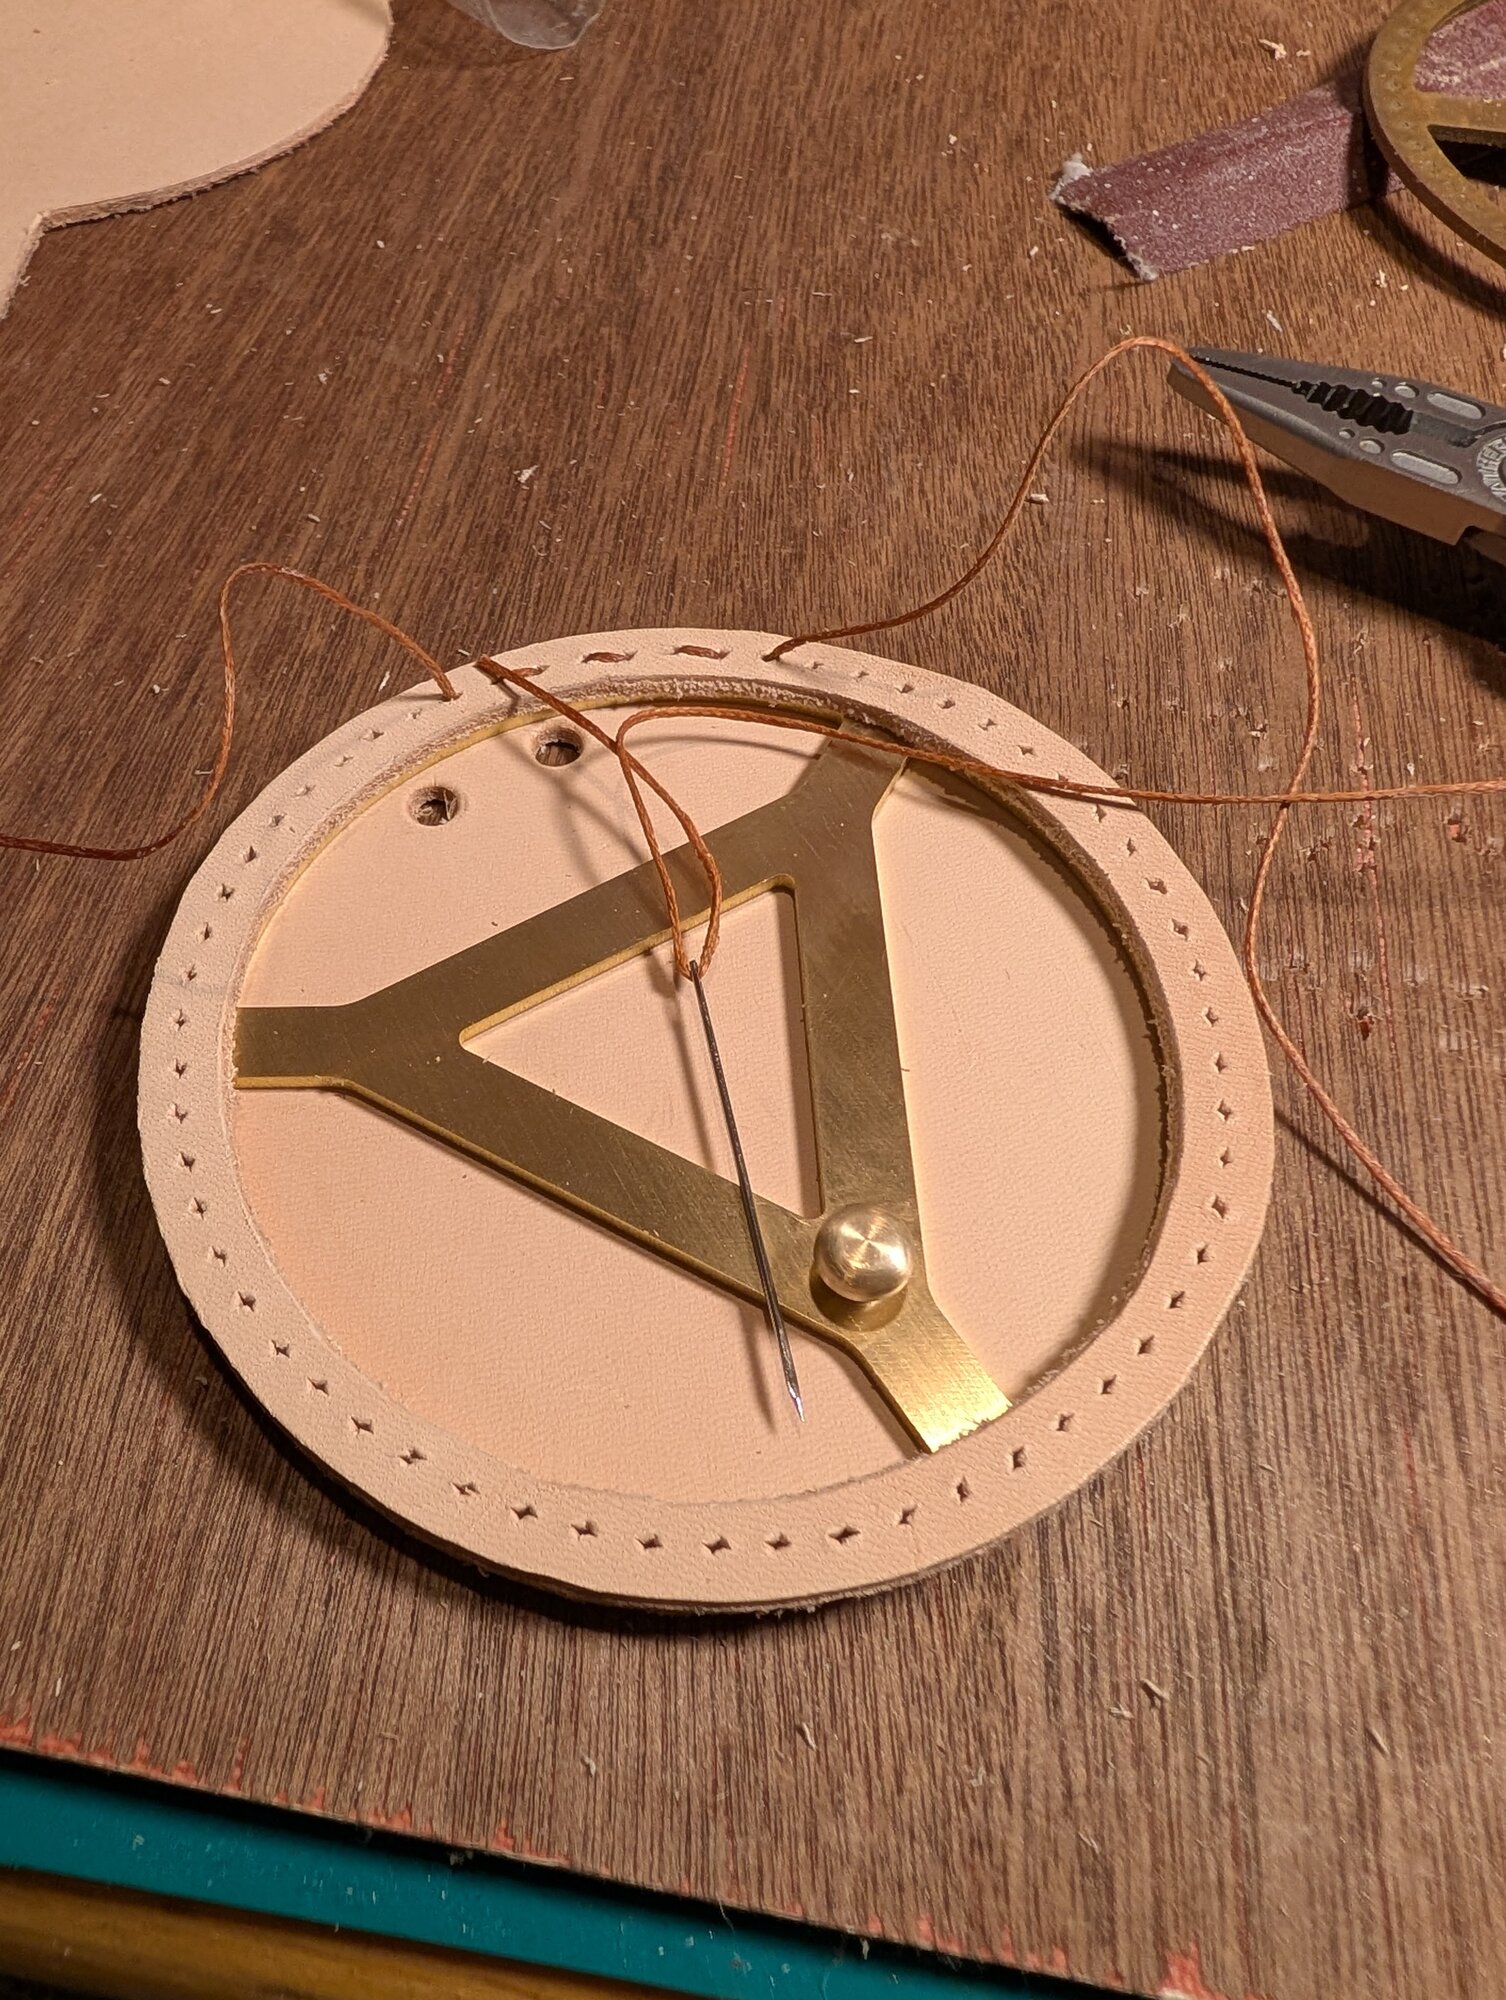
And done!
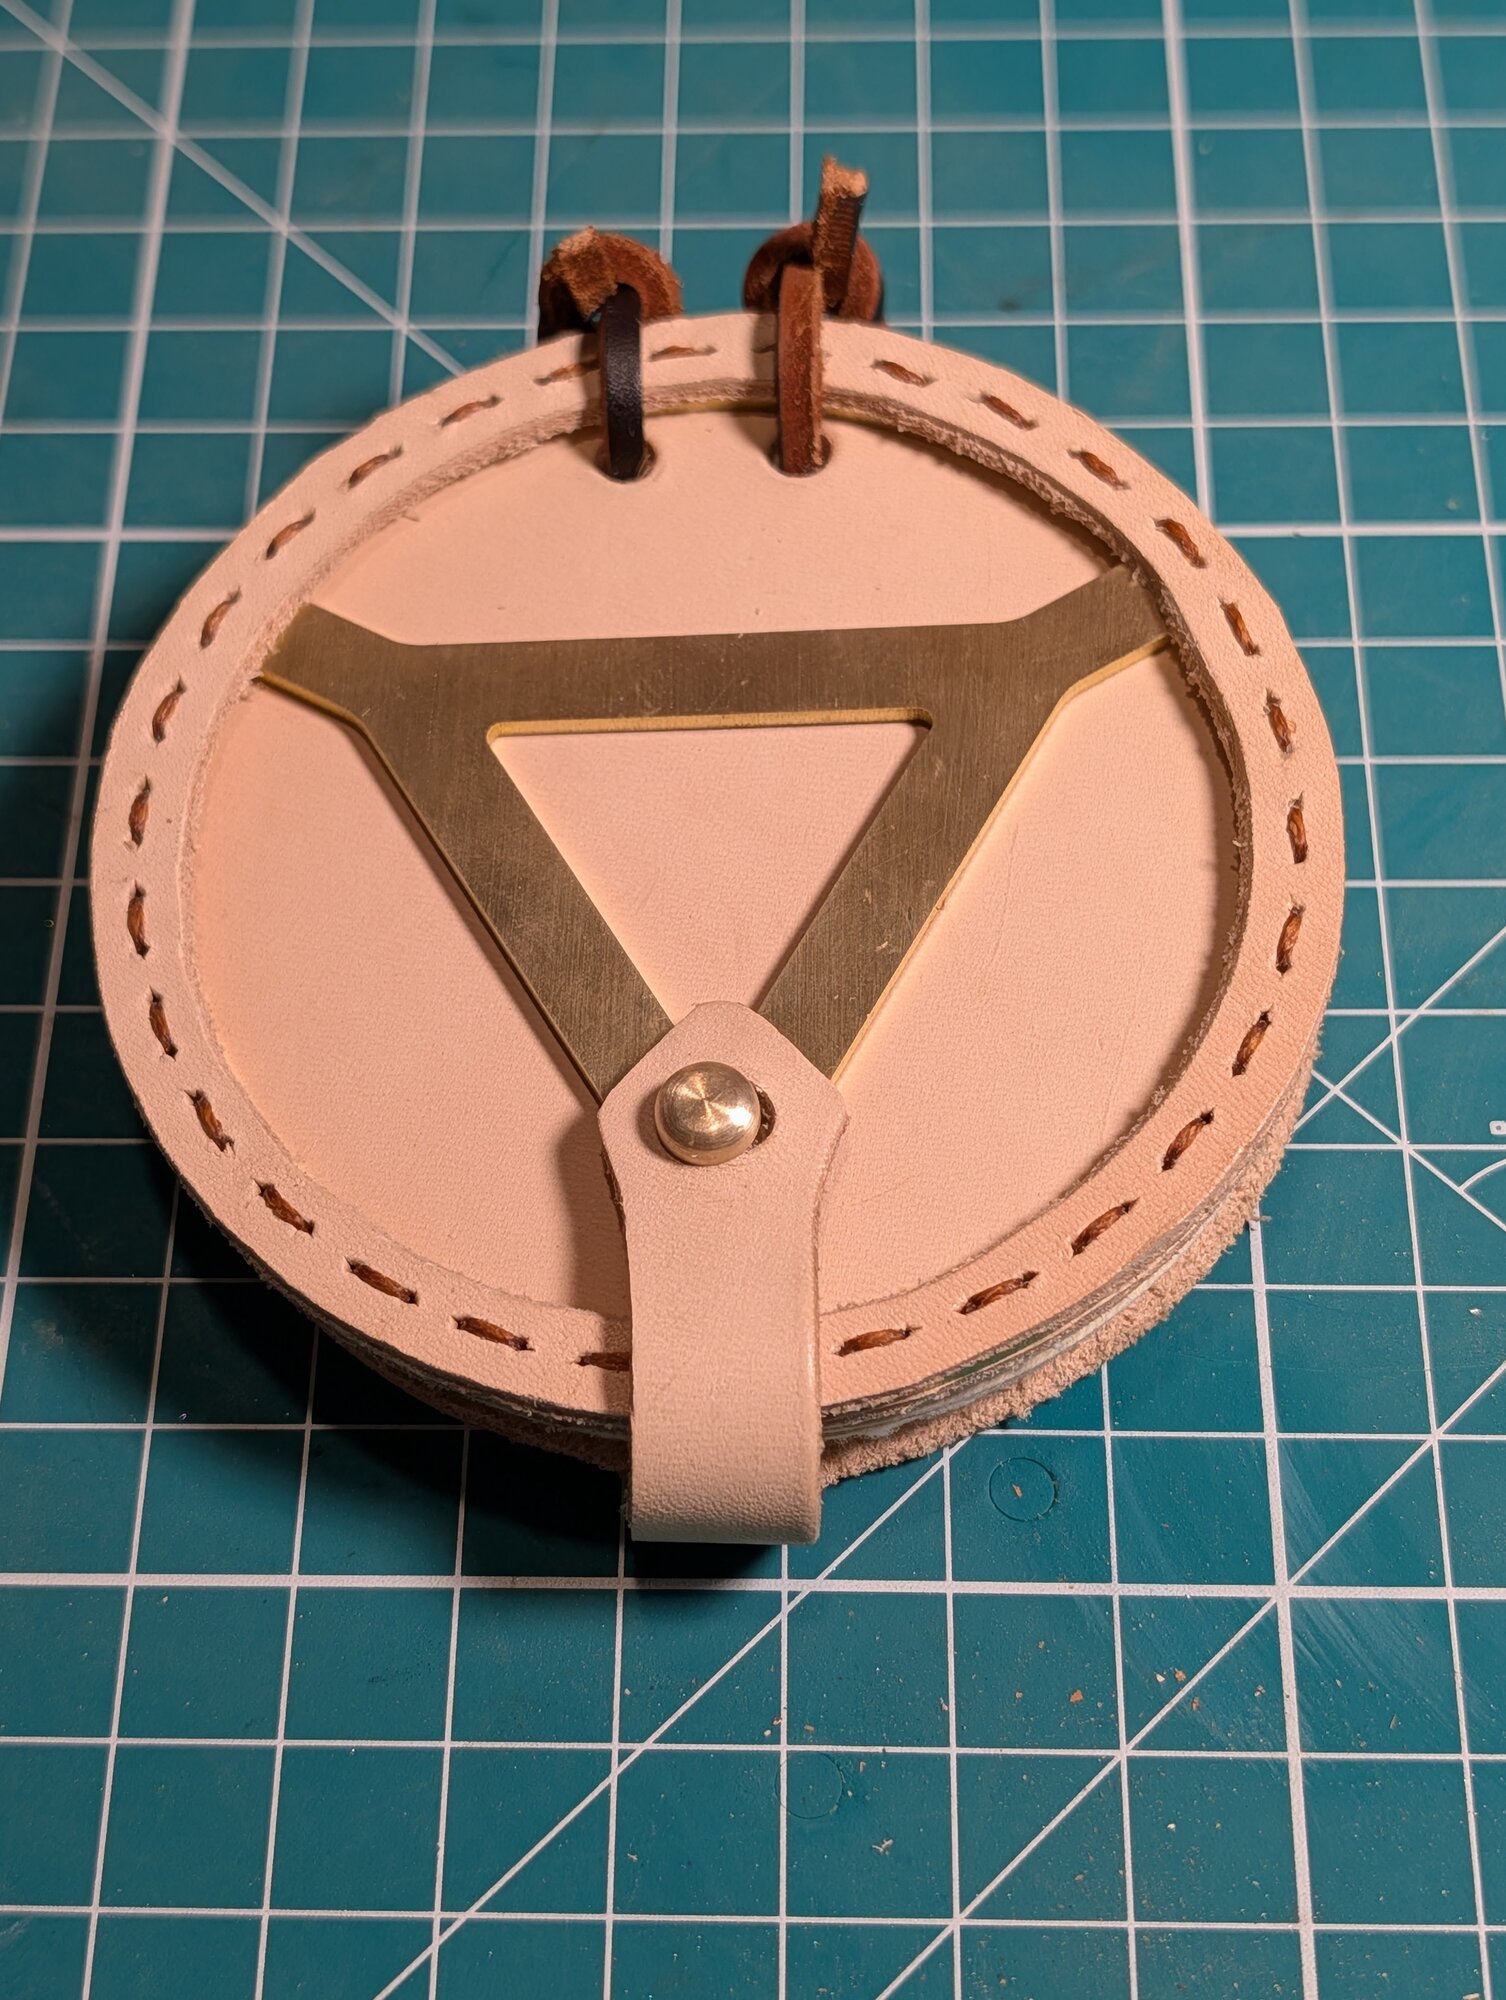
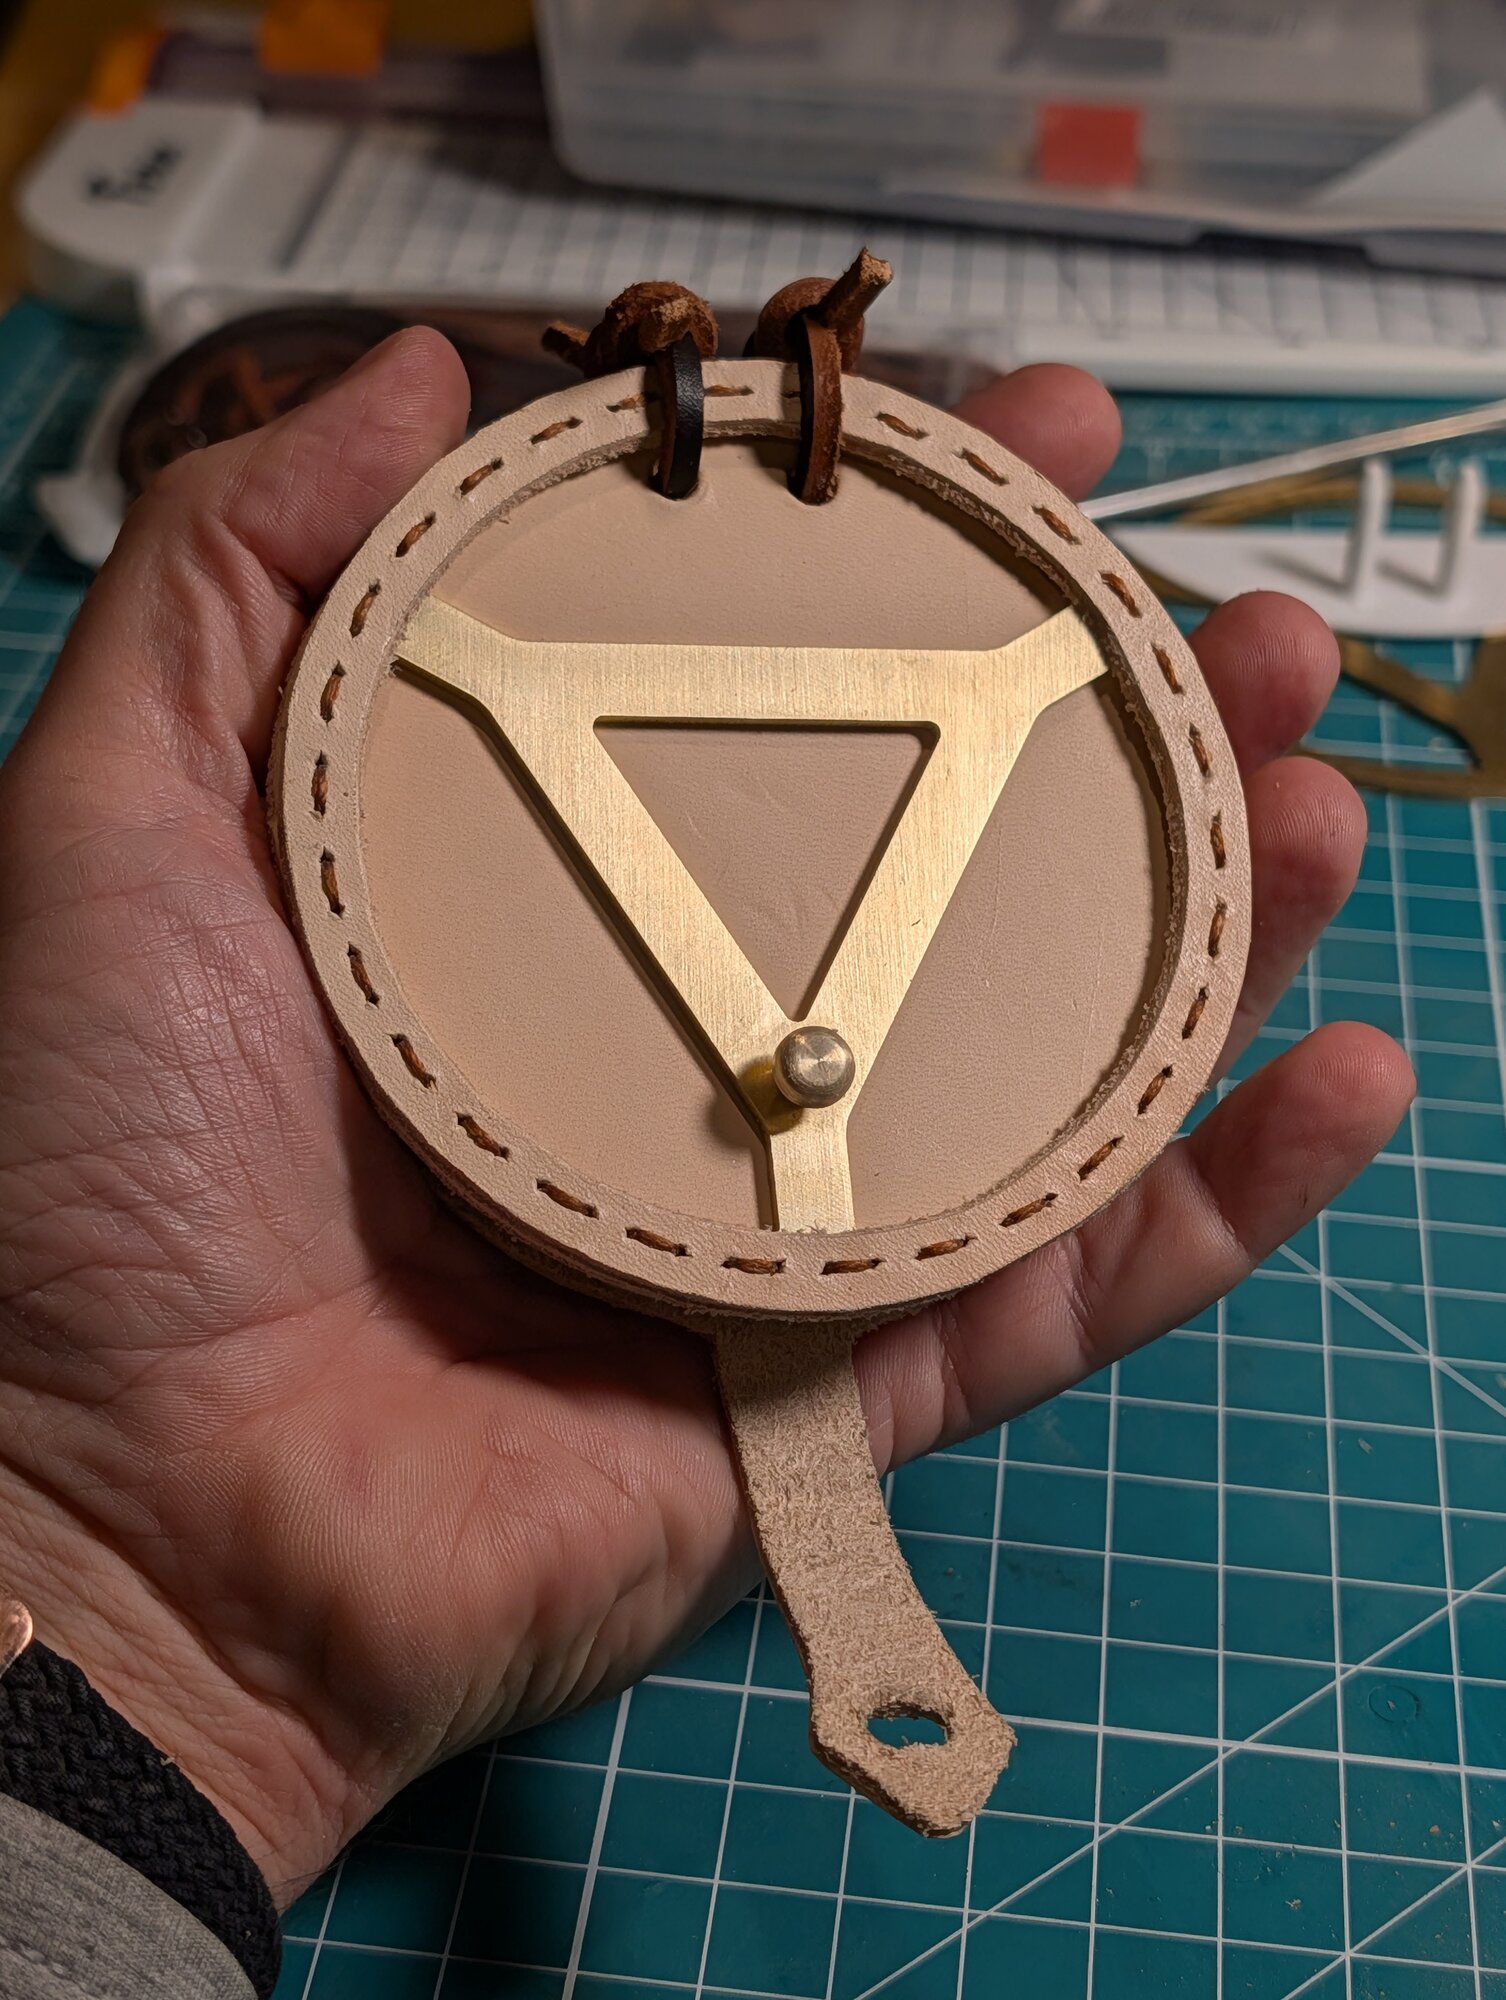
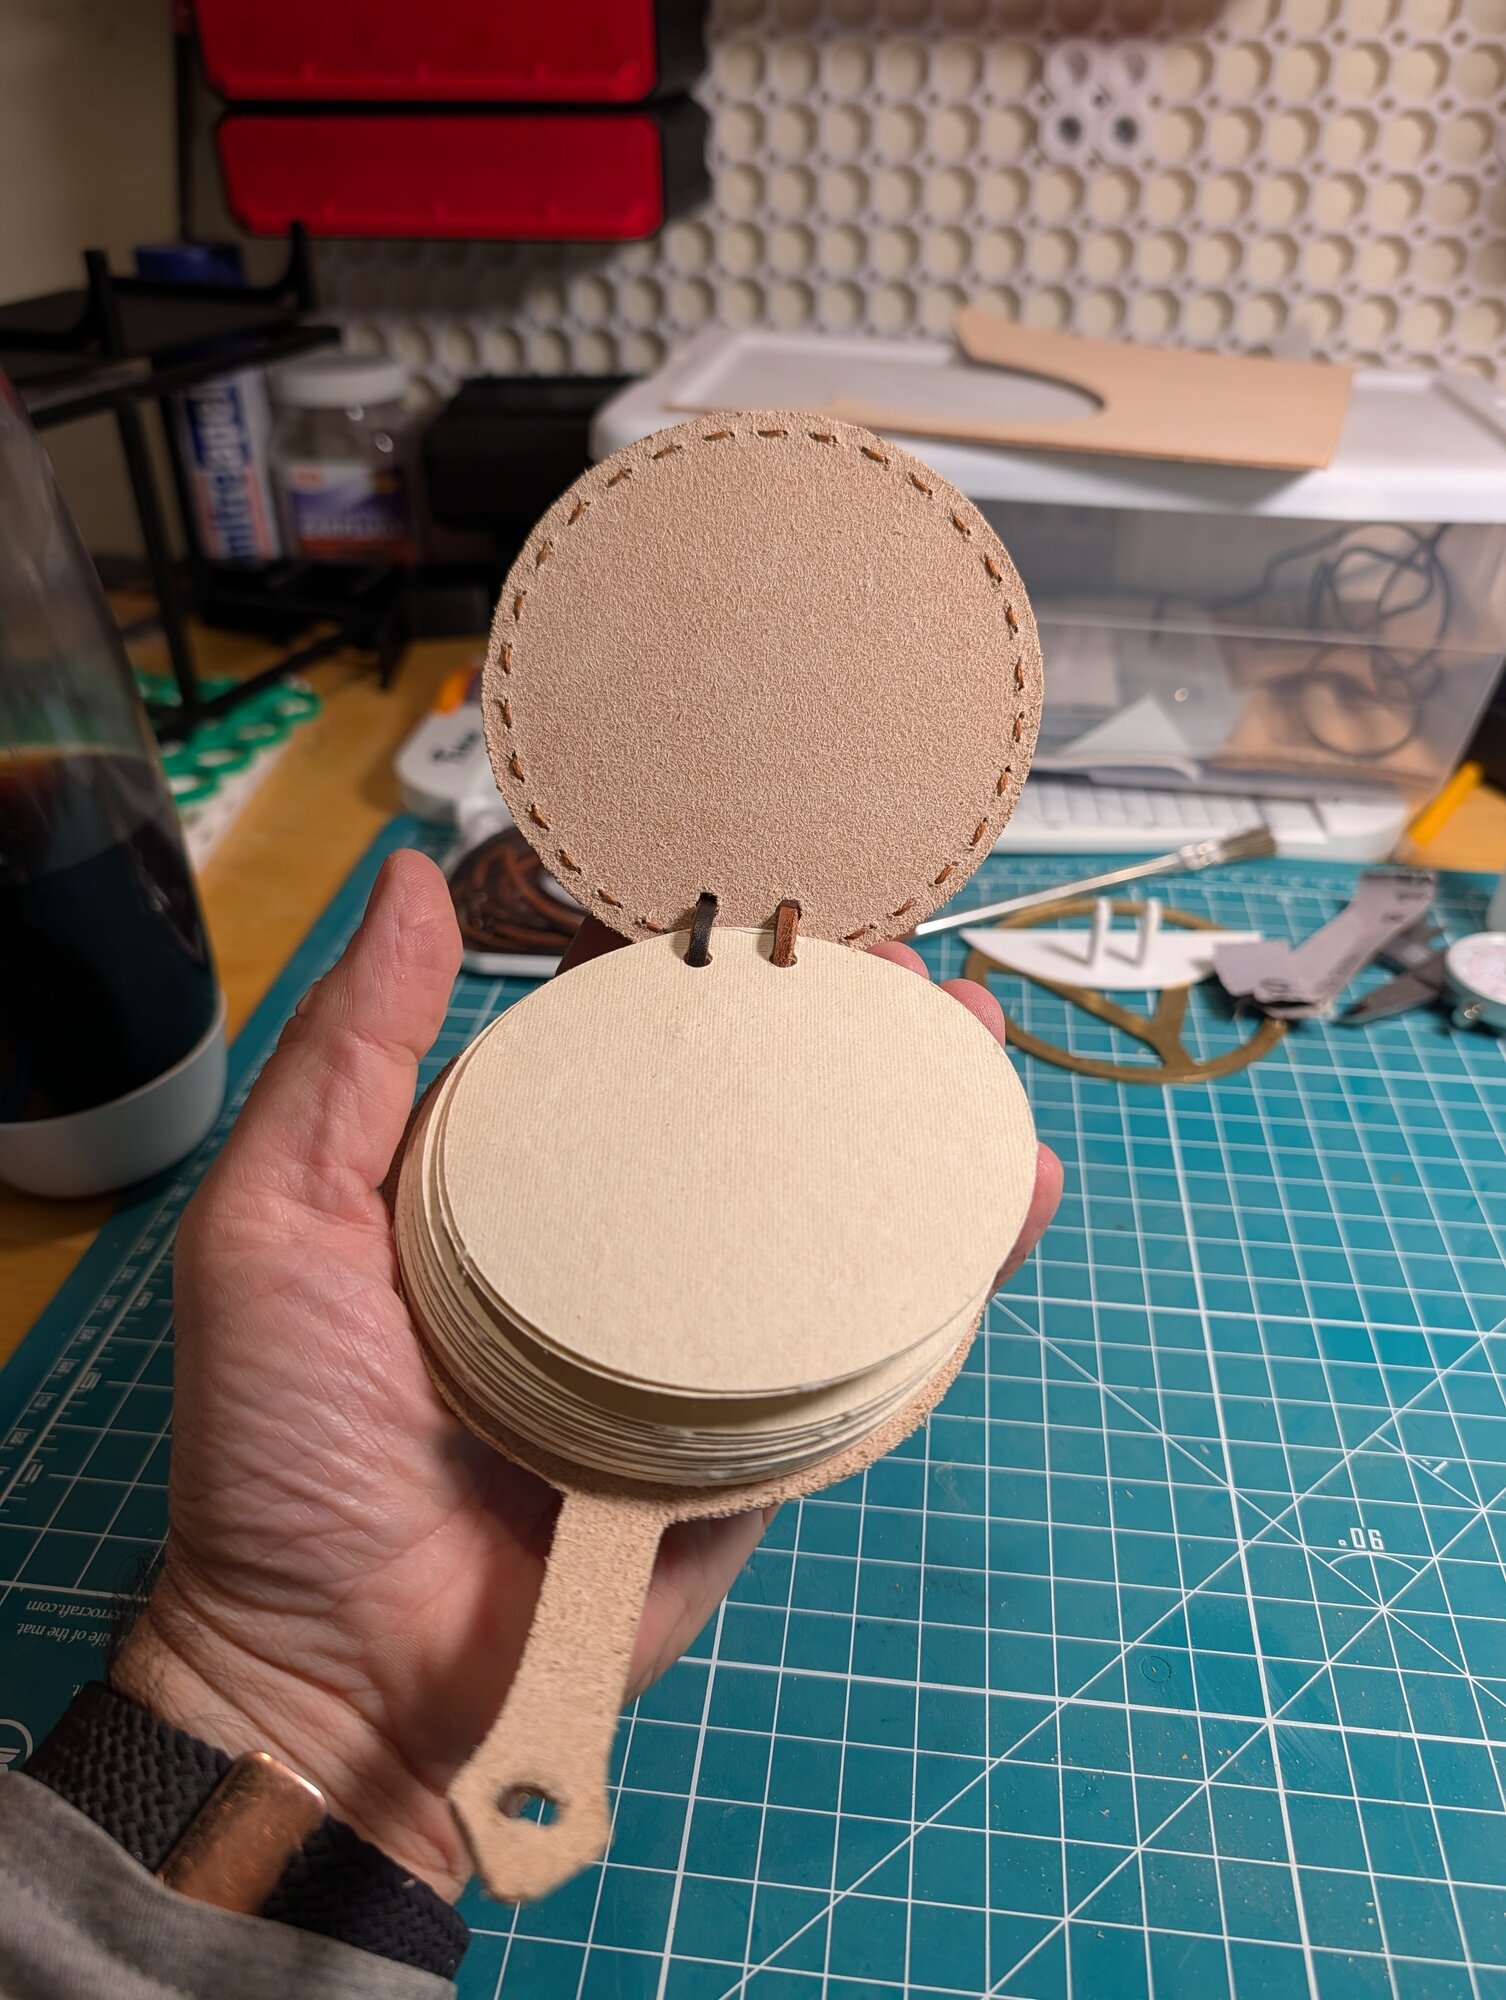
And a short video of the finished project:
The back is pretty plain. I thought about engraving it with some imagery from the show, but I wasn't sure what effect she was going for. If we were collaborating I would have asked her. I also didn't want to risk using the laser, even for engraving, lest it make the thing stink.
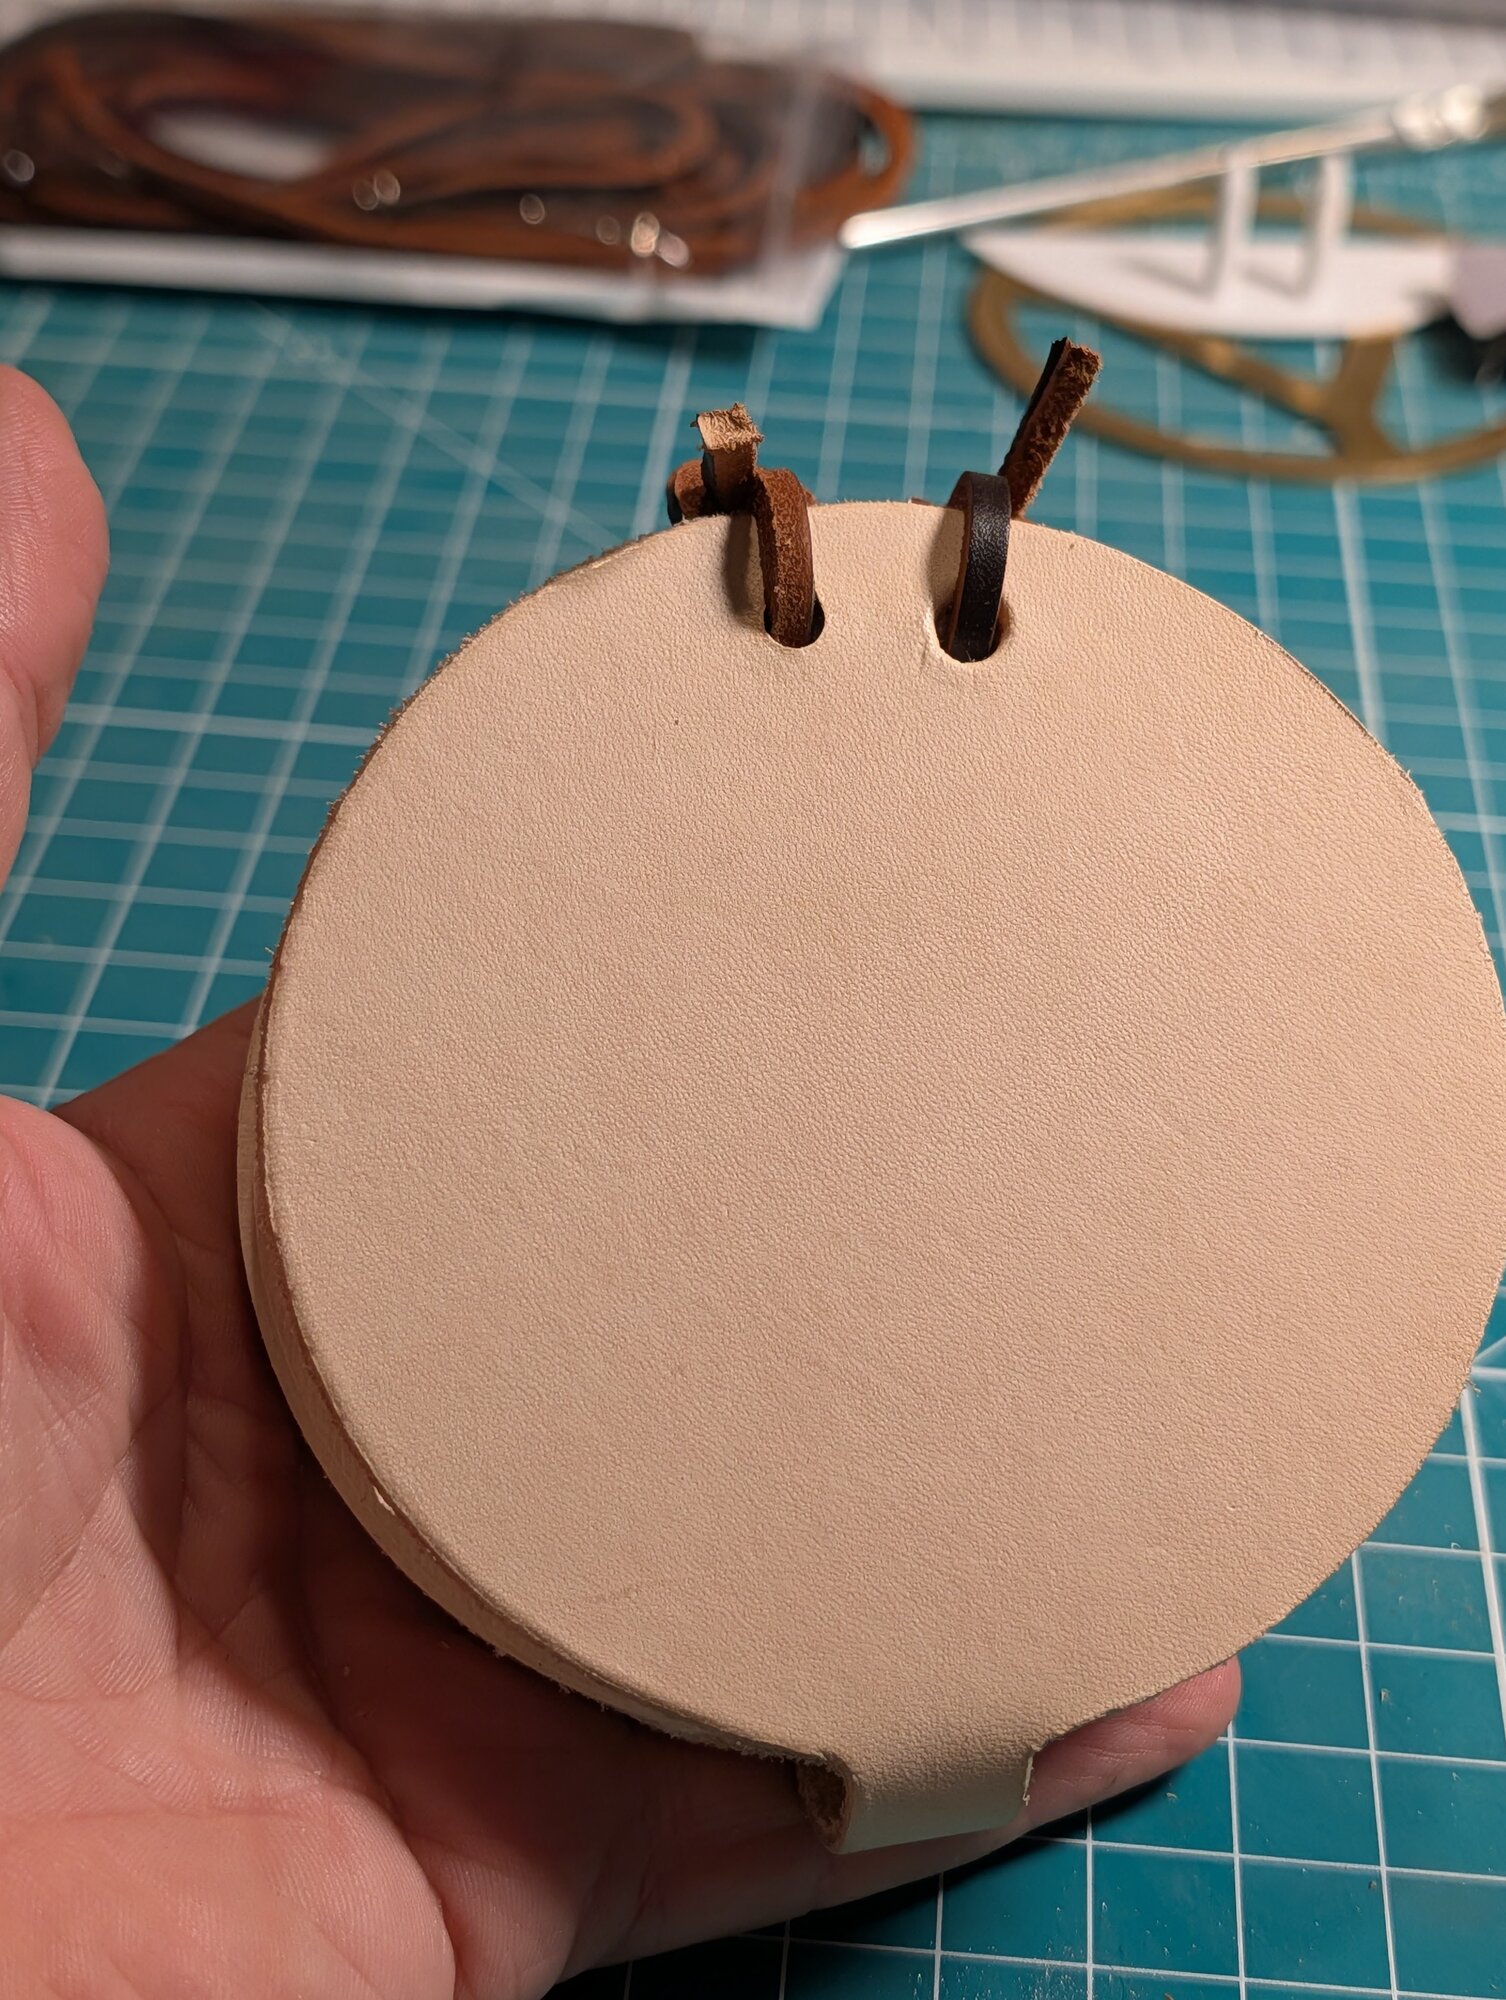
I decided to get it sent off ASAP, and as I walked out to drive it to the Post Office, the mail carrier was literally just driving up to our house. I'll take that as a good omen.
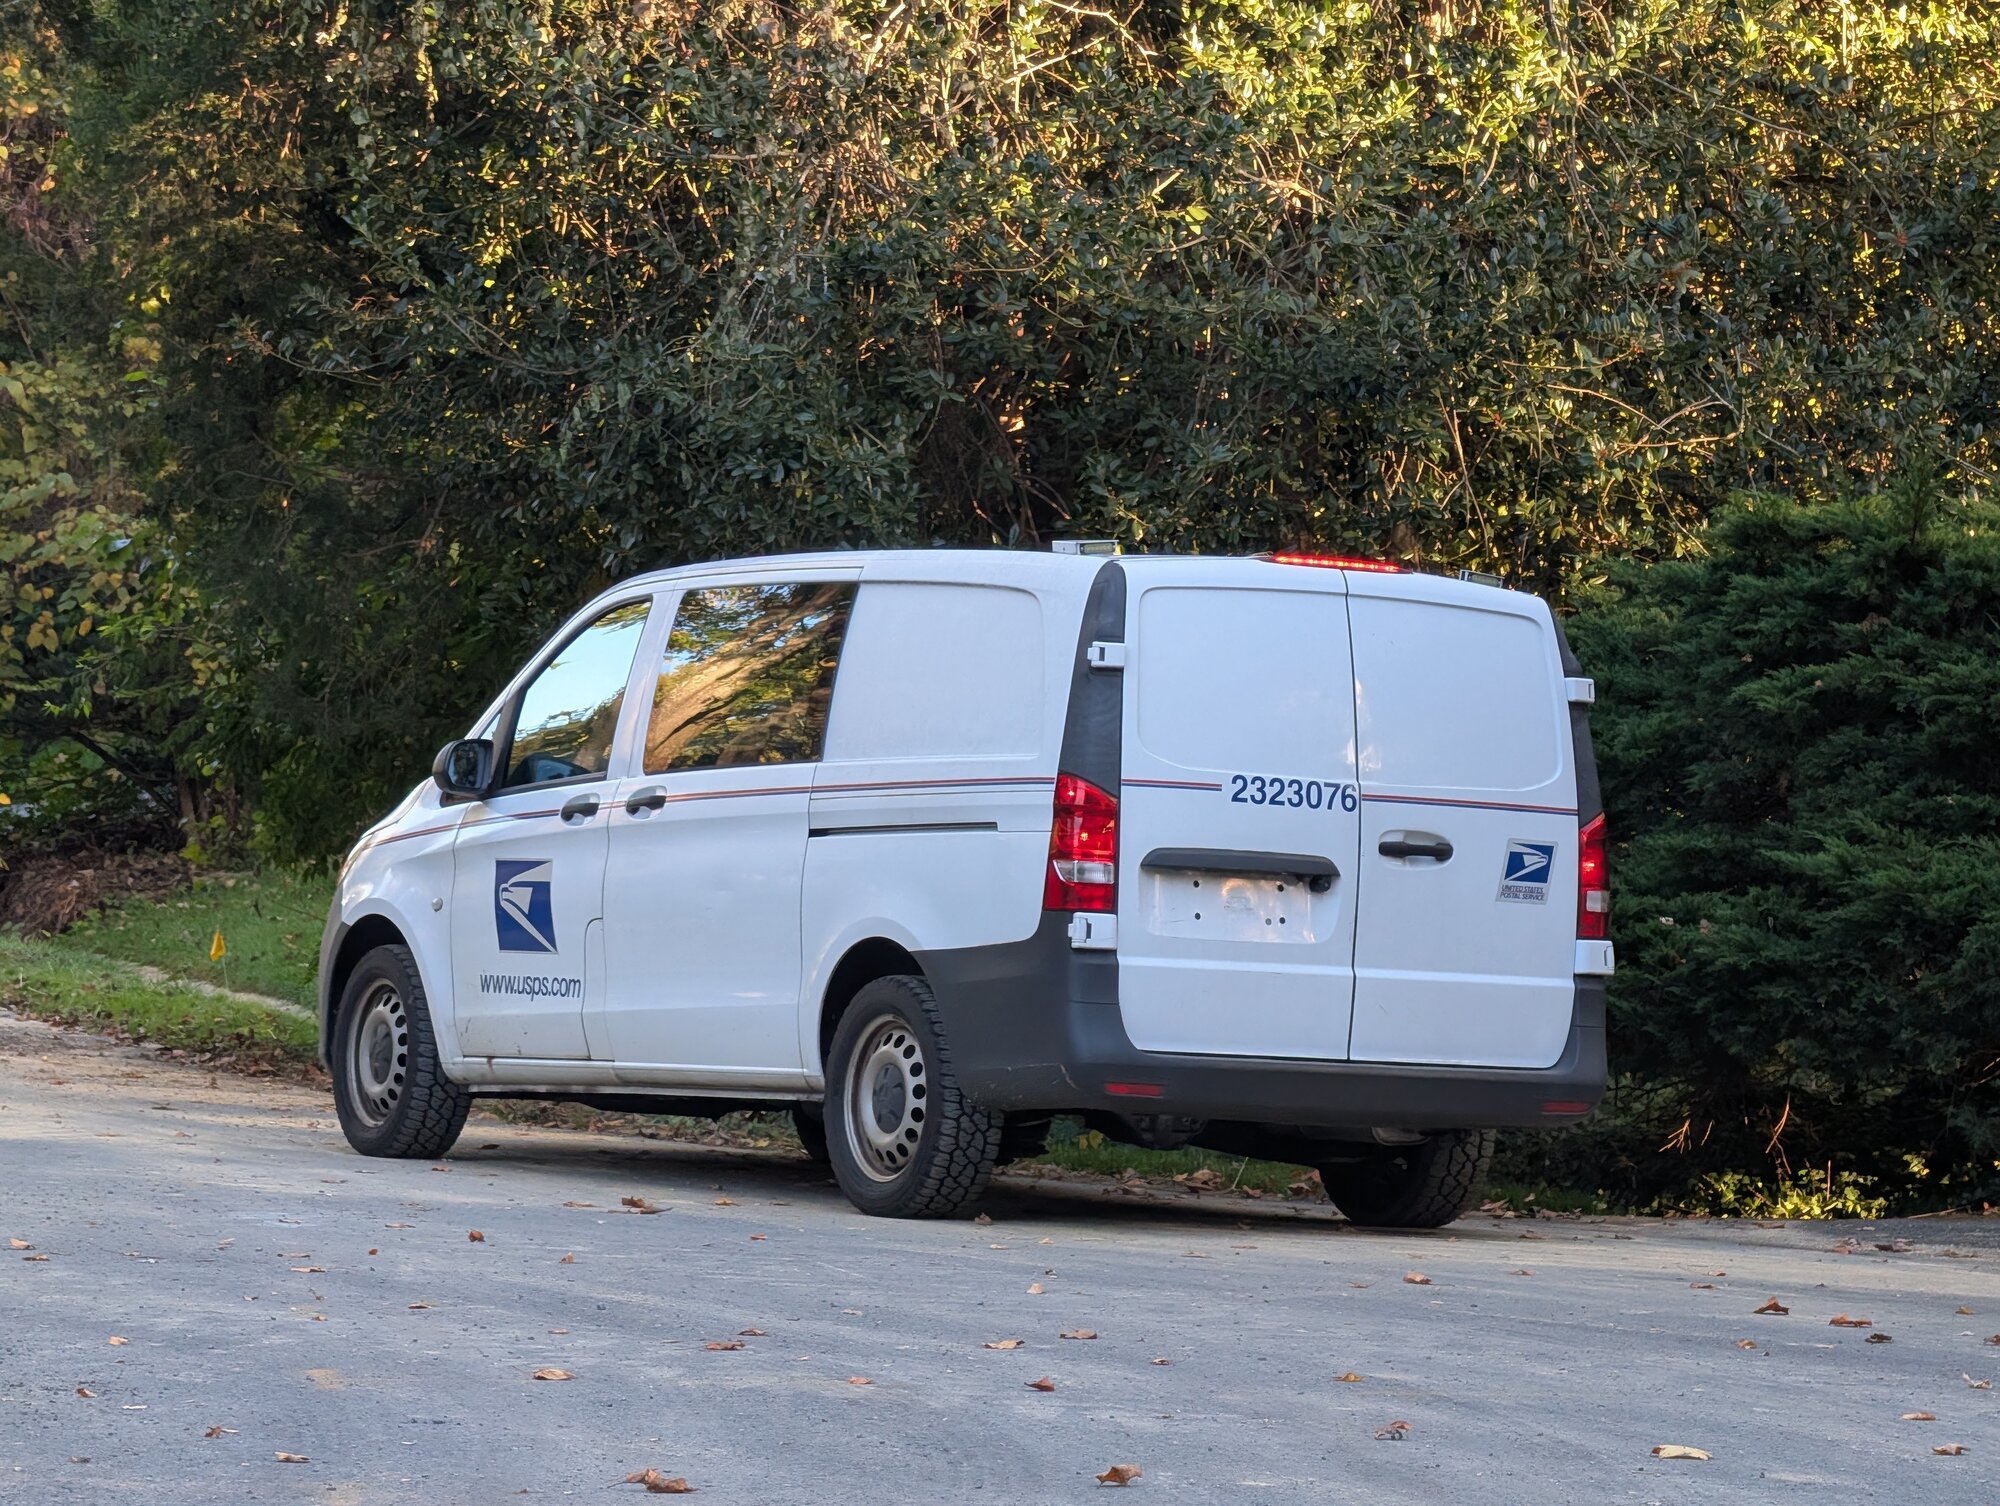
I handed him the package and it's off, to arrive later this week. I hope she likes it!
Wednesday, October 29th, 2026
Received, and she likes it!